How to Add /Edit License in the new Ezeelogin customer portal?
Managing licenses in the new ezeelogin customer portal
Overview: This article provides a guide on managing licenses within the new Ezeelogin customer portal. It covers how to add a new license by logging into the portal, navigating to the Licenses tab, and completing the purchase process with payment details. Additionally, it explains how to edit an existing license, including updating the number of servers, billing cycle, or IP address. Note that a single license cannot be associated with multiple IP addresses, but a secondary license can be issued for high availability needs.
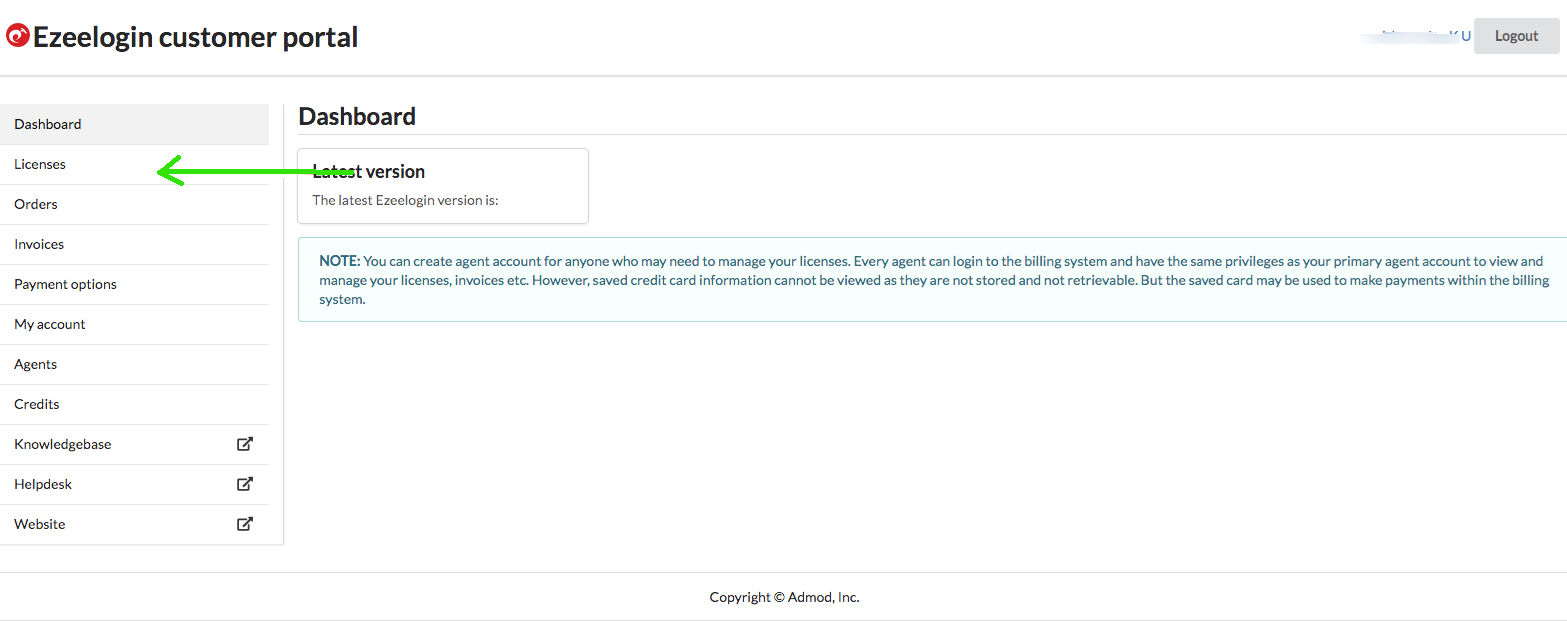
Step 1. Login into the customer portal area customer login area and click on the Licenses tab on the left menu.
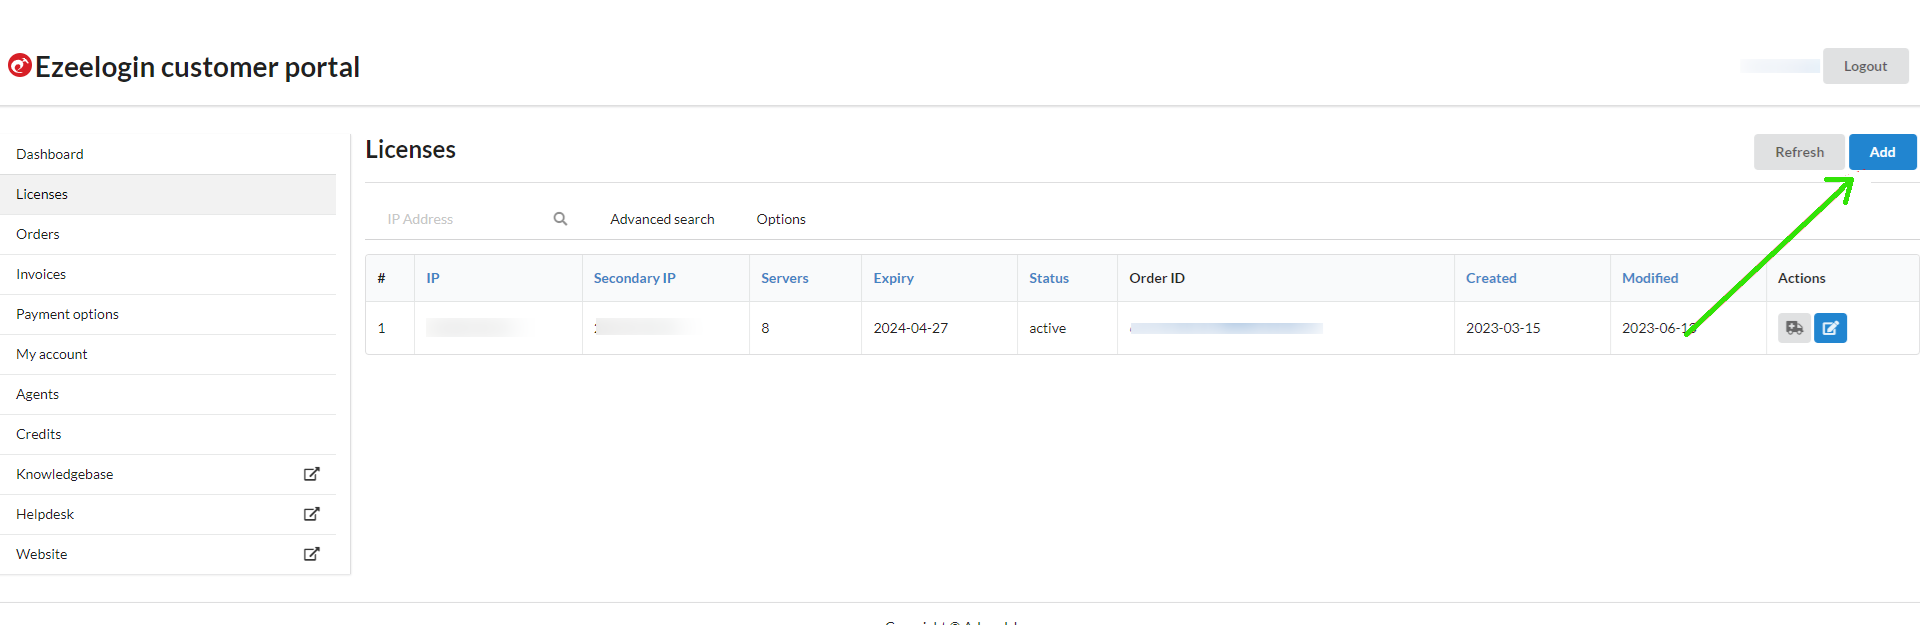
Step 2. On the License, tab click on the Add button on the right side of the customer portal.
Step 3. Enter the number of servers, select the billing cycle, enter the IP address for which you have to issue the license, and then click on Buy.
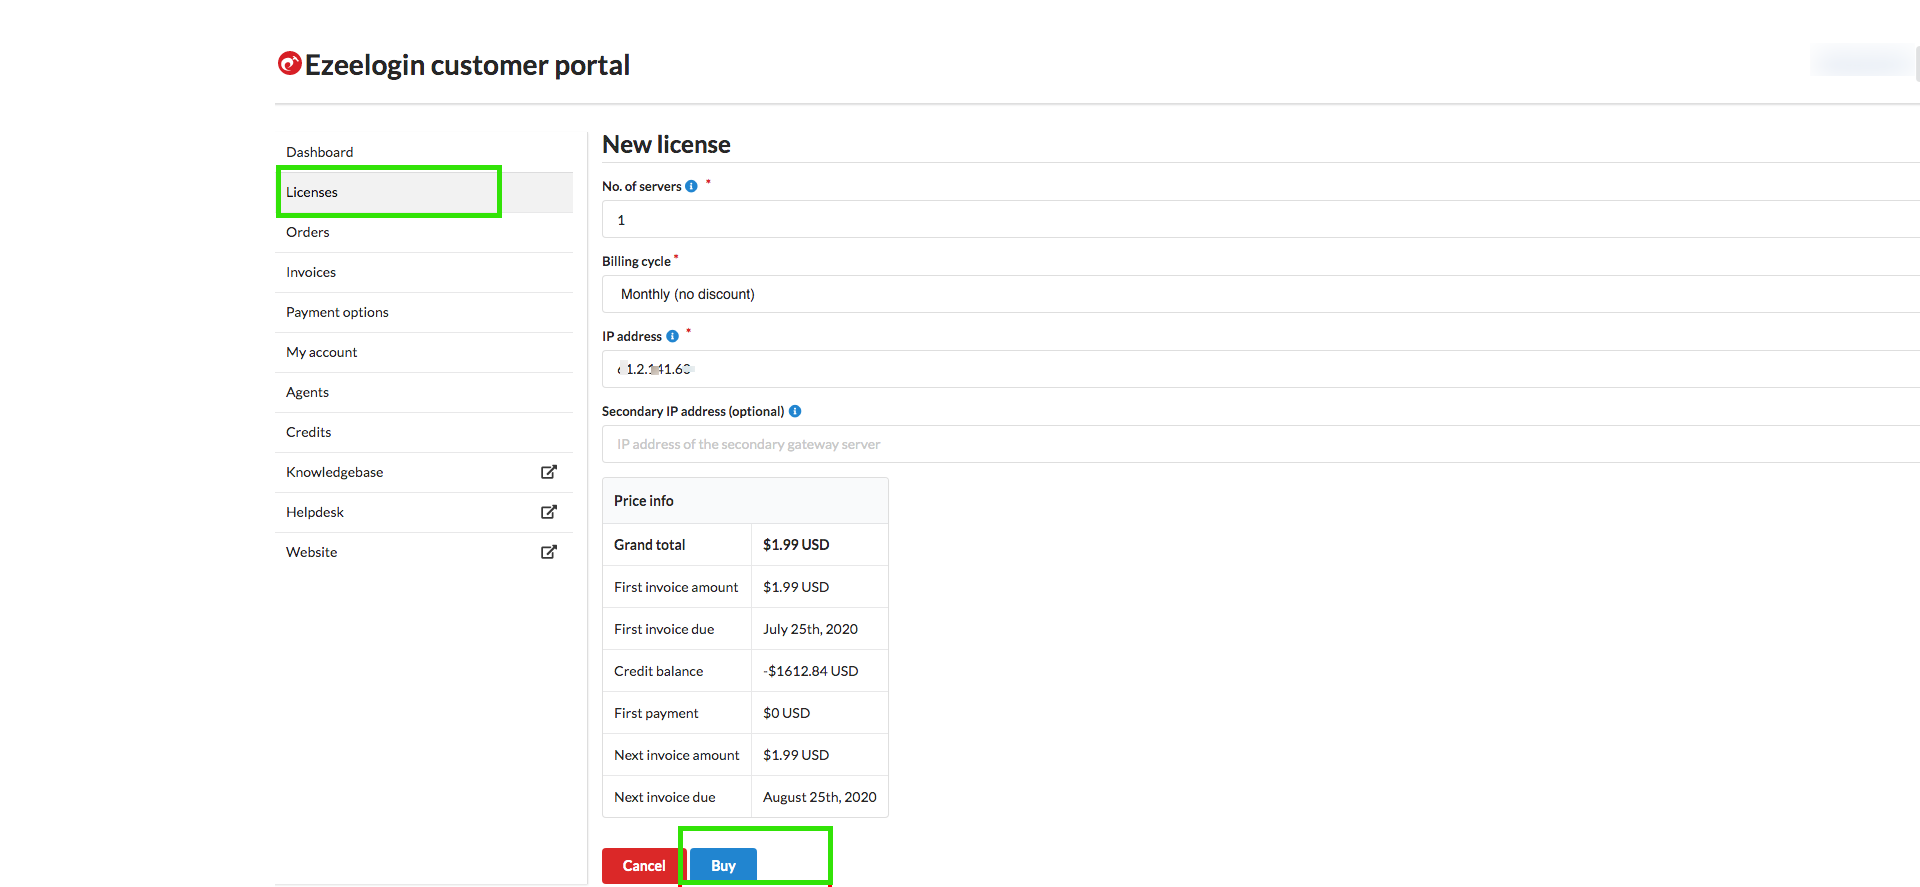
Note: Associating a single license with multiple IP addresses is not permitted. However, in cases where high availability is required, we offer a secondary license that can be associated with an additional IP address, providing nearly identical features.
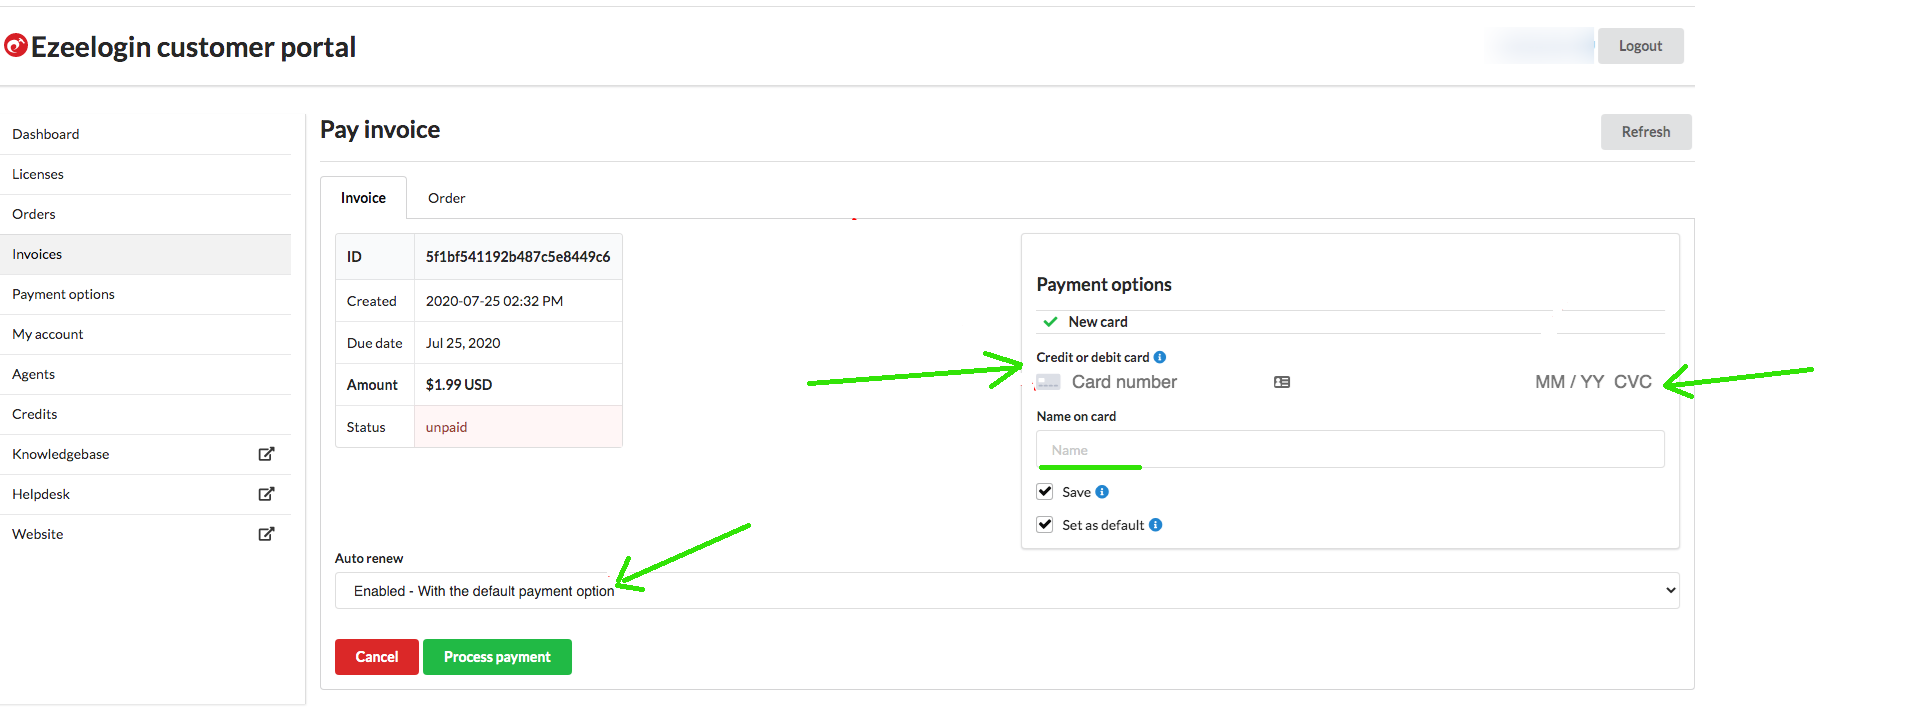
Step 4. Enter the Card number, expiry, name & CVC, and process the payment to issue the license.
Edit the License
Step 1. Click on the License Tab and then click on the Edit button on the Right side of the customer portal and click on update button
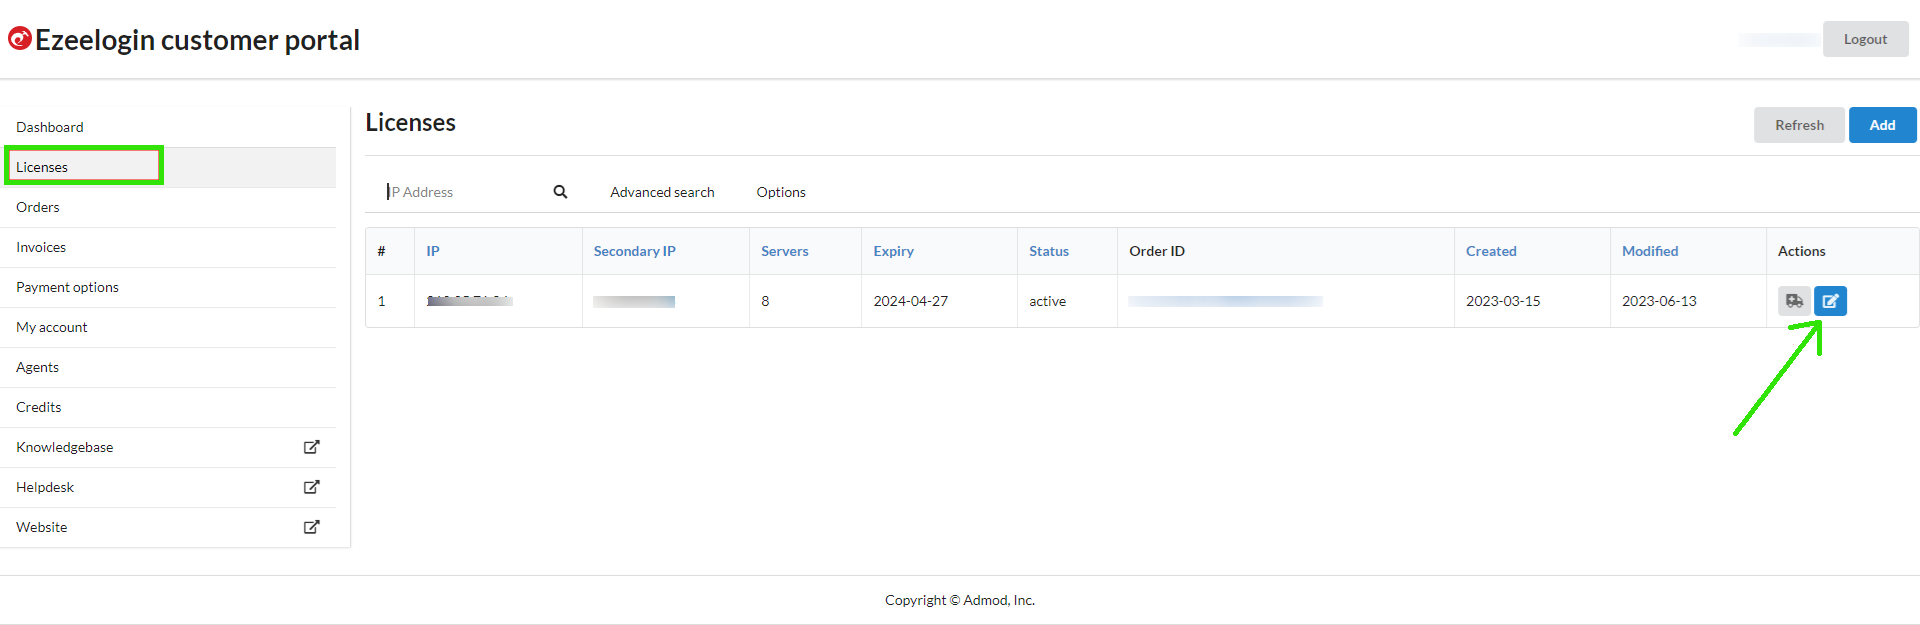
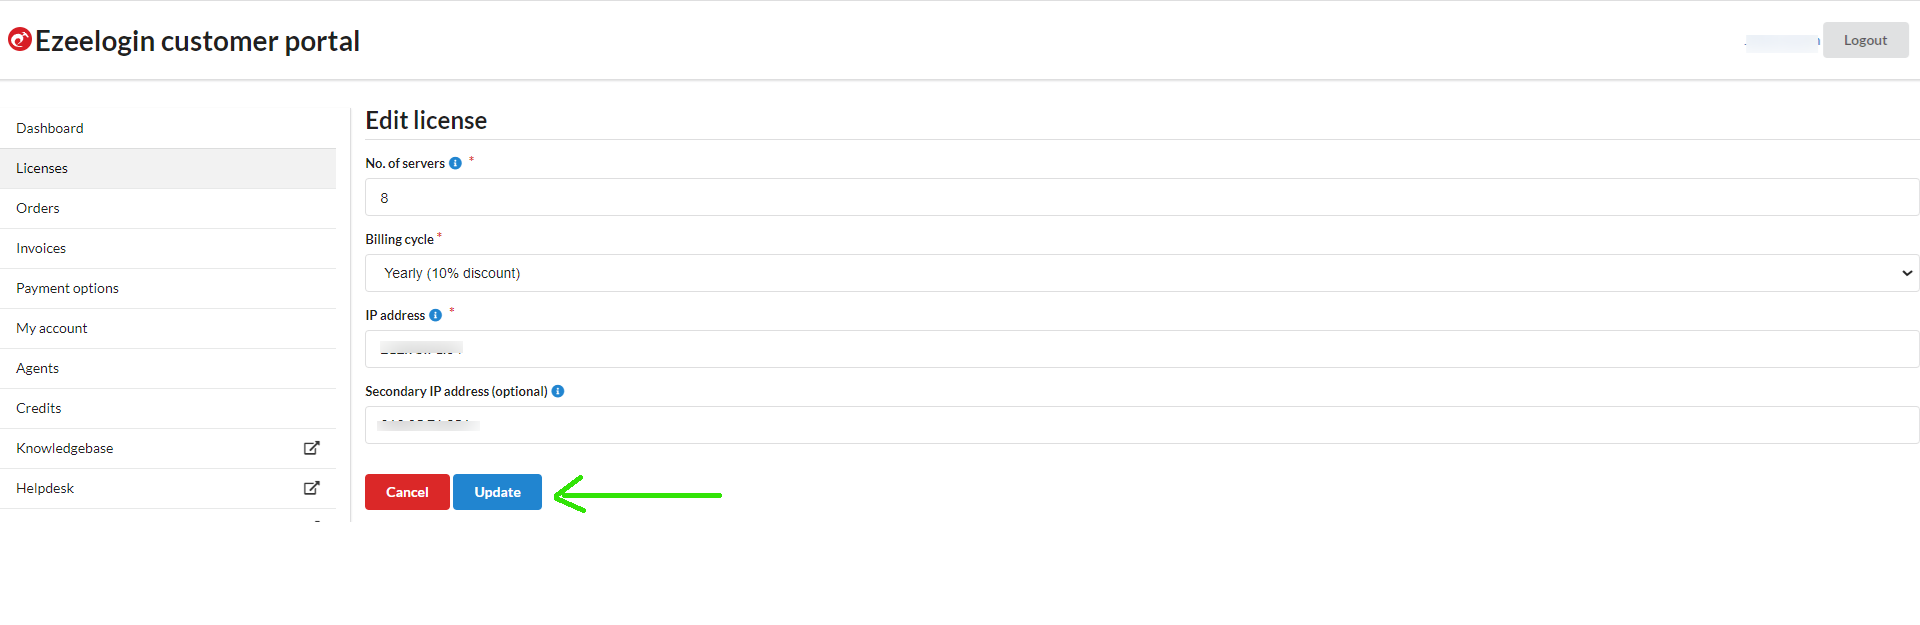
You can upgrade or downgrade the number of servers, change the billing cycle or change the IP address by clicking the Edit button on the right side of the customer portal
Related Articles