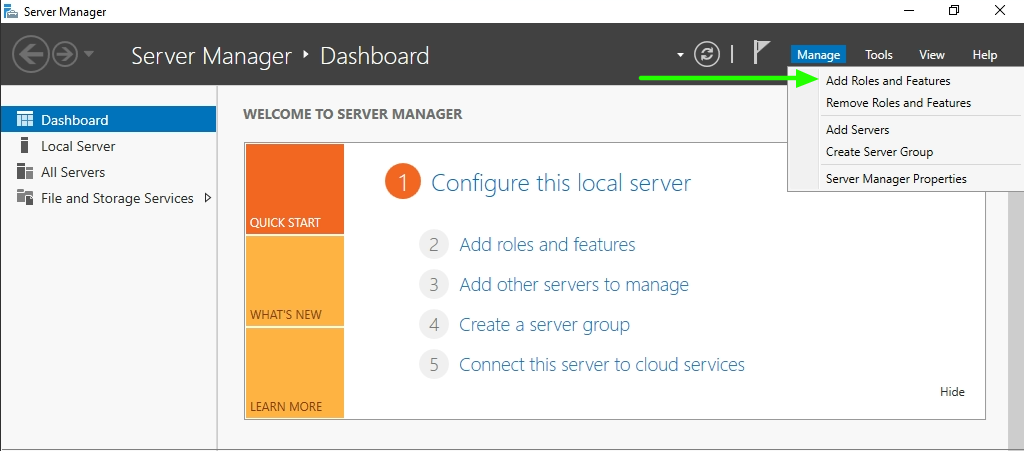
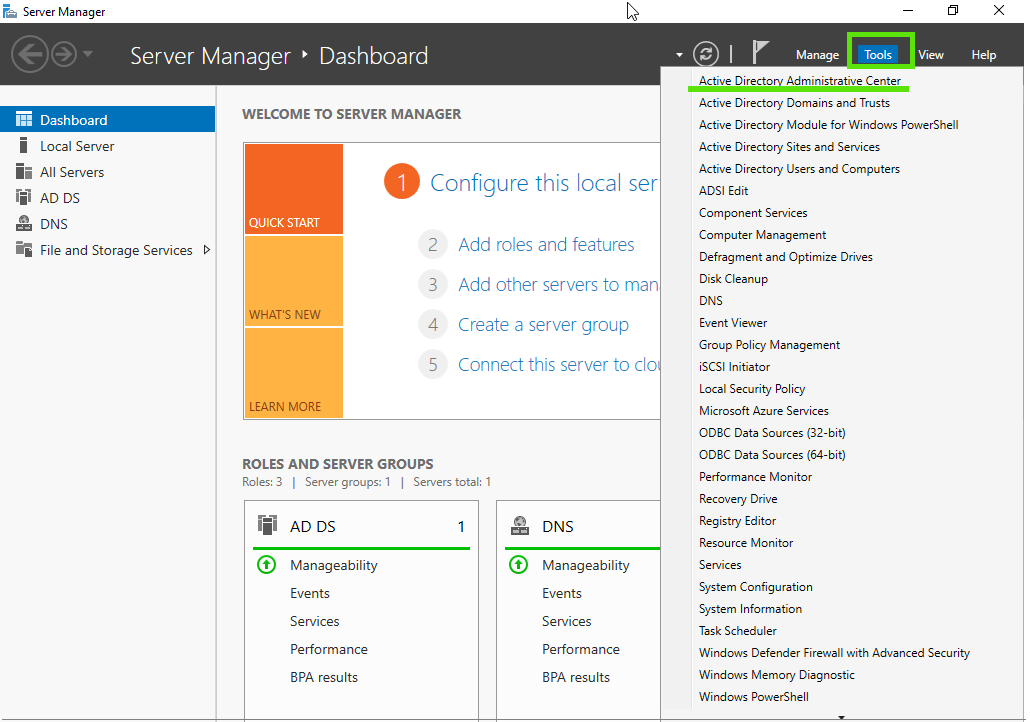
Install and Setup Active Directory
How to install and setup active directory
Step 2. Select Role-based or feature-based installation and click Next.

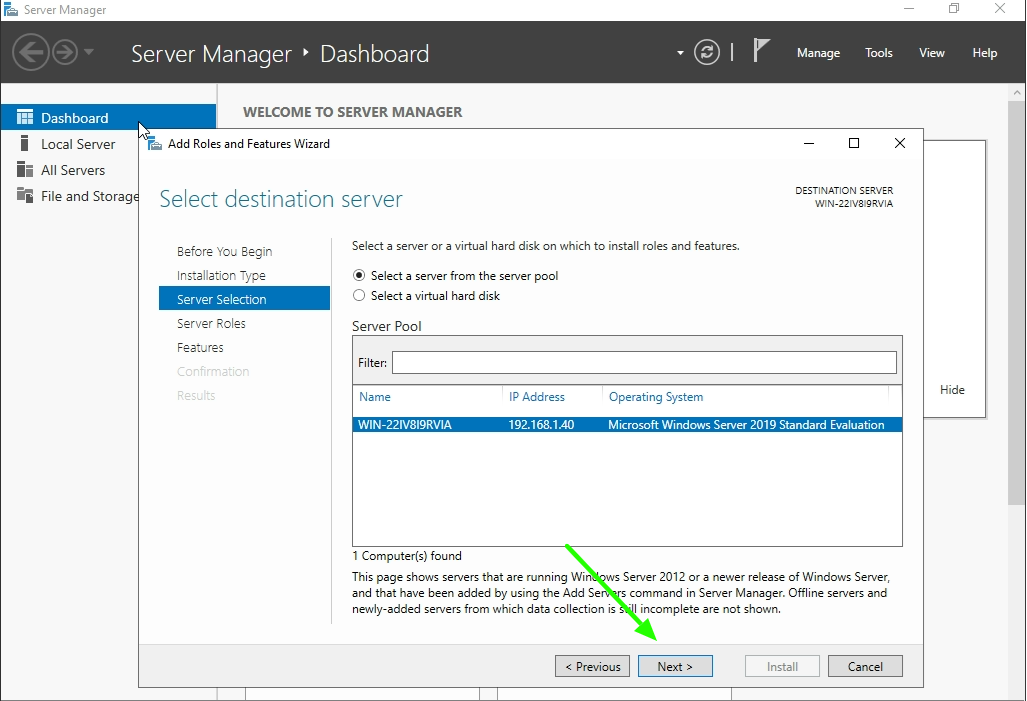
Step 3. Select the server by highlighting the row and select Next.
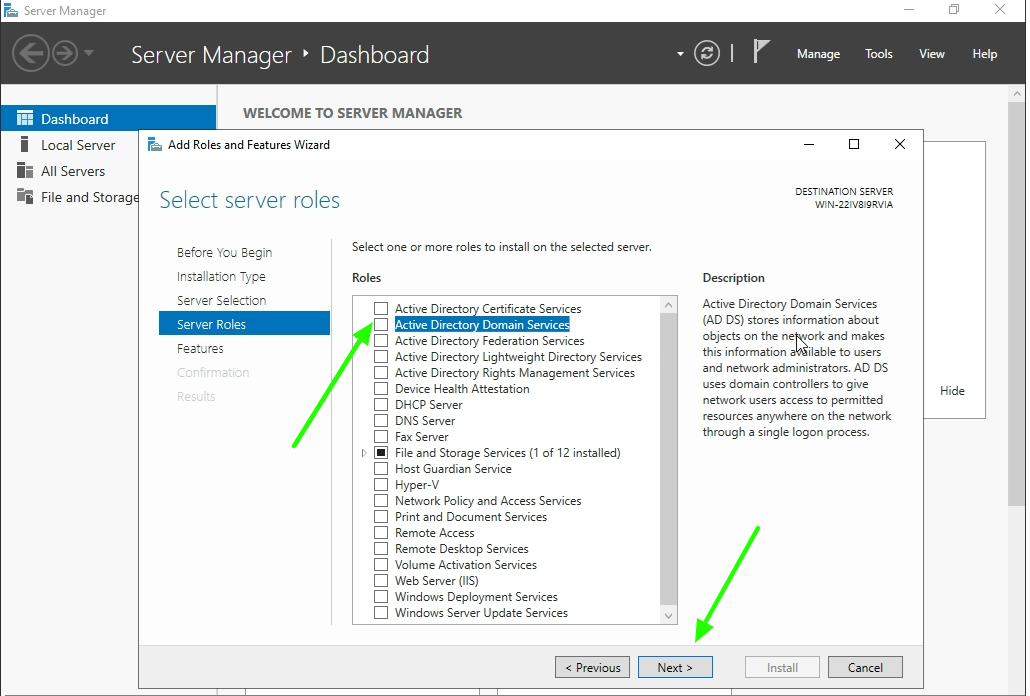
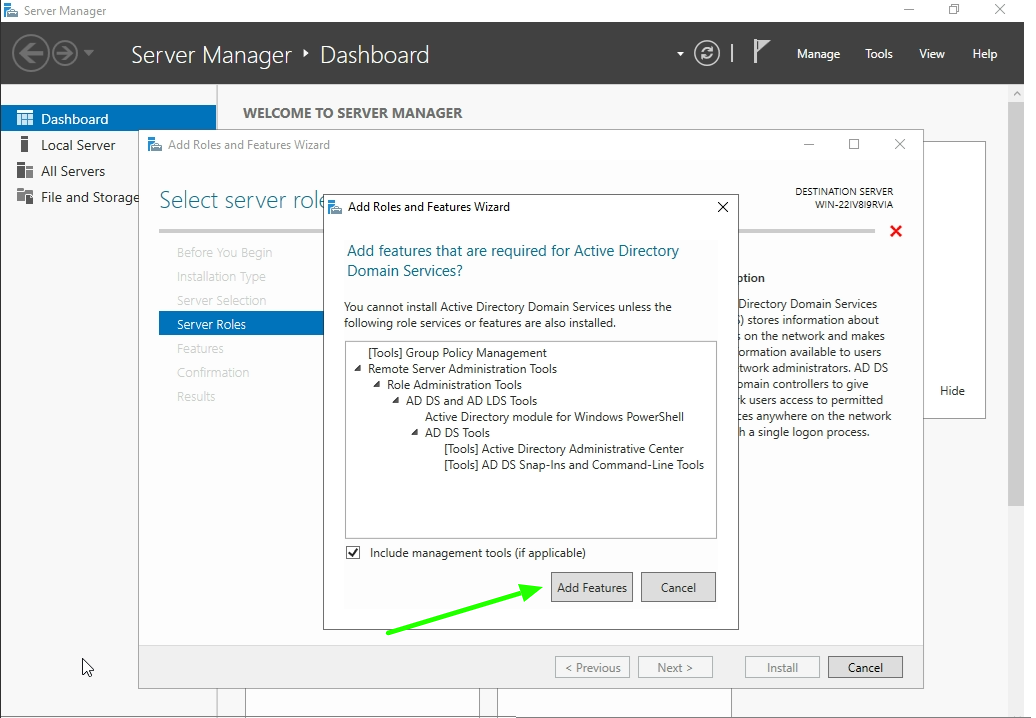
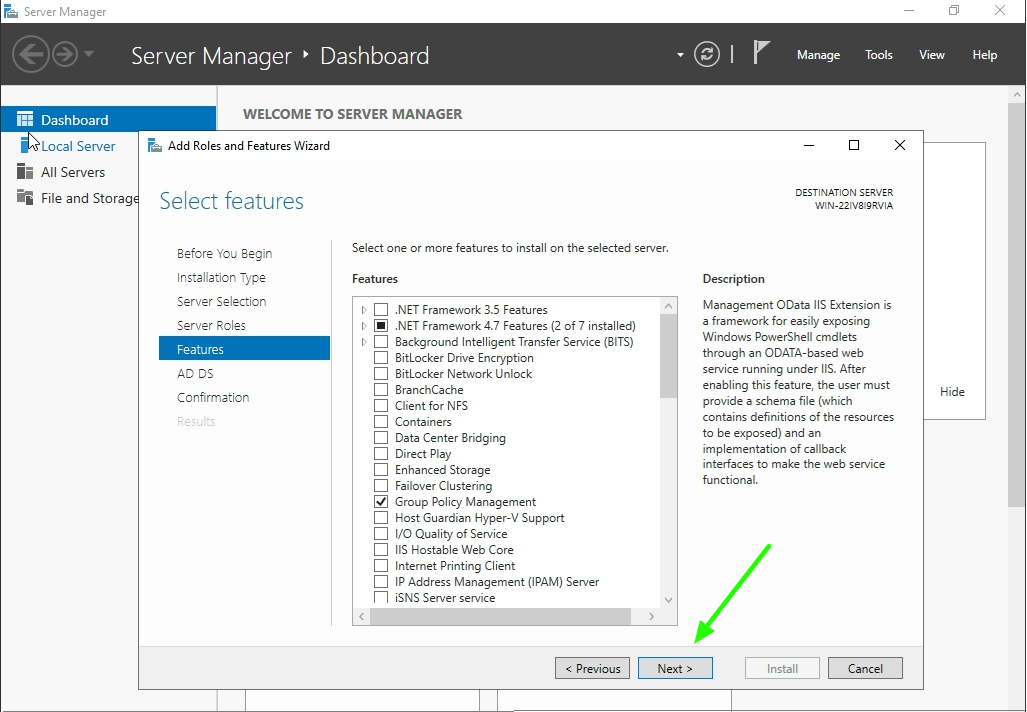
Step 6. You shouldn’t have to select anything at the Select Features, so just select Next.

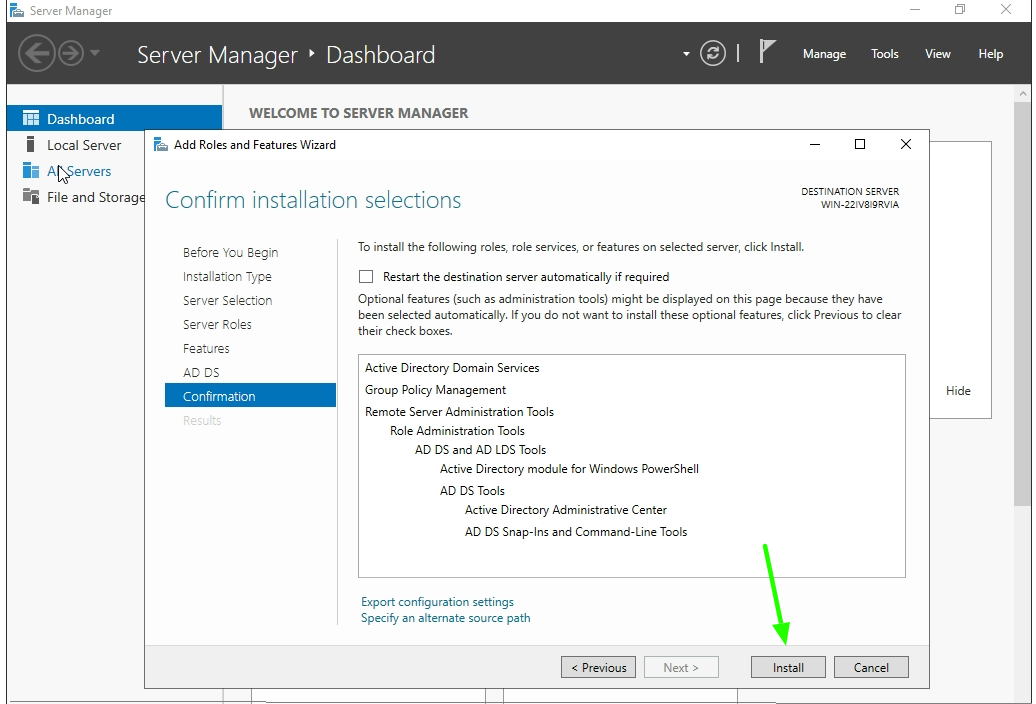
Step 8. On the confirmation window, review everything and then click Install.
-
The installation will begin.
-
When the installation is complete, you need to now promote the server to a domain controller.
-
Click Promote this server to a domain controller (small hyperlink in the results window). Refer the below screenshot.

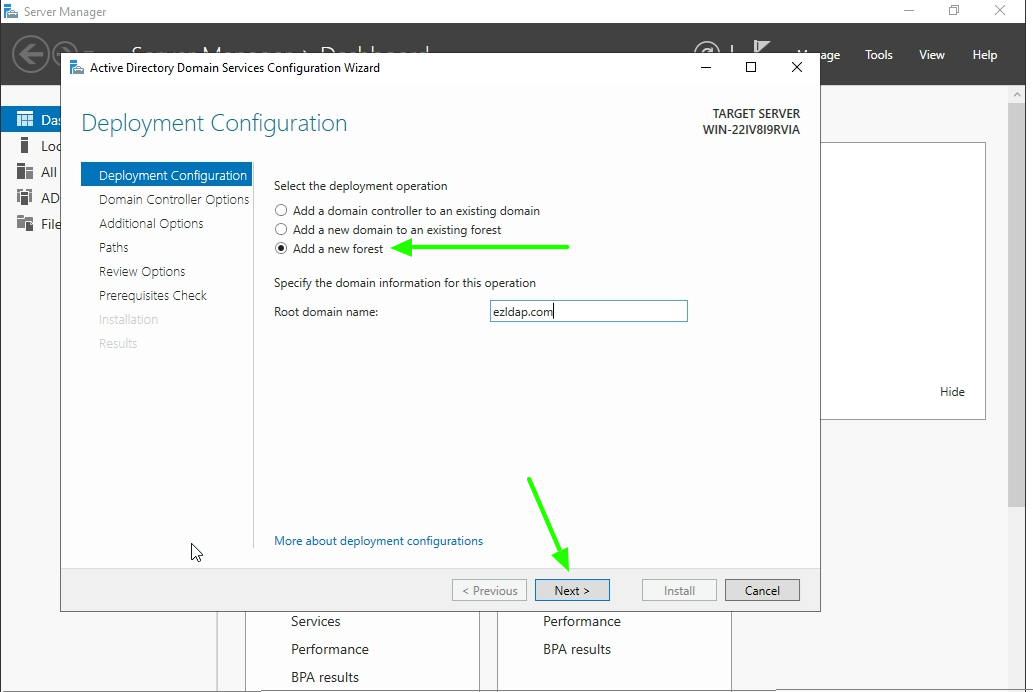
Step 9. Select Add a new forest, type in a domain name that you want to use (pro-tip: use something like example.com), then click Next.
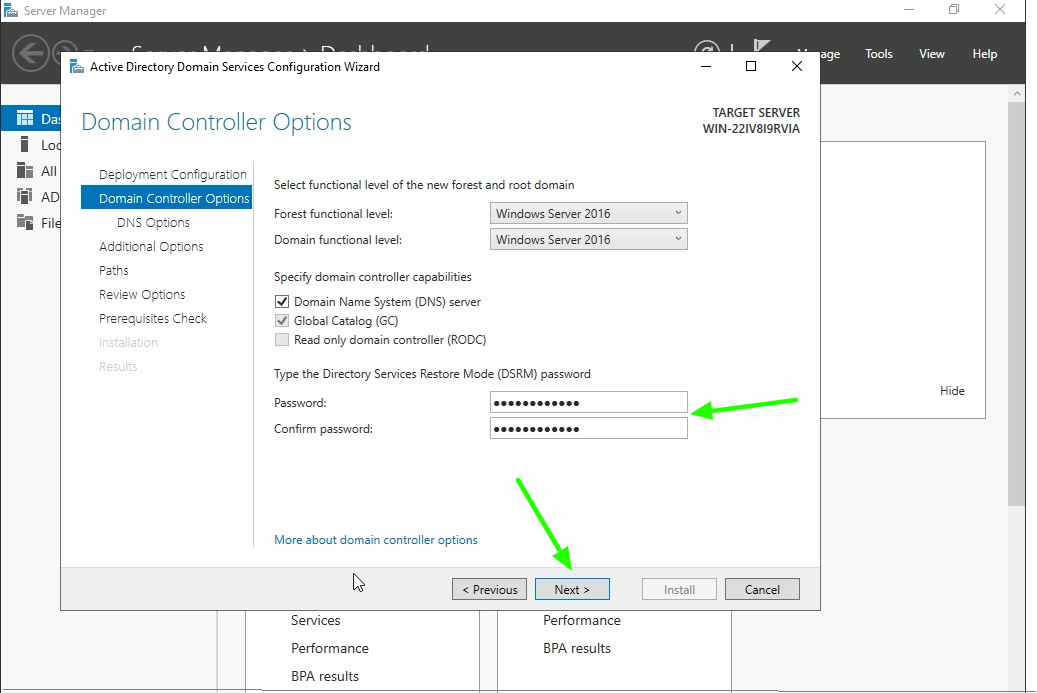
Step 10. Type in a password you want to use for DSRM, then click Next.
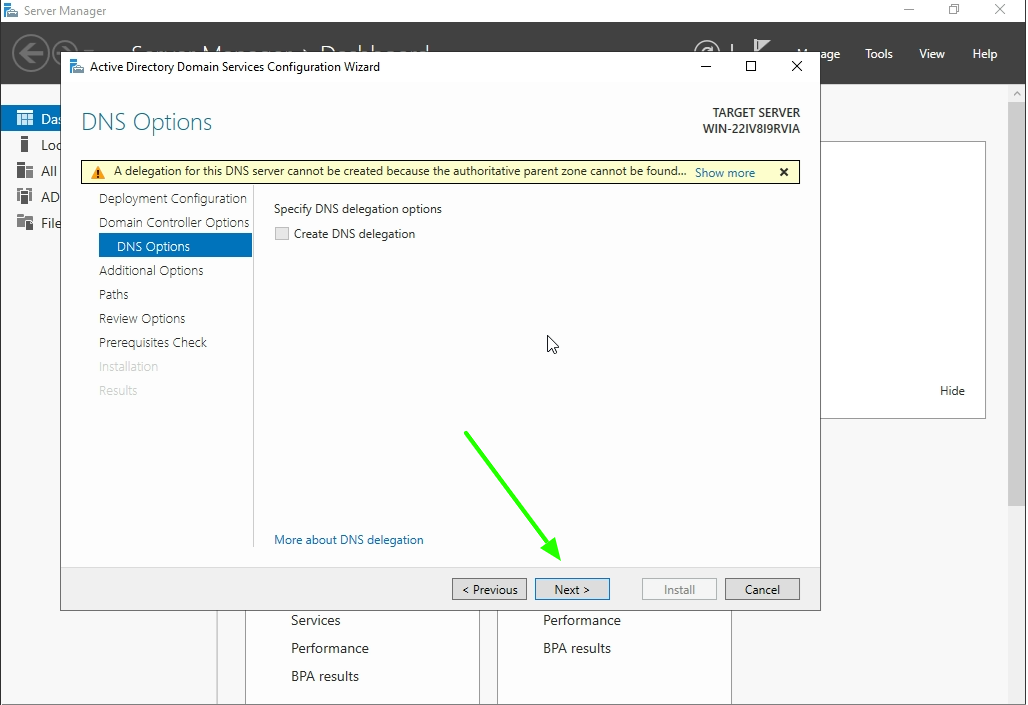
Step 11. Click Next on the DNS Options page.
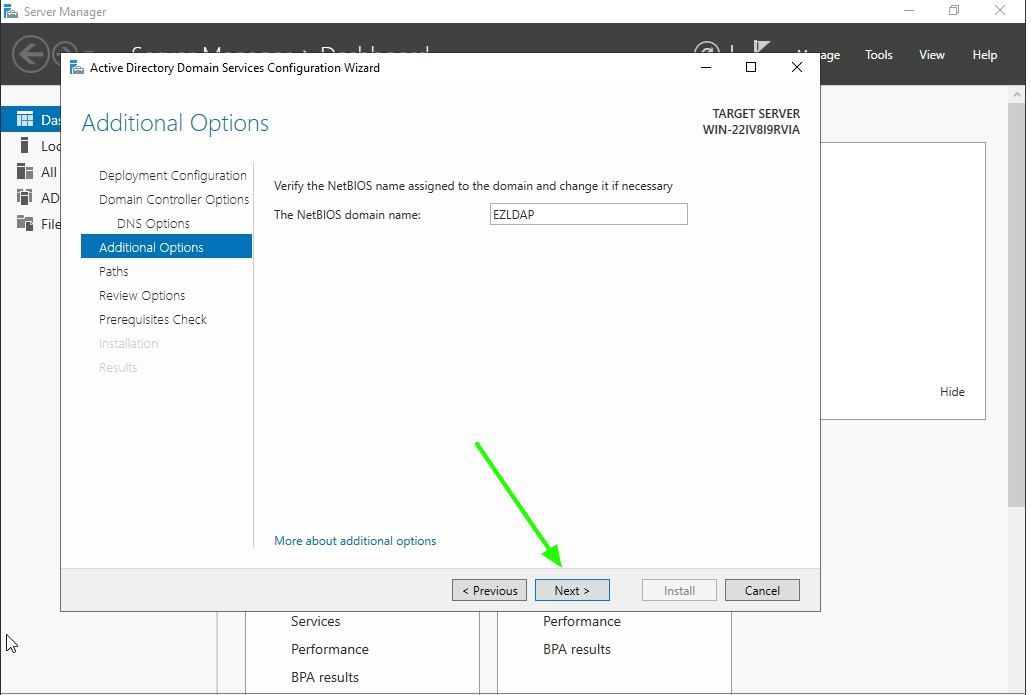
Step 12. Click Next on the Additional Options page.
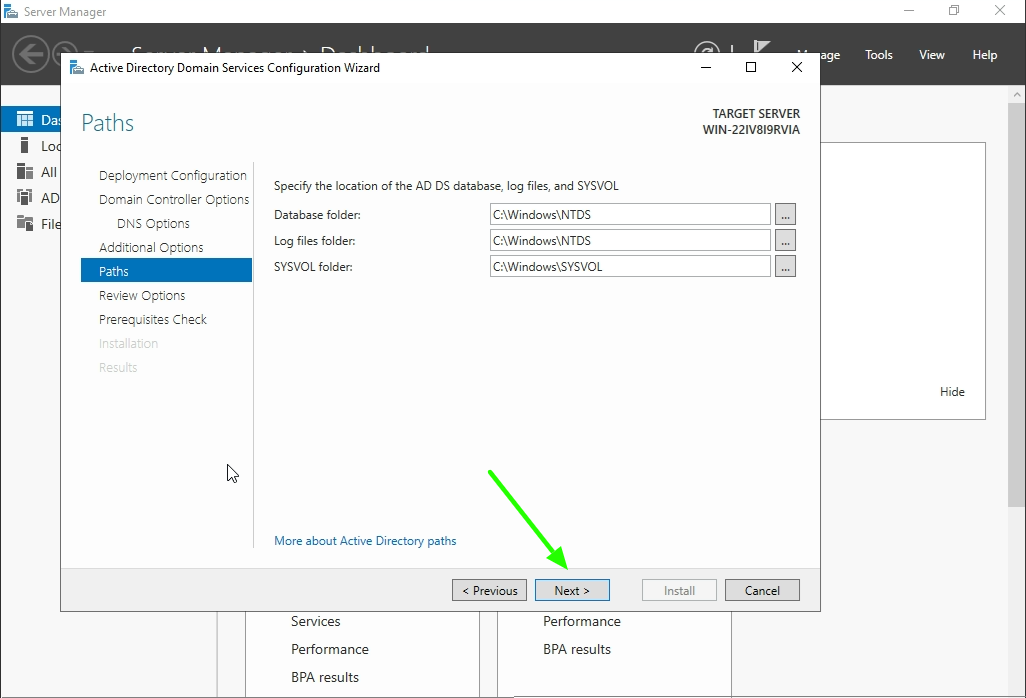
Step 13. Click Next on the Paths sections.
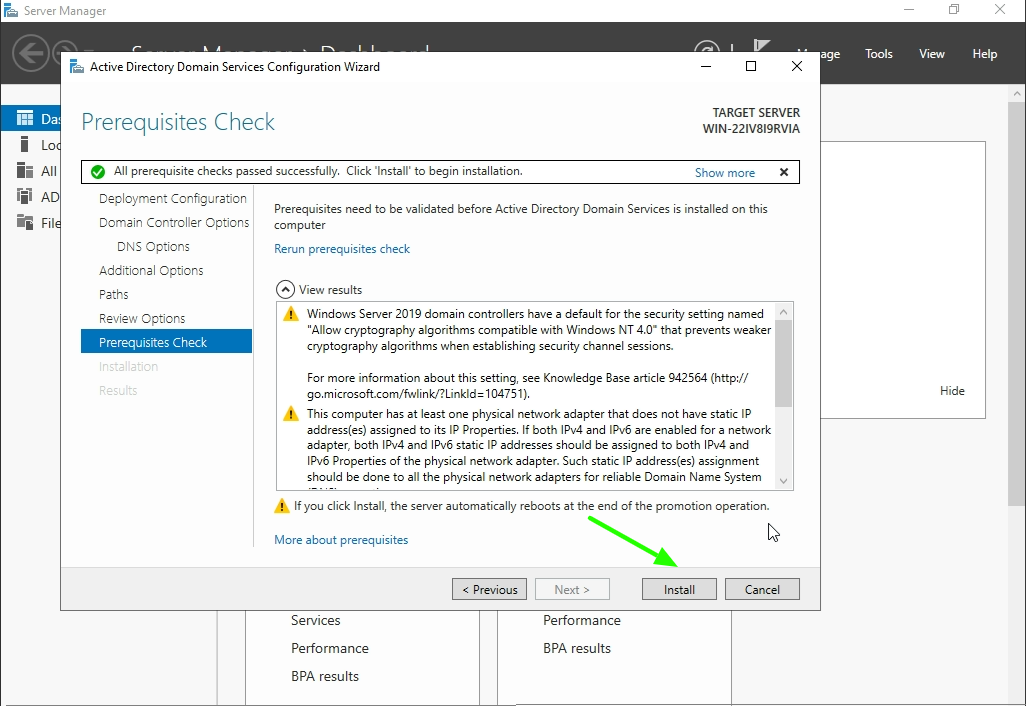
Step 14. Click Next on the Review Options screen, then click Install on the prerequisites check page.
-
The installation (promotion process) will begin. The server will reboot during this process.
-
When the installation is complete, log back in (this time you will be logging into the server with domain credentials)
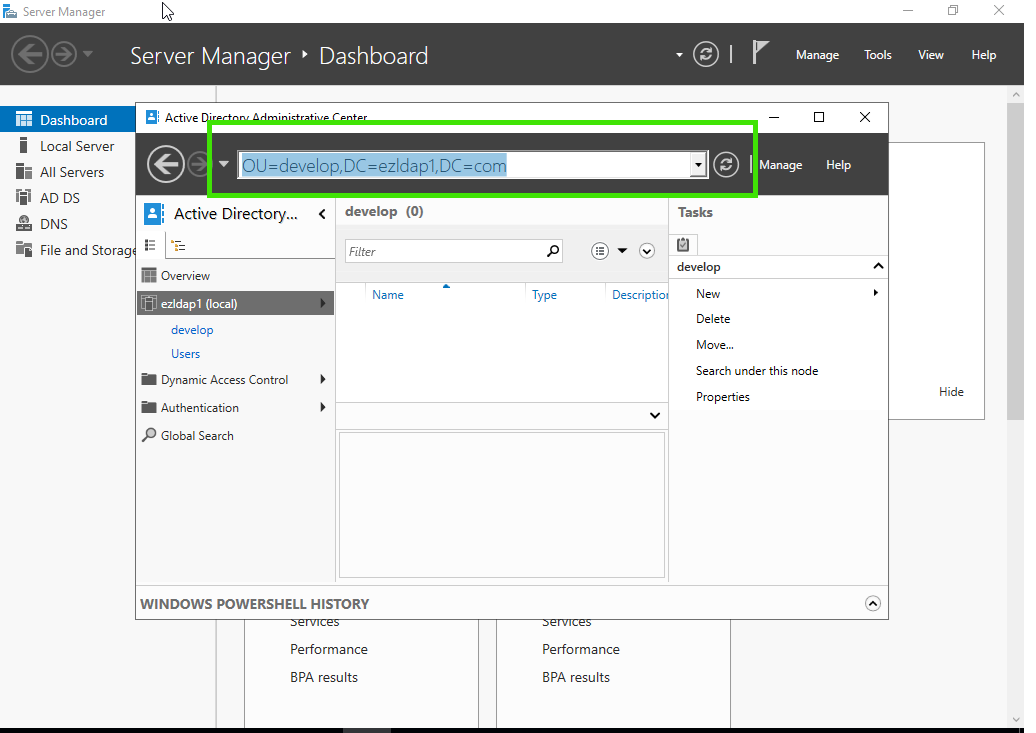
Step 16. There you can add new AD Users, Organizational Unit and Groups

Step 17. You will be able to find the DN of the Organizational unit by clicking on the title bar
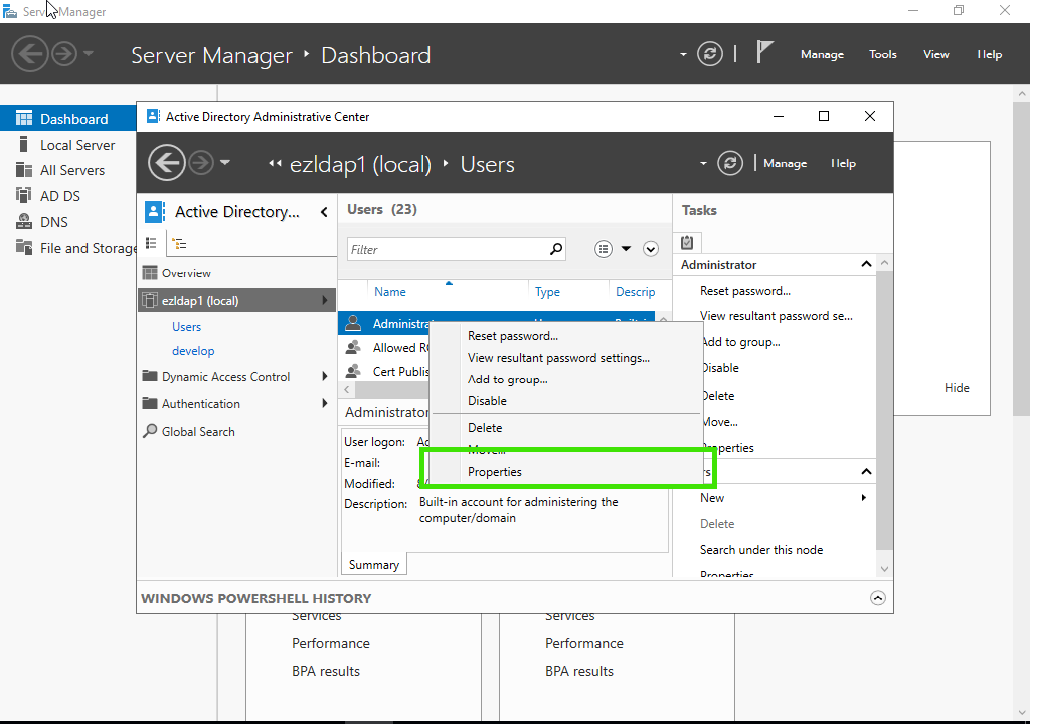
Step 18. You can find the DN of a user by Right button click on a User -> Properties ->Extensions -> Attribute Editor.

Related Articles
Configure Ezeelogin to authenticate using Windows_AD(Pam-Ldap) in ubuntu?
How do I configure Ezeelogin to authenticate using Windows_AD(Pam-LDAP) in CentOS?
How do I configure Ezeelogin to authenticate using OpenLdap or Window AD server?