Migrate Ezeelogin database to RDS / remote SQL instance
How to Migrate Ezeelogin database to RDS / Remote SQL instance ?
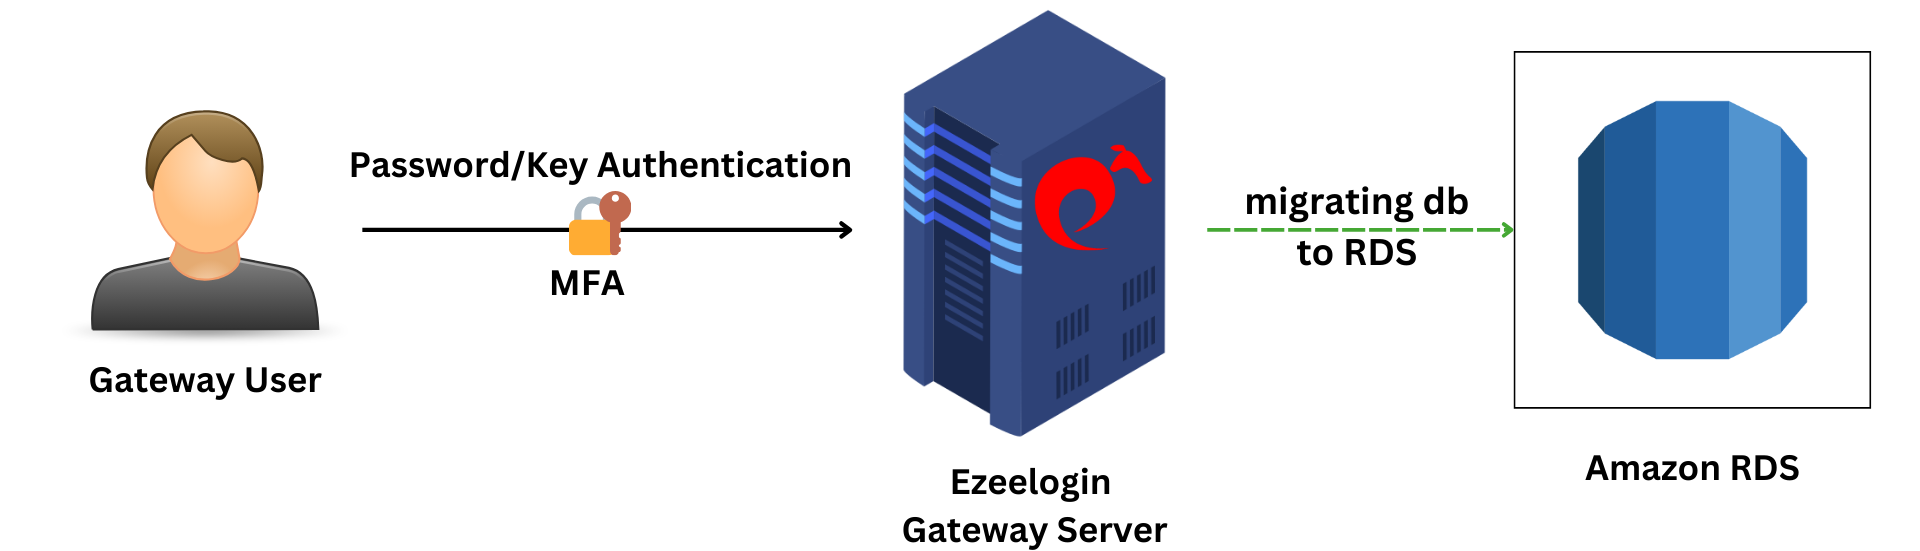
Overview: This article describes how to migrate the Ezeelogin database to an Amazon RDS or a remote MySQL/MariaDB instance in a secure and efficient manner.
Ezeelogin is a secure SSH gateway that enables centralized server access management. Migrating its database to a remote SQL instance or Amazon RDS can enhance performance, scalability, and high availability. This guide outlines the step-by-step process for a smooth migration, including backing up the database, setting up the RDS instance, and reconfiguring Ezeelogin.
To initiate the migration process, we'll begin by backing up the existing Ezeelogin database. Next, we'll proceed to establish a new RDS MySQL instance, grant privileges, and restore the previously backed-up database. And update the db_host parameter in the ez.conf file.
Follow the below steps to transfer the database to an RDS or Remote Mariadb instance.
Step 1: Retrieve Database Credentials and take the backup the ezeelogin database
First, extract the database credentials for the existing Ezeelogin instance:
root@gateway:~# php /usr/local/ezlogin/eztool.php -show_db_credentials
After entering the Ezeelogin administrator password, you'll obtain the database name, username, and password.
Step 1(A): Now, take the back up the database using mysqldump.
root@gateway:~# mysqldump ezlogin_databasename > ezlogin_databasename_backup.sql -p
Step 2: Create a new RDS MySQL instance and create an empty database by logging into MySQL and grant the database with the MySQL database user and password of the Ezeelogin database.
root@gateway:~# mysql -u masteruser -p
root@gateway:~# create database ezeelogin_databasename;
root@gateway:~# create user ezlogindatabaseuser;
root@gateway:~# grant all privileges on ezlogin_dbname.* to ezlogin_dbusername@'%' identified by 'ezlogin_dbpassword';
(replace with your ezeelogin db details)
root@gateway:~# flush privileges;
Step 3: Restore the database backup using the following command. Make sure to replace MySQL logins with yours.
root@gateway:~# mysql -h database-1.crsj8b4u8ggw.ap-south-1.rds.amazonaws.com -u masteruser -p ezlogin_databasename < ezlogin_databasename_backup.sql
Step 4: Update the ezeelogin configuration file. Replace the " db_host " with the hostname of the new RDS instance on /usr/local/etc/ezlogin/ez.conf file. Skip this step if you are using remote SQL instance.
root@gateway:~# nano /usr/local/etc/ezlogin/ez.conf
cver 2
system_folder /var/www/ezlogin/
www_folder /var/www/html/ezlogin/
uri_path /ezlogin/
force_https no
db_host Replace_with_the_hostname of new instance
db_port /var/run/mysqld/mysqld.sock
db_name ezlogin_tbxtj
db_user ezlogin_tccrl
db_pass 2lfX8aRgTSV3ZINTnQ6GvWAd6qnbscYF8PNtHH2BMf9rw3mg5bPlS9ecizoshq77vLeLBQQTy0i1EntuJUtZsWvFdy47hPYCXMsLSYAuoI4=
db_prefix veb_
cookie_encryption_key NB6fMmb73Xx0oHWxGttGmU9cil7u5lTbD1PusRxo41cVL3EnFWW2+MGfqIOnW3C6lL9AesPeEYmneJhZeItXOuaTccgRaRwe9BZrpVQXHJg=
cookie_name mzeyd
cookie_path /ezlogin/
admin_user ezadm428
mysql_encrypt no
Step 5: To validate the migration login to Ezeelogin GUI, EZSH shell, and verify the working of Ezeelogin.
Related Articles:
Configure Ezeelogin on AWS RDS