Ezeelogin installation guide for ARM architecture
Ezeelogin installation guide for ARM (Advanced RISC Machine) architecture
An ARM processor is a type of microprocessor that follows the architecture developed by ARM Holdings. ARM stands for Advanced RISC Machine, where RISC stands for Reduced Instruction Set Computing. ARM processors are widely used in a variety of electronic devices due to their power efficiency, performance, and versatility.

SSH JUMP SERVER
An SSH Jump server, also referred to as an SSH Jump host, SSH Bastion host, or SSH gateway, serves as an intermediary server running the sshd daemon. Users must first log in via SSH to this server before accessing remote or target servers situated behind it. This setup enhances security by centralizing access control and monitoring.
The SSH jump server typically resides on a public-facing network, while the target servers, also known as destination servers, are located on a private network behind a firewall. This configuration enhances security by limiting direct access to the private network and enforcing controlled access through the jump server.
Ezeelogin installation in ARM architecture support only from Ezeelogin version 7.37.4. How to upgrade the Ezeelogin version to the latest?
 ARM Installation in Ubuntu 22, Amazon Linux, Debian
Step 1: Steps for Hardening SSH
Make sure that root SSH login on the jump server is activated and SSH key-based authentication is implemented in SSHD. The following configuration example permits root access solely from the IP address 127.0.0.1 and mandates key-based authorization exclusively, ensuring heightened security. Append the subsequent parameters to the bottom of the "/etc/ssh/sshd_config" file:
Edit the file using the nano or vim command
root@gateway ~]# vim /etc/ssh/sshd_config
Add the following parameters to the end of "/etc/ssh/sshd_config" file.
#SSHD Global Settings
AllowTcpForwarding no
PubkeyAuthentication yes
#SSHD localhost settings.
Match Address 127.0.0.1
PermitRootLogin yes
PubkeyAuthentication yes
PasswordAuthentication yes
If you are planning to install the cluster (master-slave), add the below lines in /etc/ssh/sshd_config.
Append the below lines in the master node.
Match Address slave_node_ip
PermitRootLogin yes
Check SSHD configuration and restart the sshd service.
root@gateway ~]# sshd -T | grep -i ’AllowTcpForwarding\|PermitRootLogin\|PubkeyAuthentication\|PasswordAuthentication\|pubkeyacceptedalgorithms\|Port’
root@gateway ~]# systemctl restart sshd
Step 2: Install the necessary dependencies for Ubuntu, Debian, Amazon Linux
- Install the Ezeelogin dependency package on Ubuntu
root@gateway ~]# apt update ; apt-get install php mariadb-server apache2 libapache2-mod-php8.1 php-mysql php-curl php-xml php-ldap nodejs npm git -y
root@gateway ~]# systemctl start mysql apache2
Set the MySQL root password with the following command
root@gateway ~]# mysql_secure_installation
- Install the Ezeelogin dependency package on Amazon Linux
root@gateway ~]# dnf -y install httpd openssl php mariadb105-server php-mysqlnd php-process php-common php-cli php-json bzip2 mod_ssl php-ldap nodejs npm git -y
root@gateway ~]# systemctl start httpd mariadb
Set the MySQL root password with the following command
root@gateway ~]# mysql_secure_installation
- Install the Ezeelogin dependency package on Debian
root@gateway ~]# apt update ; apt upgrade -y ; apt install curl -y ; curl -sSL https://packages.sury.org/php/README.txt | sudo bash -x;apt install php8.1 libapache2-mod-php8.1 mariadb-client mariadb-server apache2 php8.1-mcrypt php8.1-mysql php8.1-curl php8.1-xml php8.1-ldap nodejs npm git –y
root@gateway ~]# systemctl start mysql apache2
Set the MySQL root password with the following command
root@gateway ~]# mysql_secure_installation
Step 3: Installing Ioncube loader for PHP
Ezeelogin SSH jump server software employs Ioncube loader encryption. Before installing the jump server, it is imperative to download and install the Ioncube loader to decrypt it.
Download the Ioncube package for 64 bit and untar it /usr/local/ioncube
root@gateway:~# wget https://downloads.ioncube.com/loader_downloads/ioncube_loaders_lin_aarch64.tar.gz
root@gateway:~# tar -zxf ioncube_loaders_lin_aarch64.tar.gz&& mv ioncube /usr/local
Edit the PHP configuration file and load the corresponding Ioncube loader according to the PHP version.
Ubuntu/Debian:
root@gateway :~# vi /etc/php/8.1/cli/php.ini
zend_extension = /usr/local/ioncube/ioncube_loader_lin_8.1.so
root@gateway:~# vi /etc/php/8.1/apache2/php.ini
root@gateway:~# apachectl restart
Amazon Linux:
root@gateway:~# vim /etc/php.ini
zend_extension = /usr/local/ioncube/ioncube_loader_lin_8.1.so
Step 4: Download and install Ezeelogin jumpserver
Ezeelogin installation in ARM architecture will support only from Ezeelogin version 7.37.4. How to upgrade the Ezeelogin version to the latest?
Download the latest version from the customer portal area dashboard.
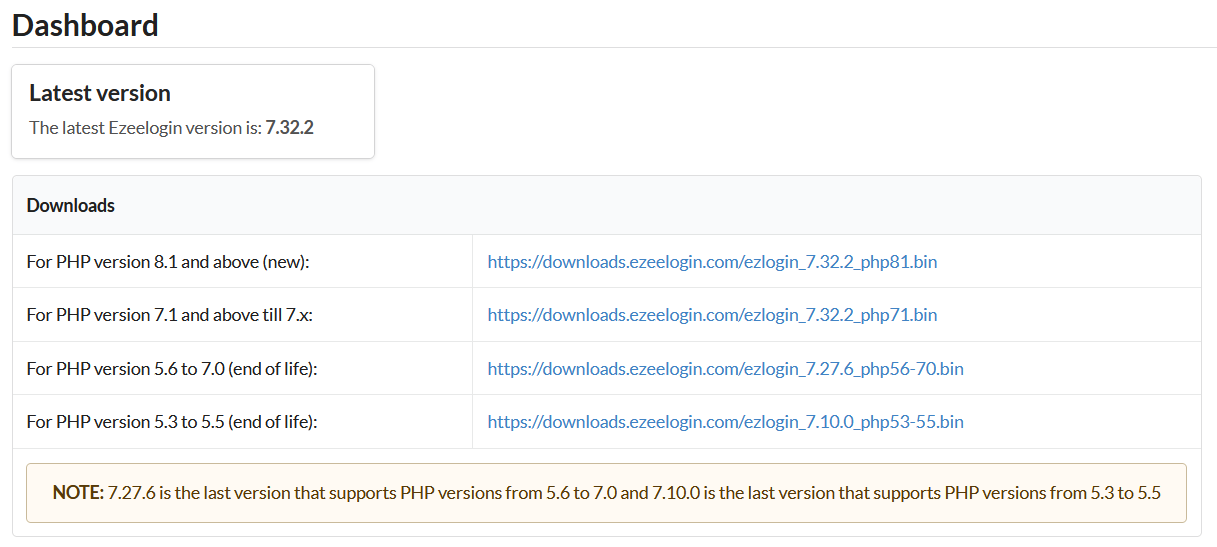
| For PHP version 8.1 and above (new): | https://downloads.ezeelogin.com/ezlogin_7.32.2_php81.bin |
Download the Ezeelogin jump server package corresponding to the PHP version installed on your server. Make sure to download the binary package to /root
Execute the following command with the latest version available as the root user on your server.
root@gateway:~# wget https://downloads.ezeelogin.com/ezlogin_7.xx.xx_phpxx.bin
Run installation script and it will be prompted to enter the missing settings. The default value will be given in bold. Simply pressing the enter key will choose the default value.
root@gateway:~# sh ezlogin_7.xx.xx_phpxx.bin
You need to specify the Document root here ,if it is different from default else you press enter to choose default.
If you need to access the Ezeelogin jump server webpanel as www.yourdomain.com choose " / " & change your document root to {your existing document root}/ezlogin. For example ,If your document root is /var/ww/html change to /var/ww/html/ ezlogin , else press enter to choose default
Enter the hostname/ip address of the remote database server or use localhost, if you are going to run the database server on the current server.
mysql> GRANT ALL PRIVILEGES ON *.* TO 'root'@'%' IDENTIFIED BY 'PASSWORD' WITH GRANT OPTION;
mysql> flush privileges;
Do NOT enable this if you are not sure. You can always manually enable it after installation as well. This is useful only if you will be setting up master/slave node for redundancy.
Refer the below articles to configure MySQL SSL configuration
If you are using SSL for AWS RDS, you can specify "mysql_ssl_ca /var/lib/mysql/rds-combined-ca-bundle.pem" in /usr/local/etc/ezlogin/ez.conf
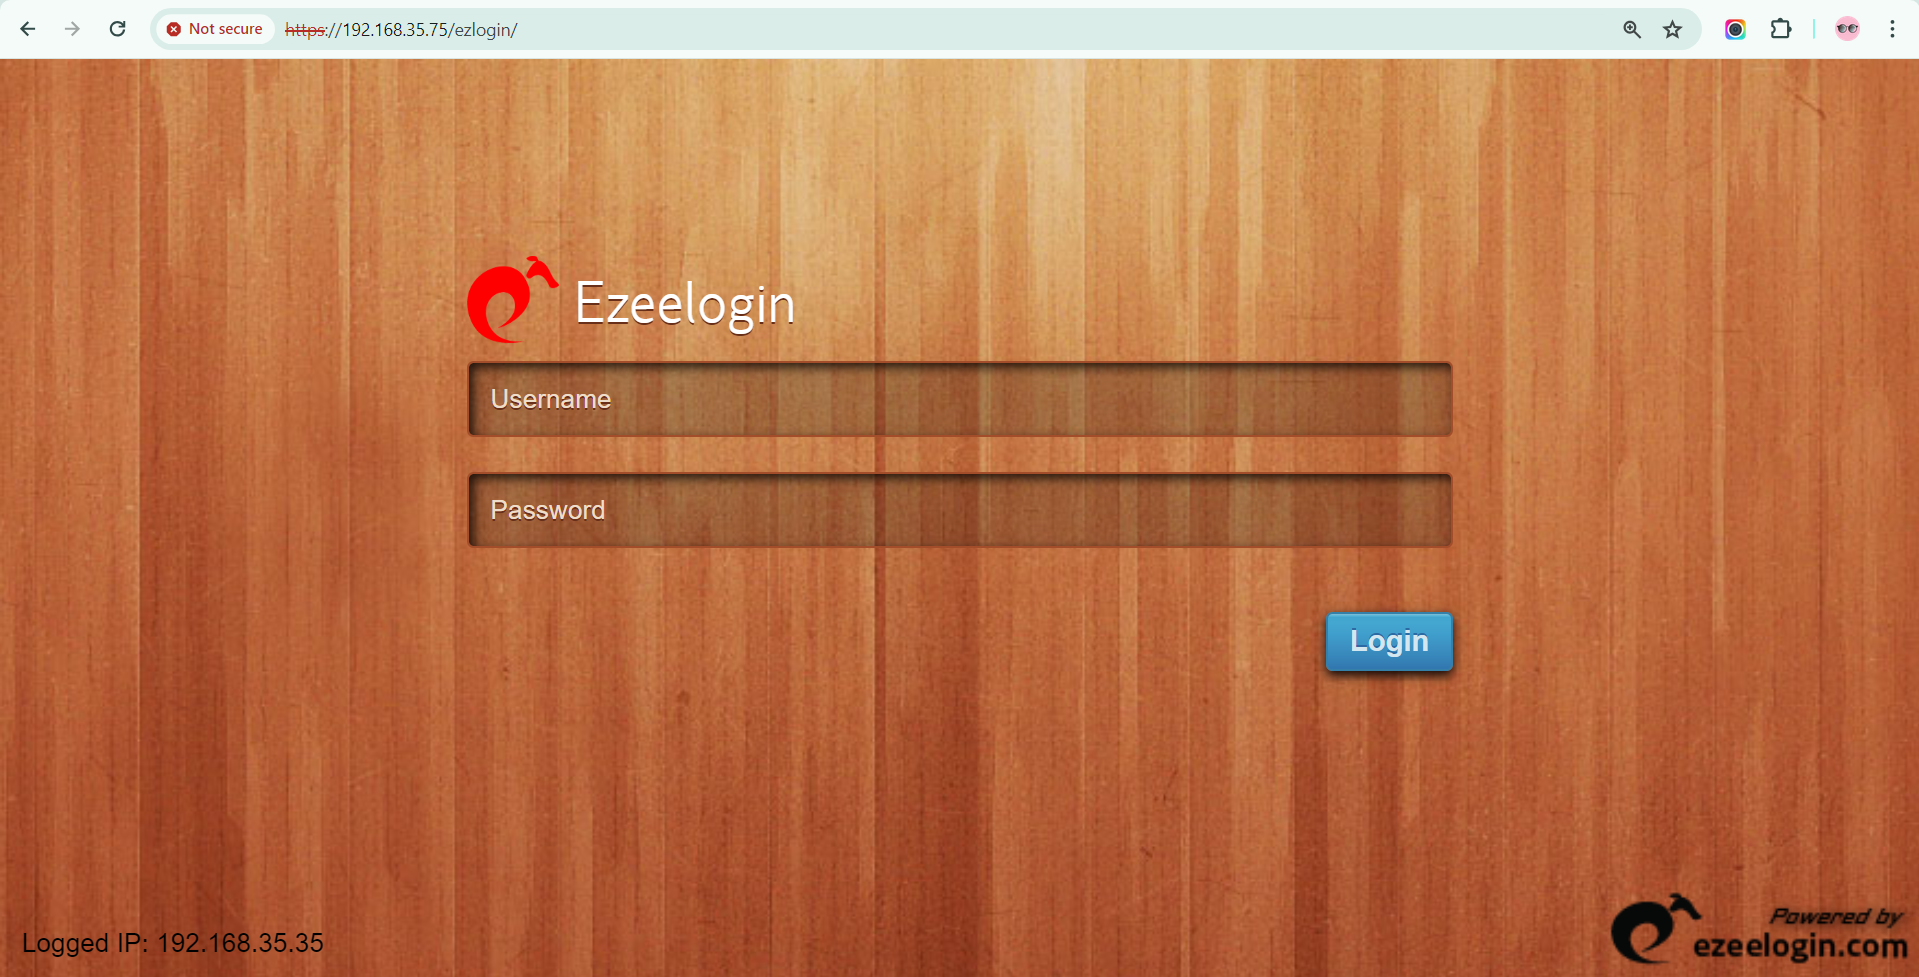
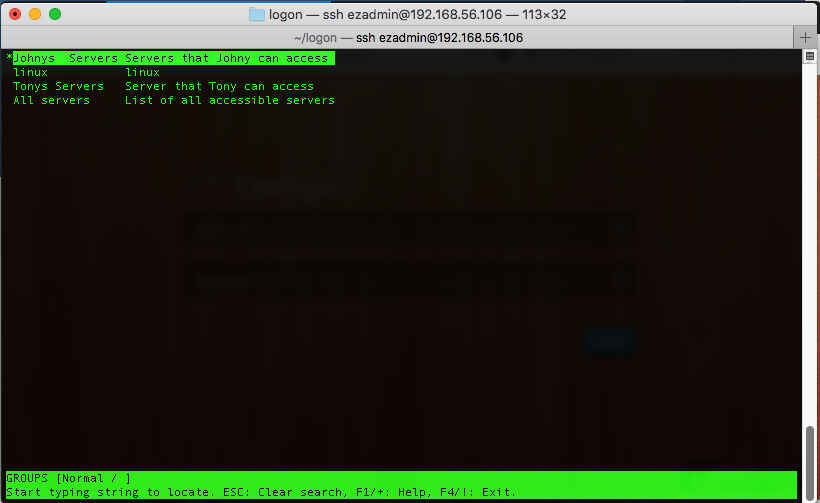
Step 5: Access GUI and shell