Integrating OneLogin OpenID connect
How to integrate OneLogin OpenID Connect with Ezeelogin Jumpserver?
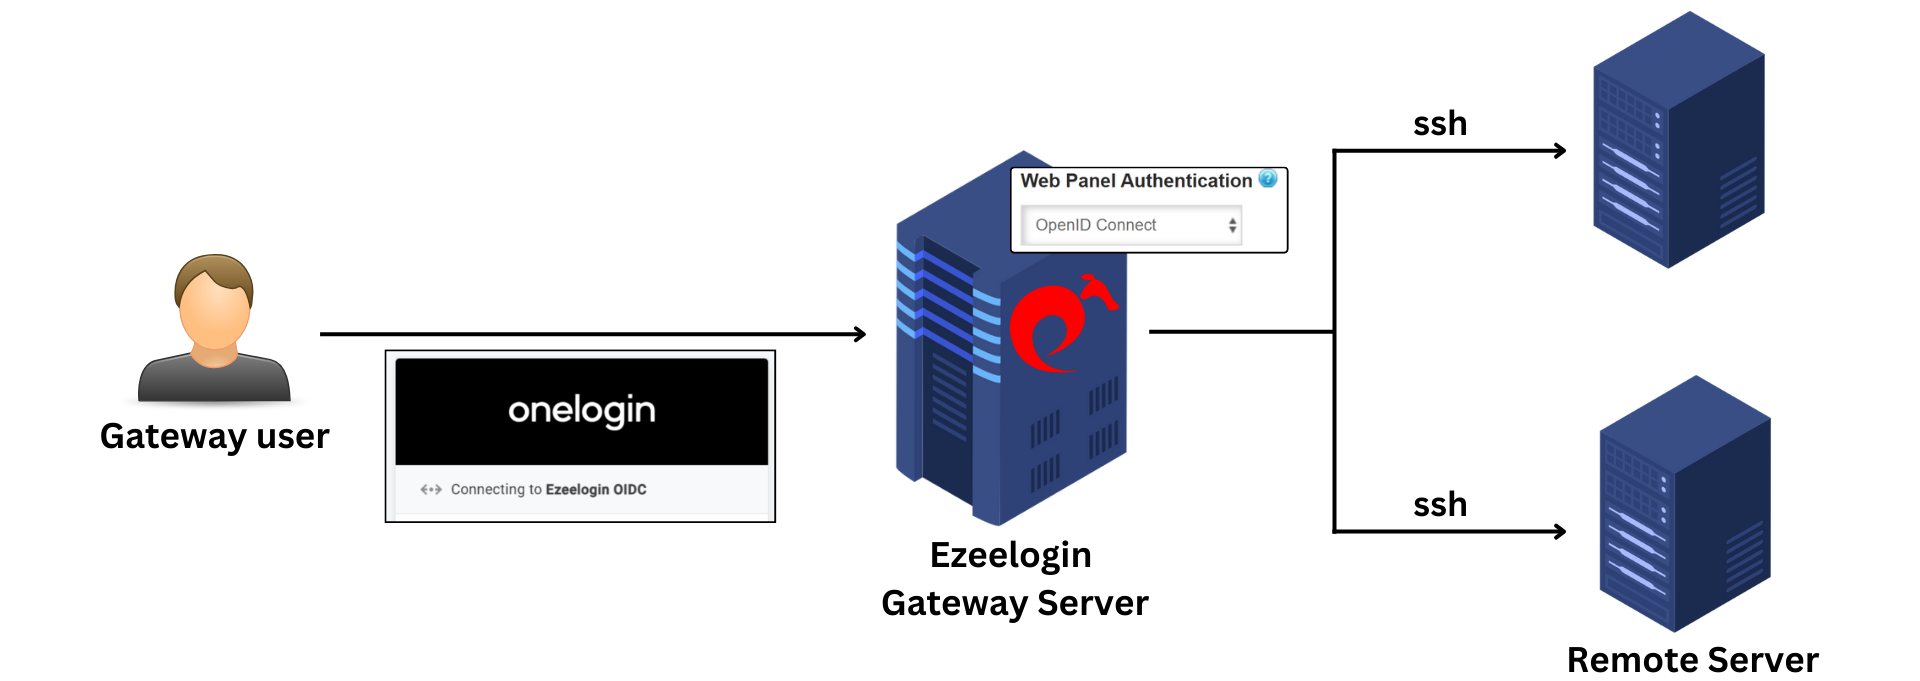
Overview: This article will help the super admin user to integrate OneLogin OpenID Connect with the Ezeelogin jump server.
OpenID connect is an authentication mechanism for web applications. It's based on web protocols and it cannot be used for user authentication over SSH.
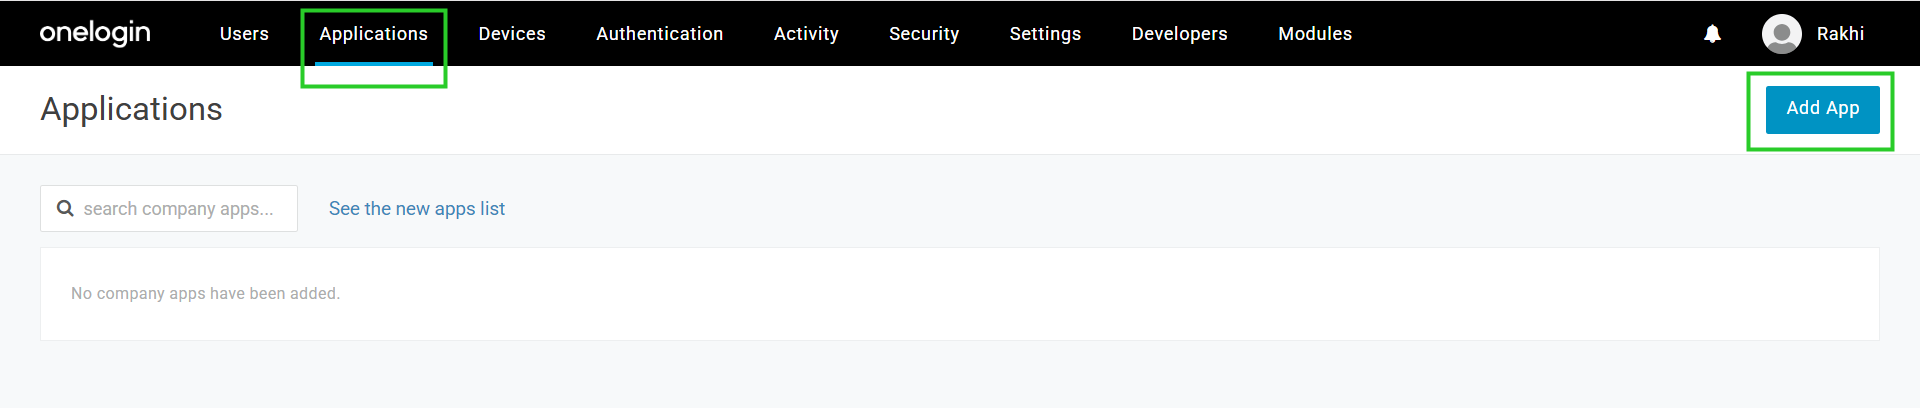
Step 1: Login to OneLogin and click on Add App under Applications.
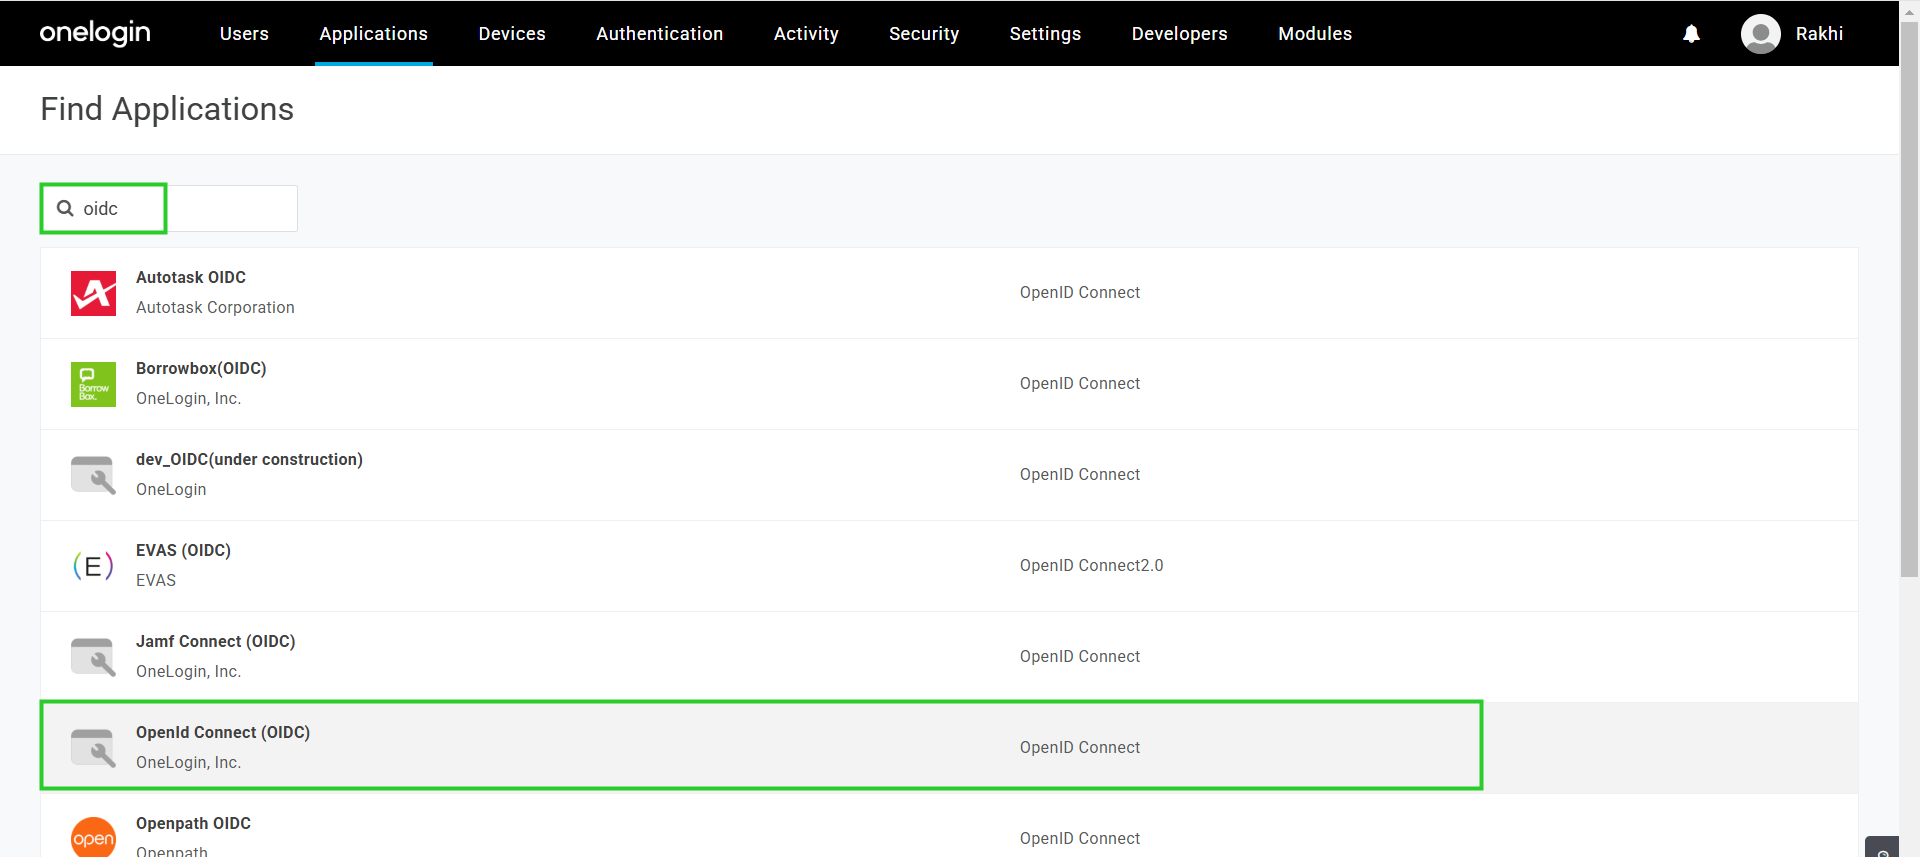
Step 2: Search for oidc and select OpenID Connect (OIDC).
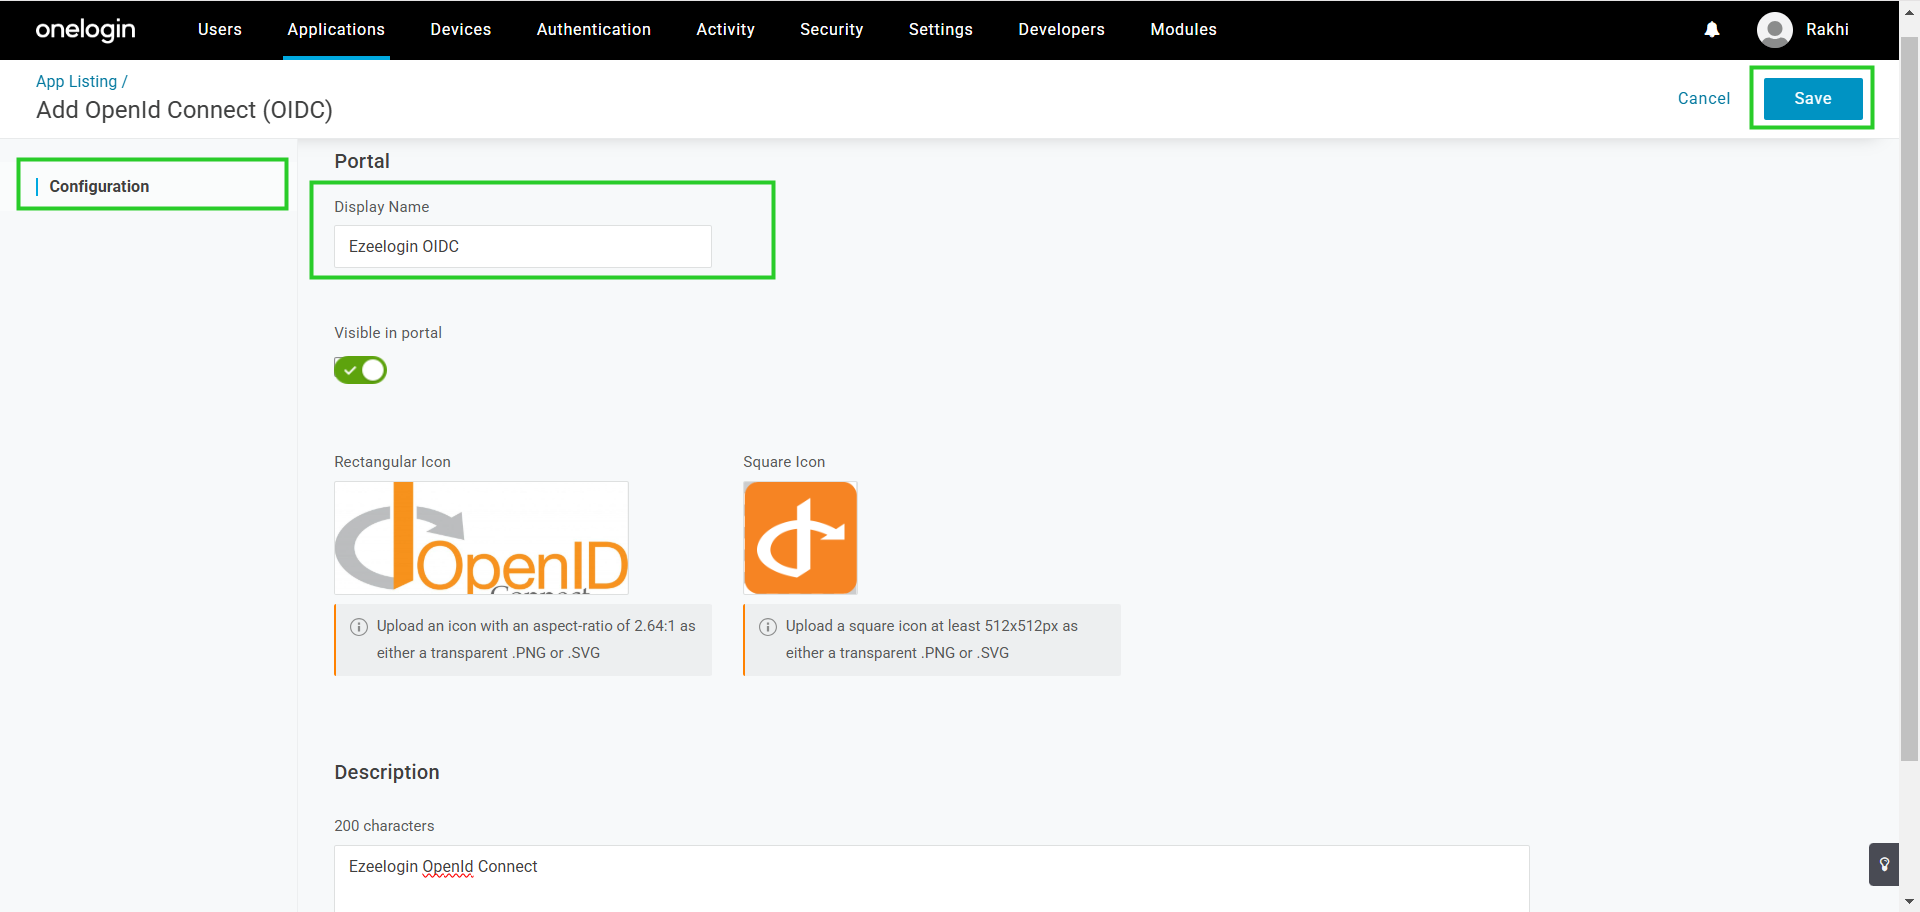
Step 3: Change the Display Name and Save it.
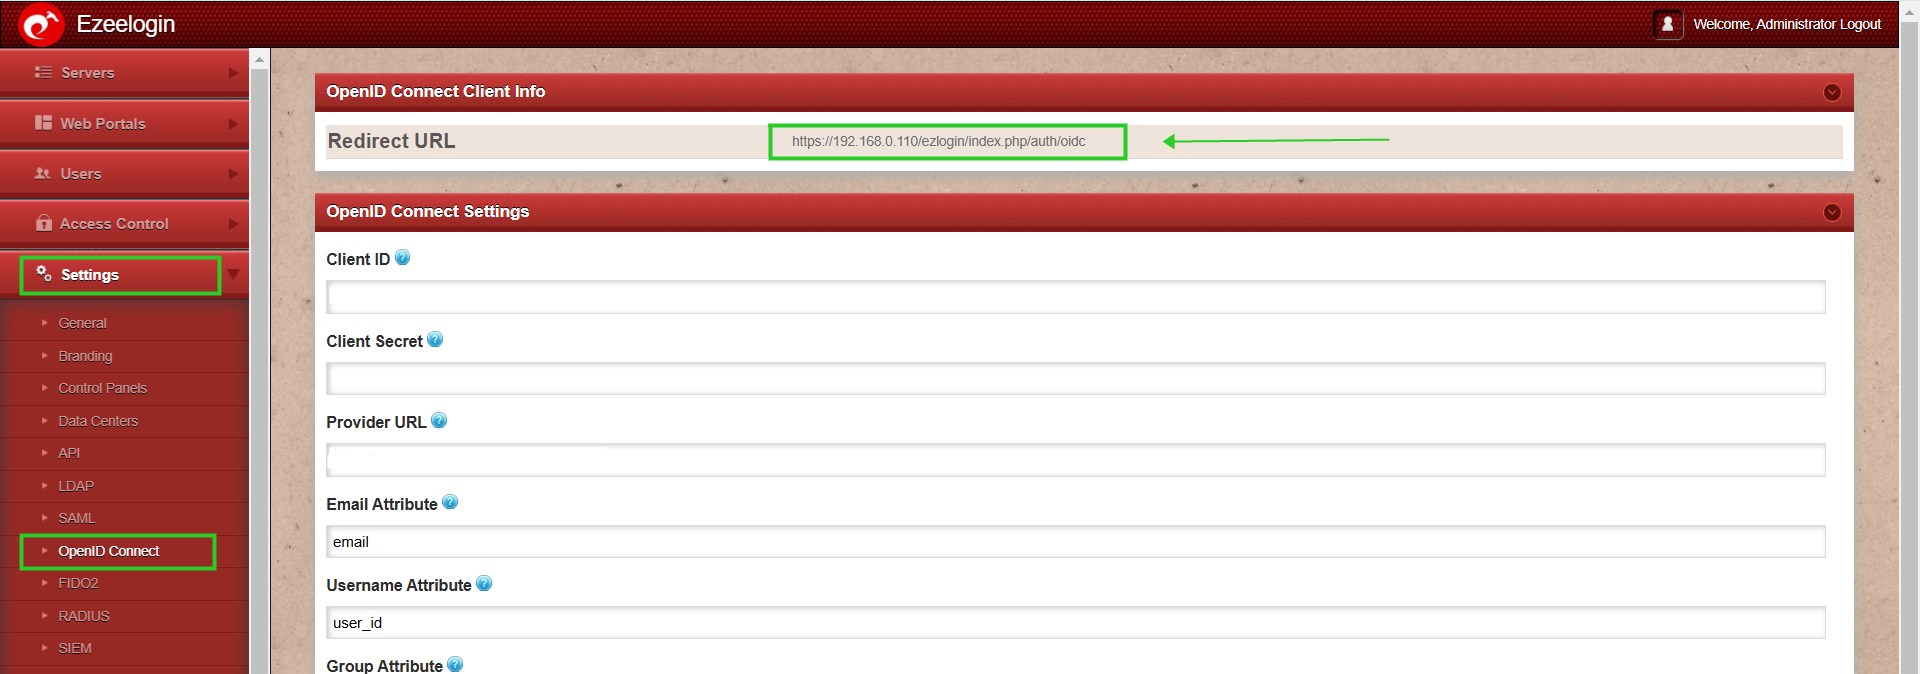
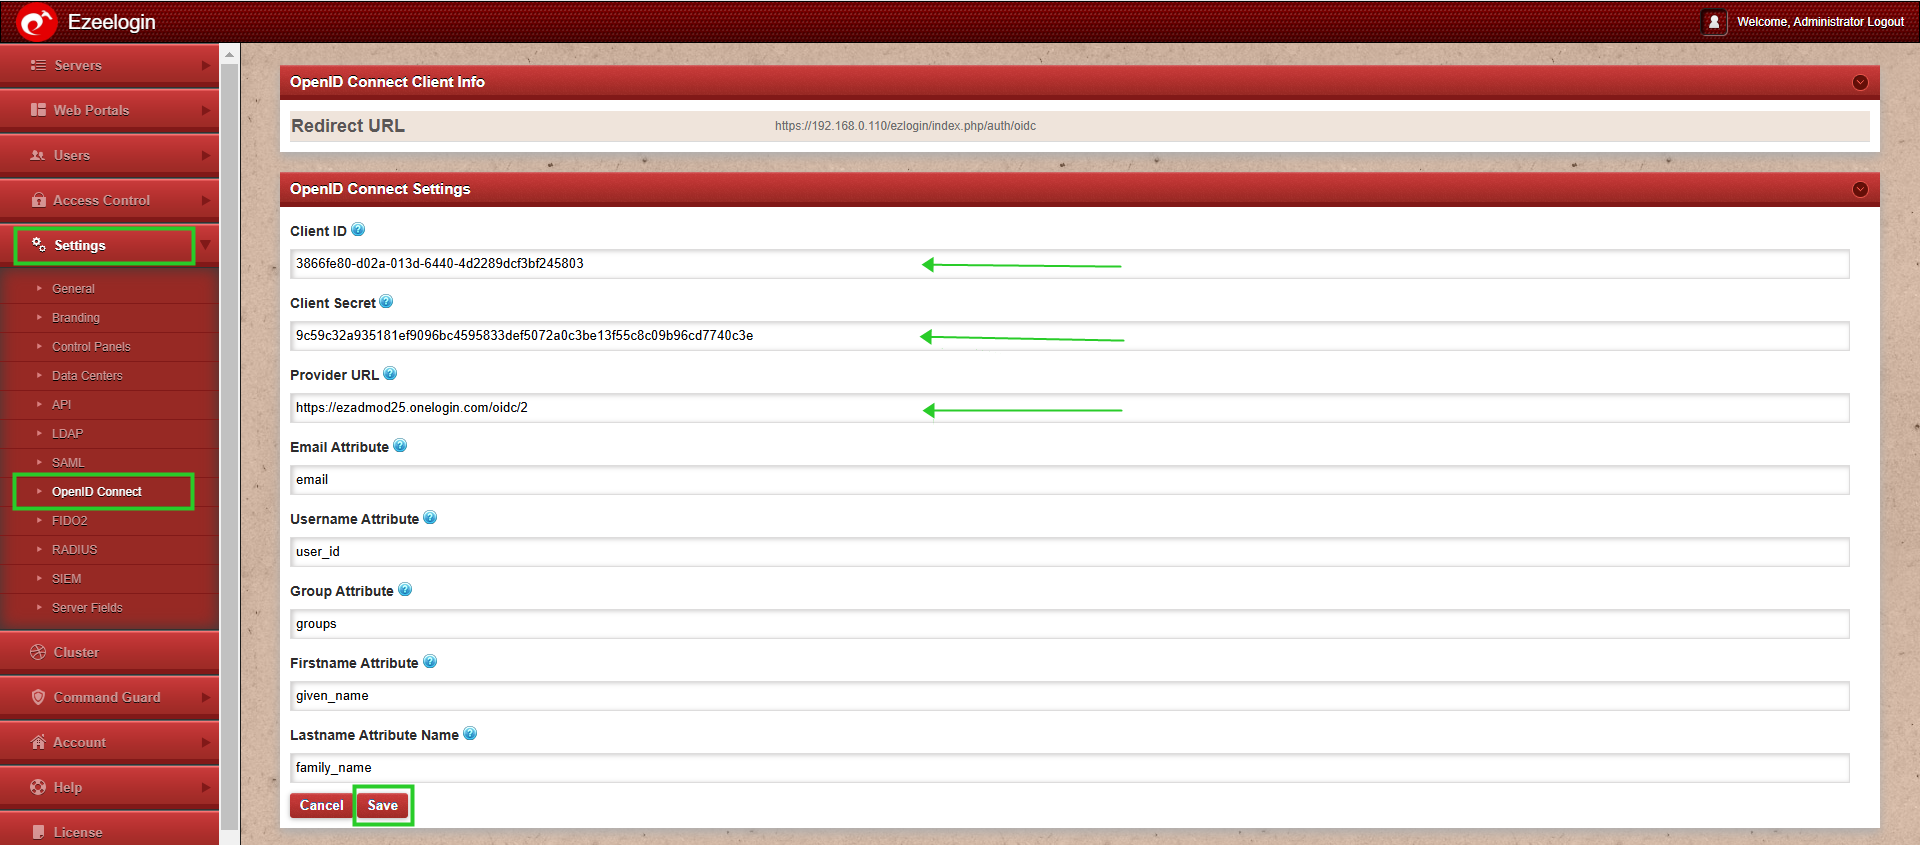
Step 4: Login to Webpanel, navigate to Settings > OpenID Connect, copy the Redirect URL, and add it to the redirect URLs in OneLogin.
Additionally, modify the last part of the OIDC URL by changing "oidc" to "login" and add it the url in Login Url.
(e.g., change https://192.168.0.110/ezlogin/index.php/auth/oidc to https://192.168.0.110/ezlogin/index.php/auth/login)
Save the changes after adding the Url.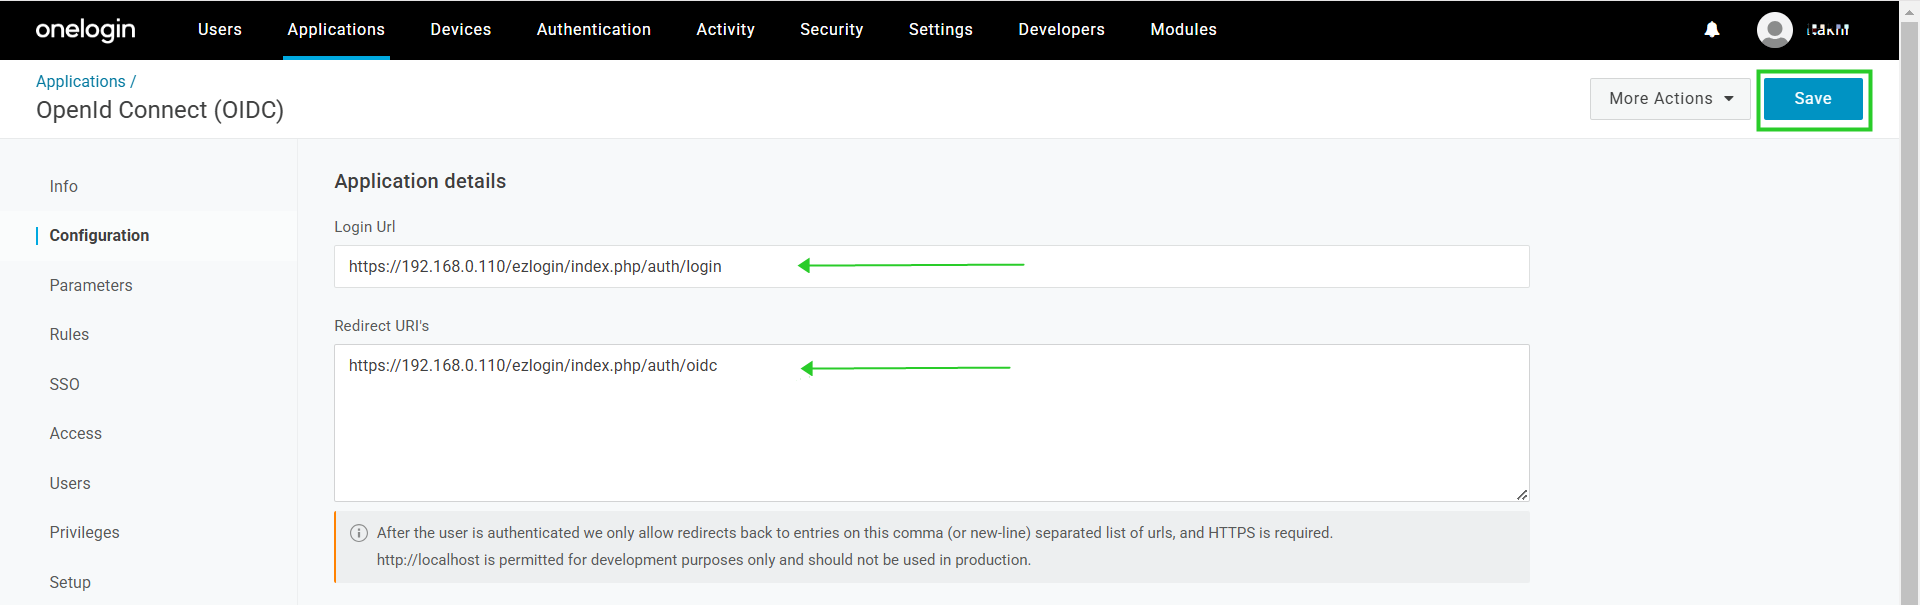
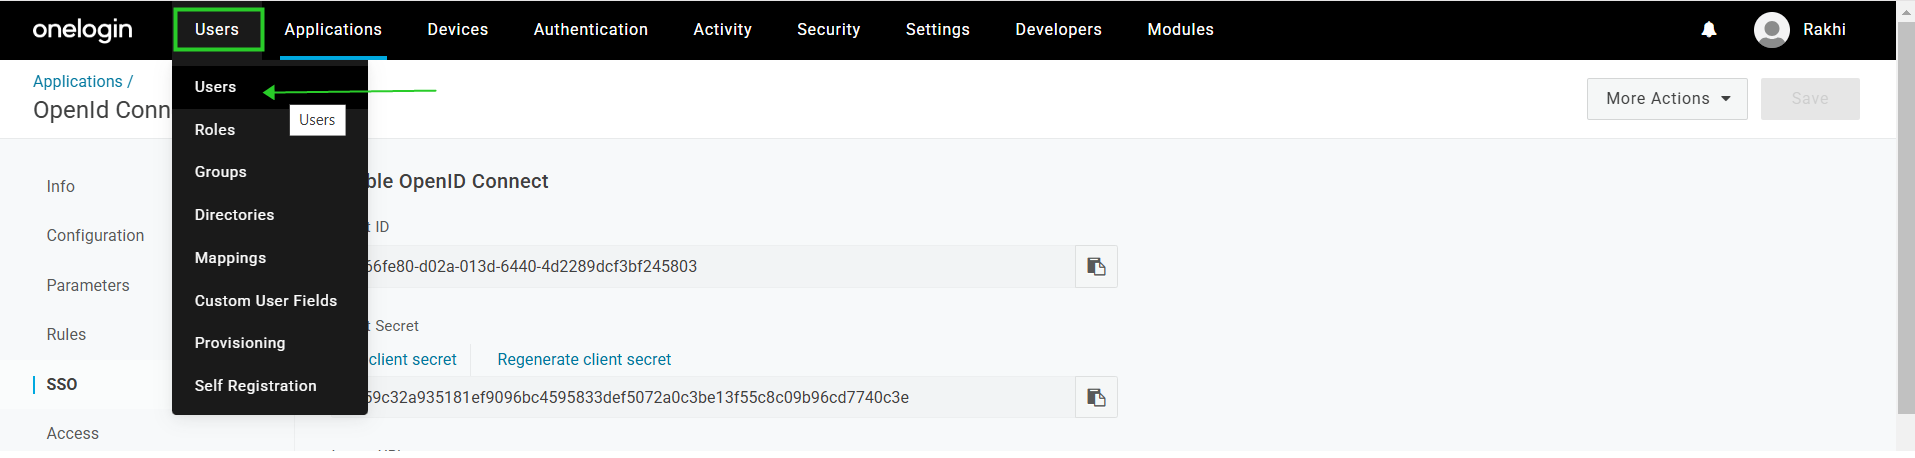
Step 5: Click on Show client secret under SSO.
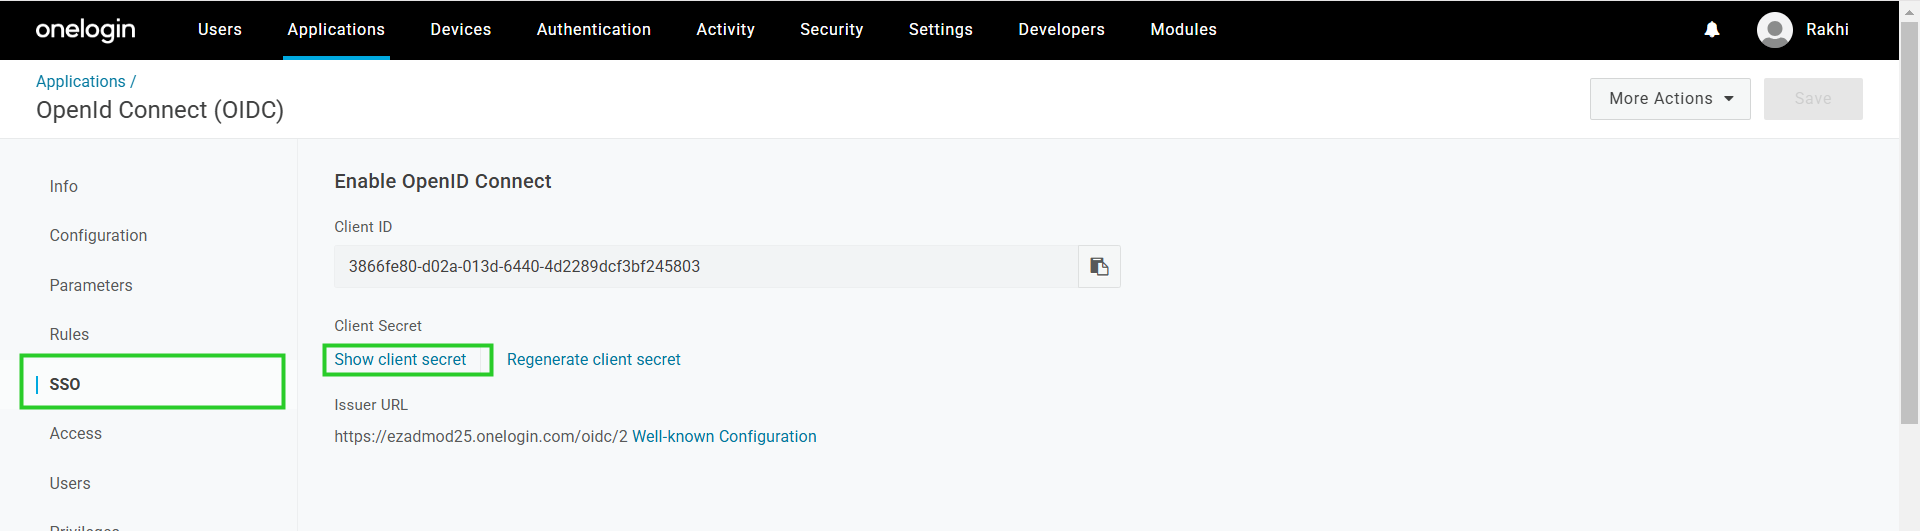
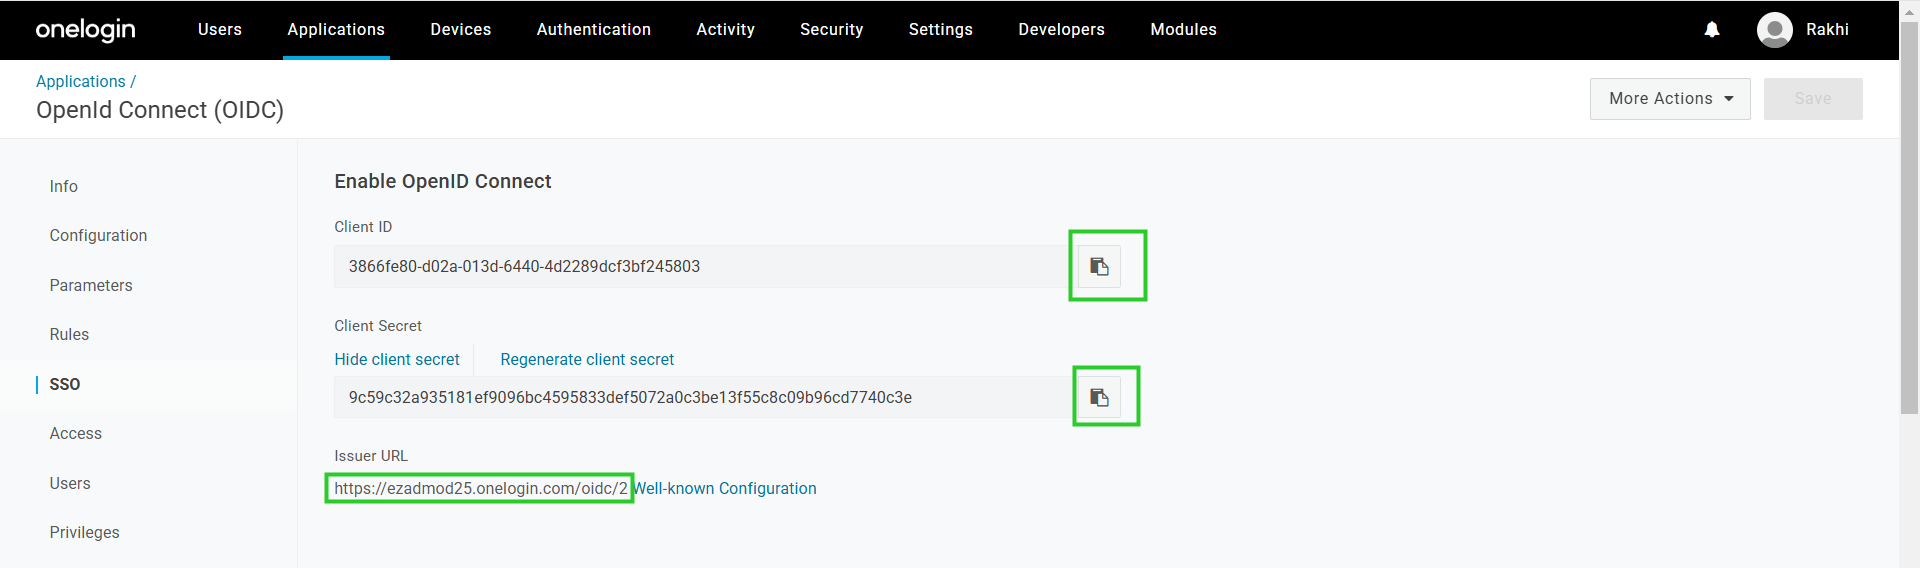
Step 6: Copy the Client ID, Client Secret and Issuer URL and paste it in webpanel under OpenID Connect menu parameters.
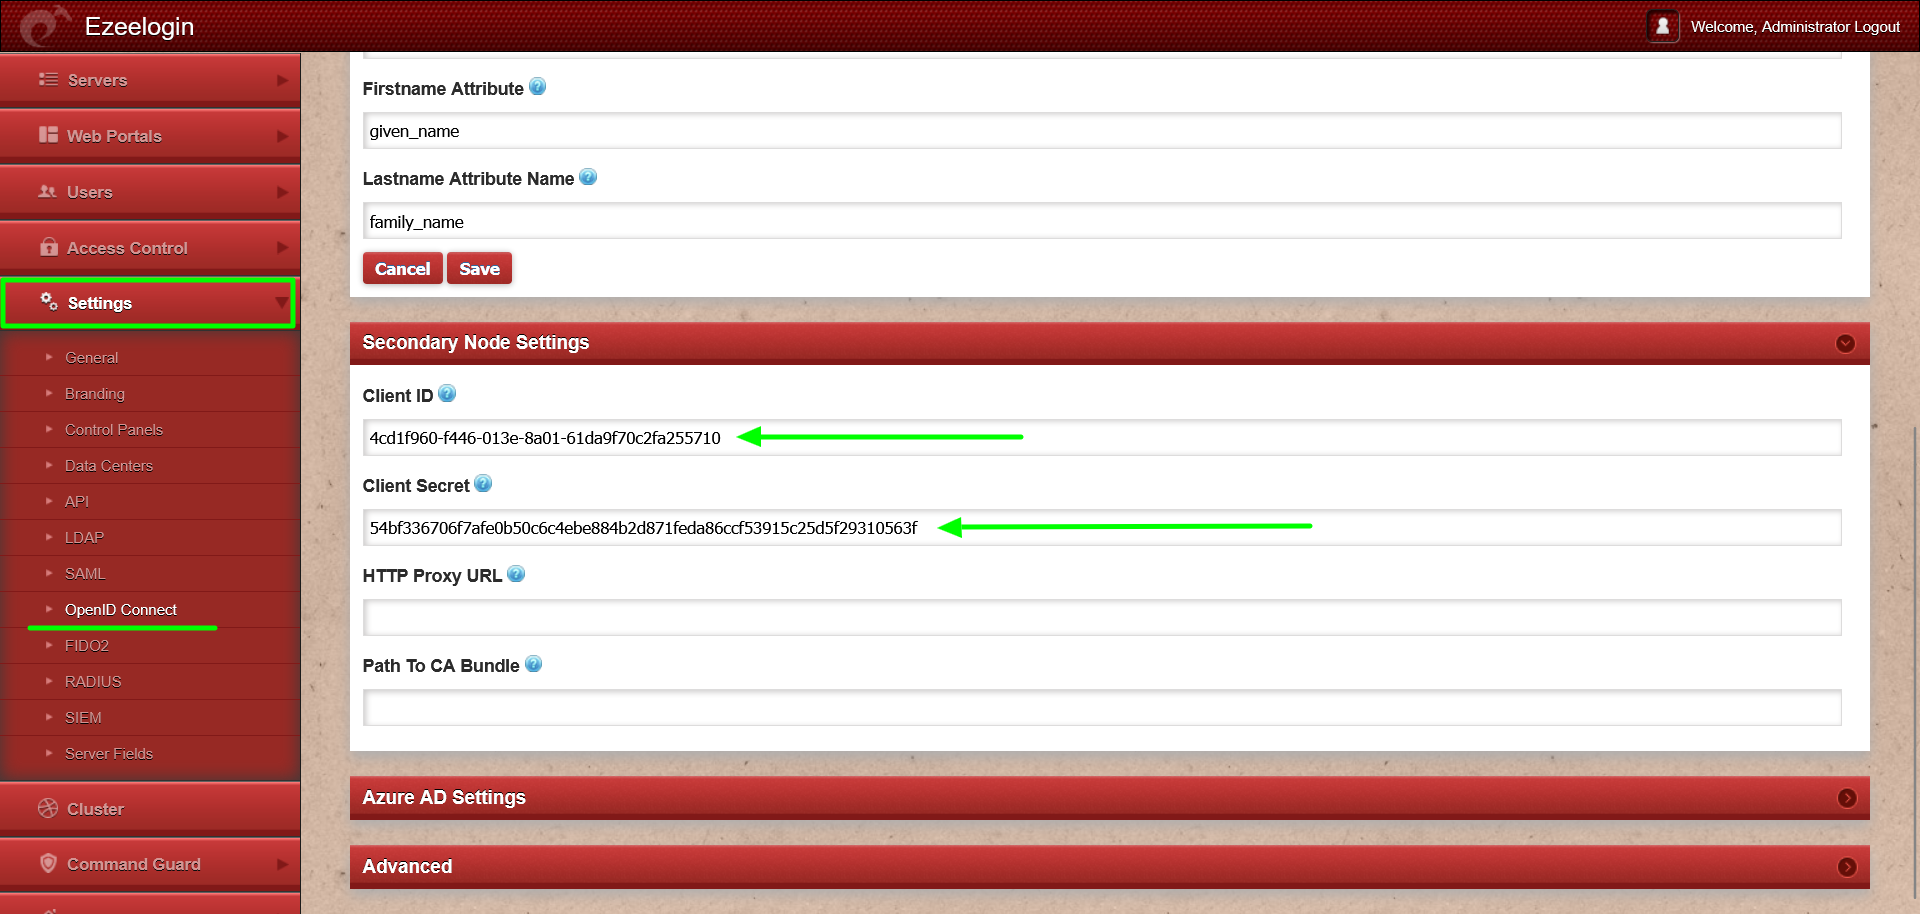
For cluster, add the Client ID and Client Secret from the other OIDC configuration:
Follow steps 1 to 6 to create new application for secondary node. While adding the application details in OneLogin, replace the IP address with the secondary node's IP address.
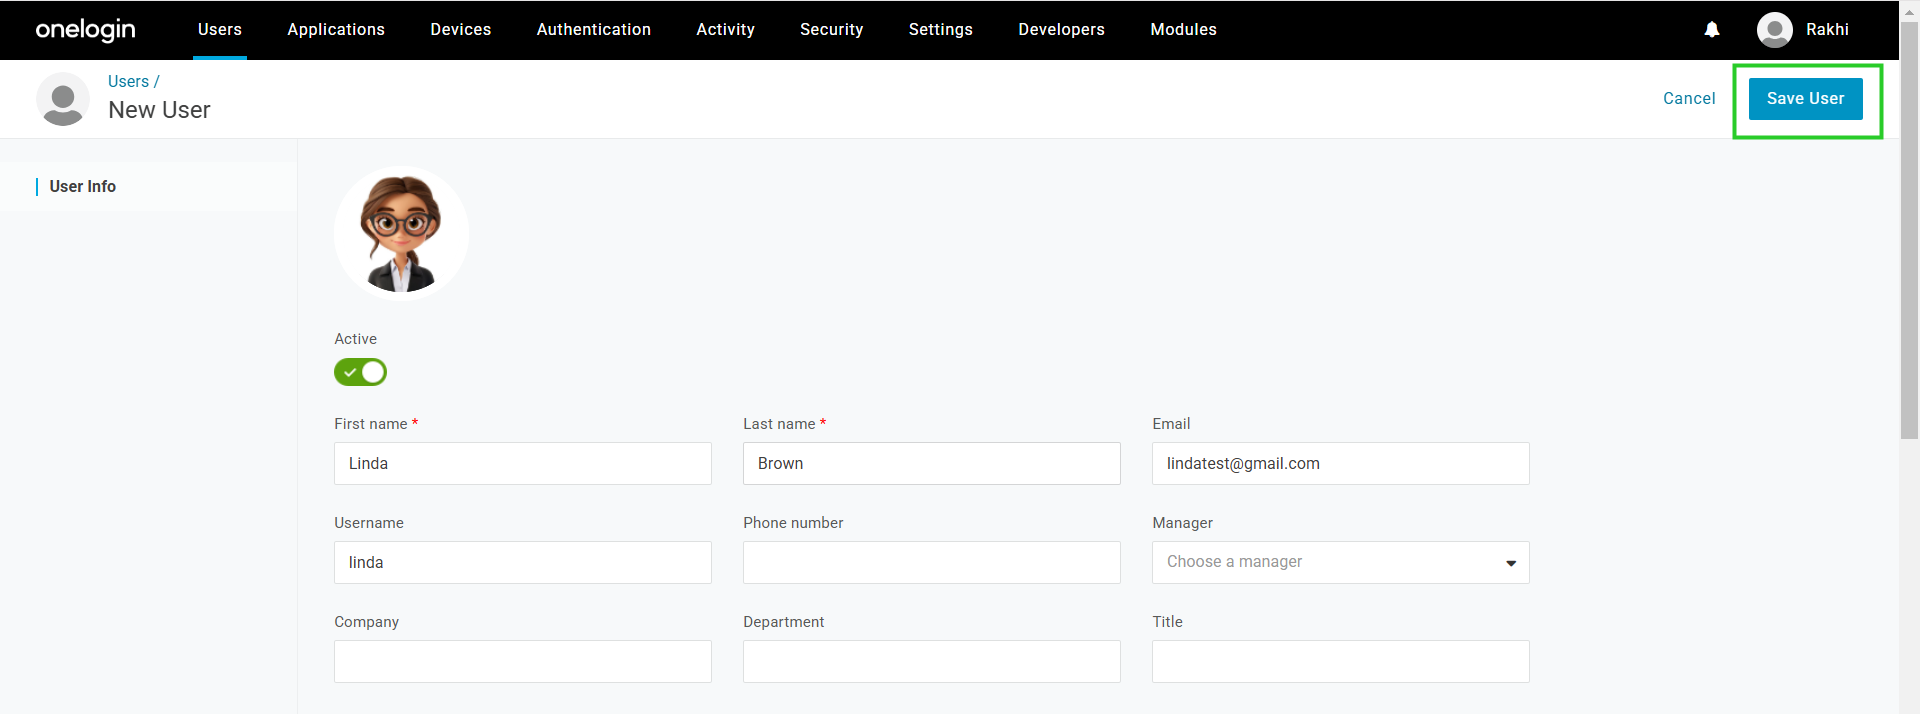
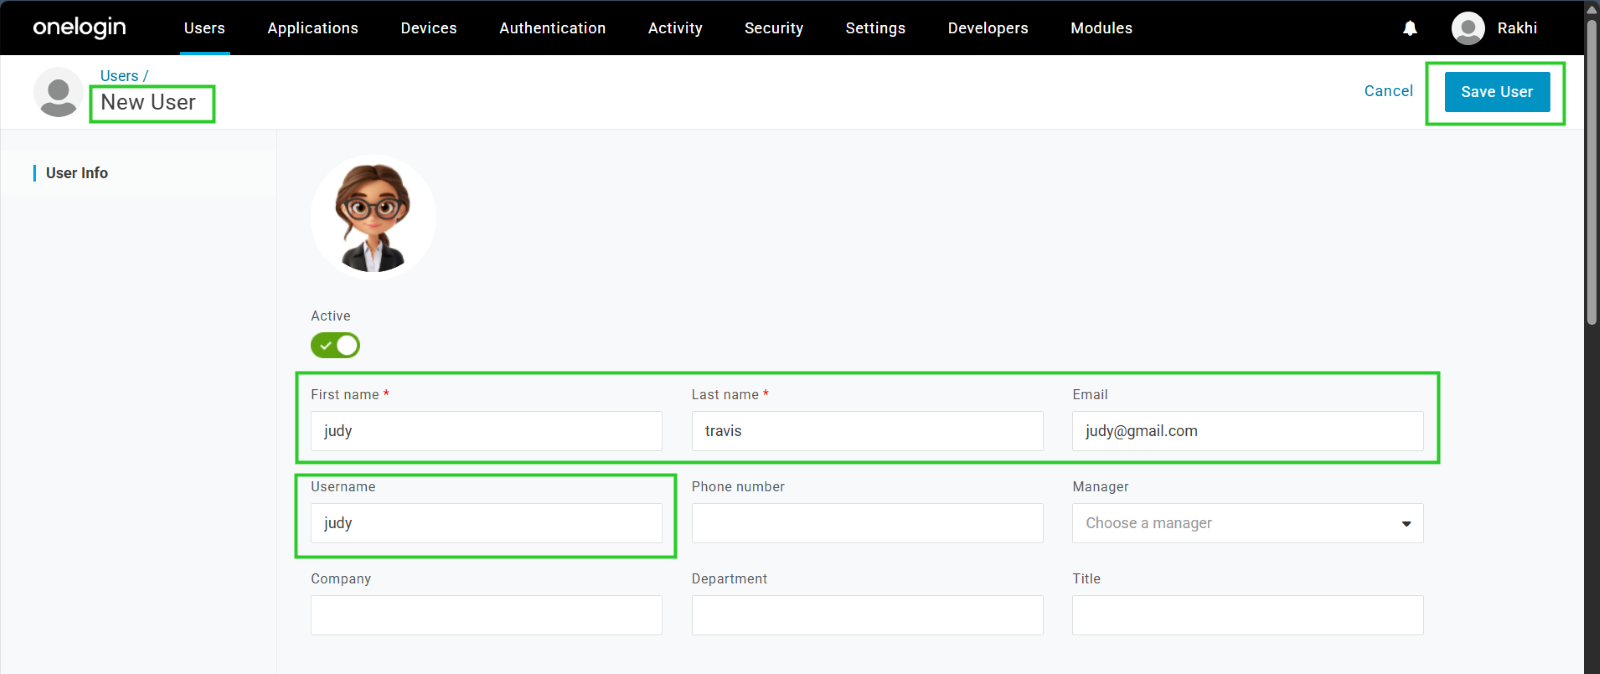
Step 7: Select the Users tab and click on New User then provide first name, last name, username and email to save the user.

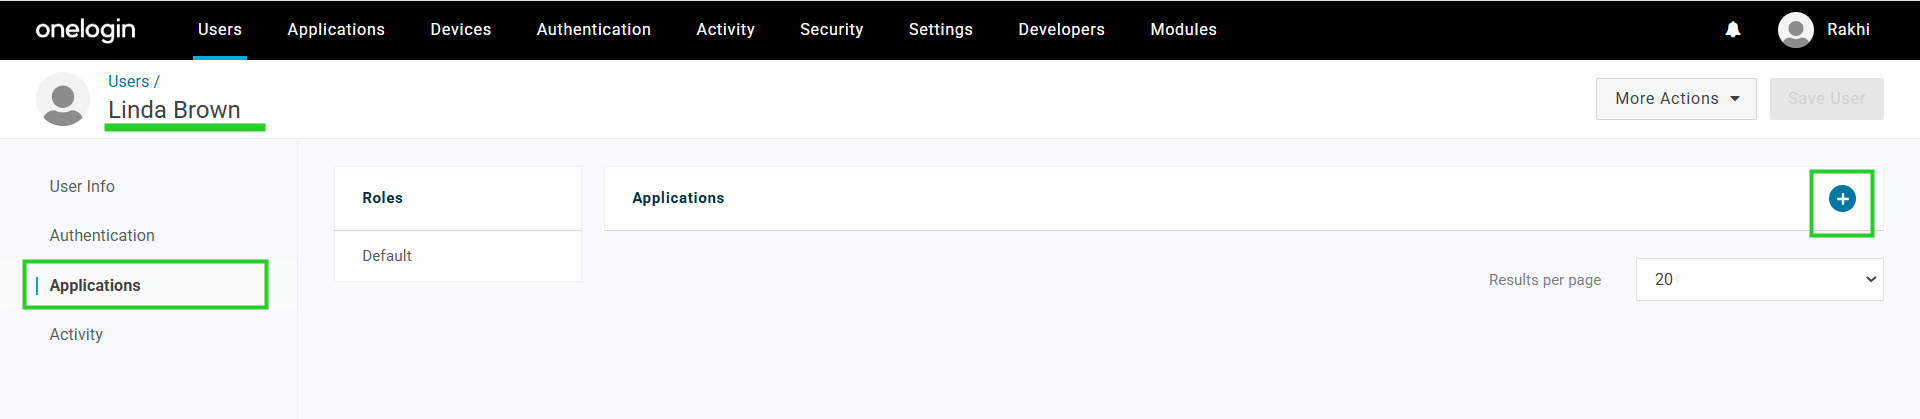
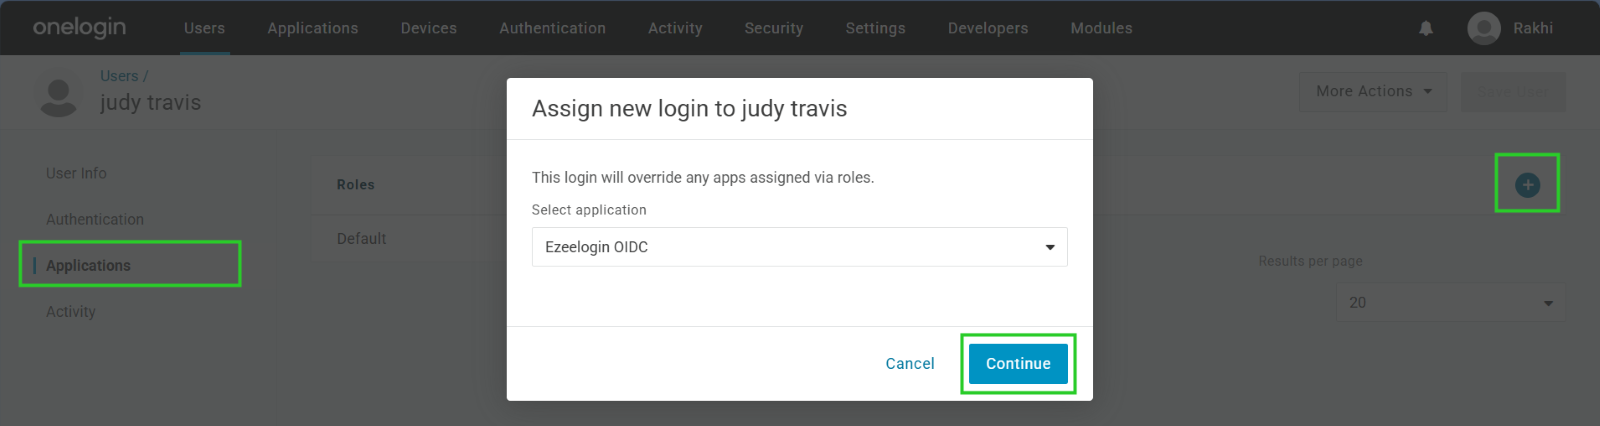
Step 8: Select Applications tab from the left panel and click on the add icon to map the application to the user.
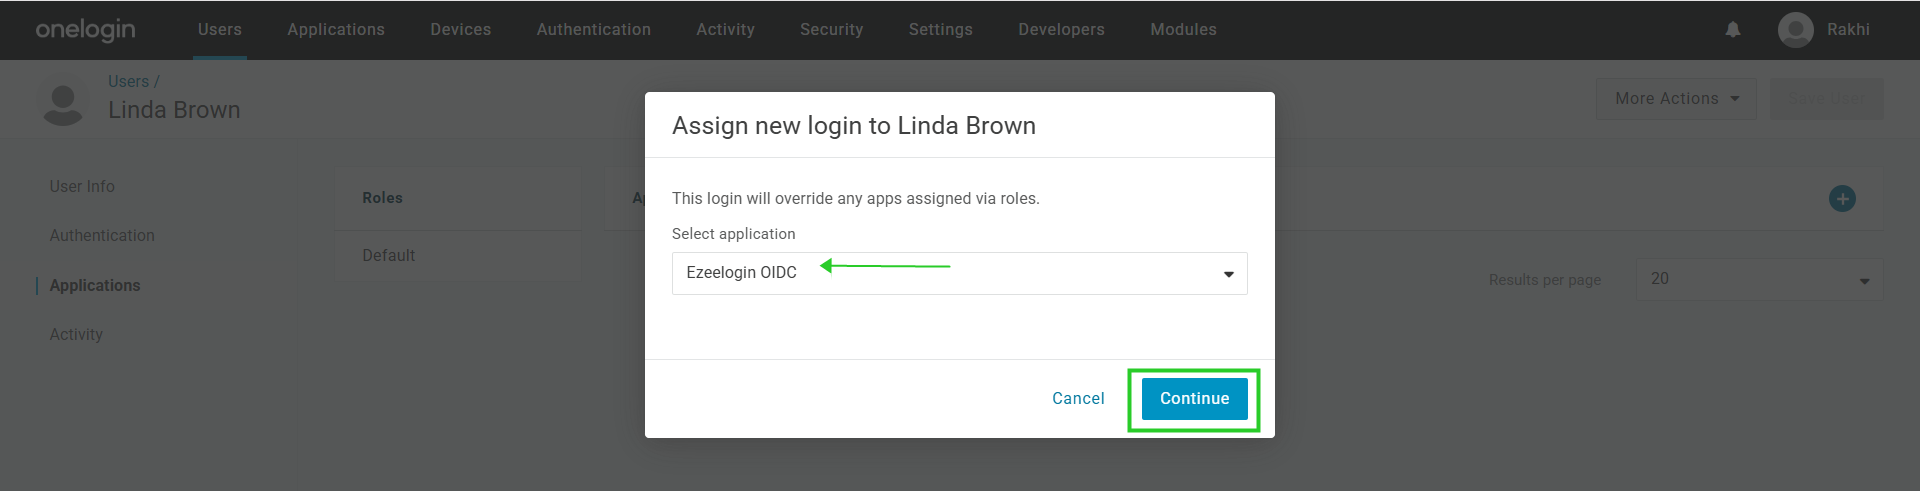
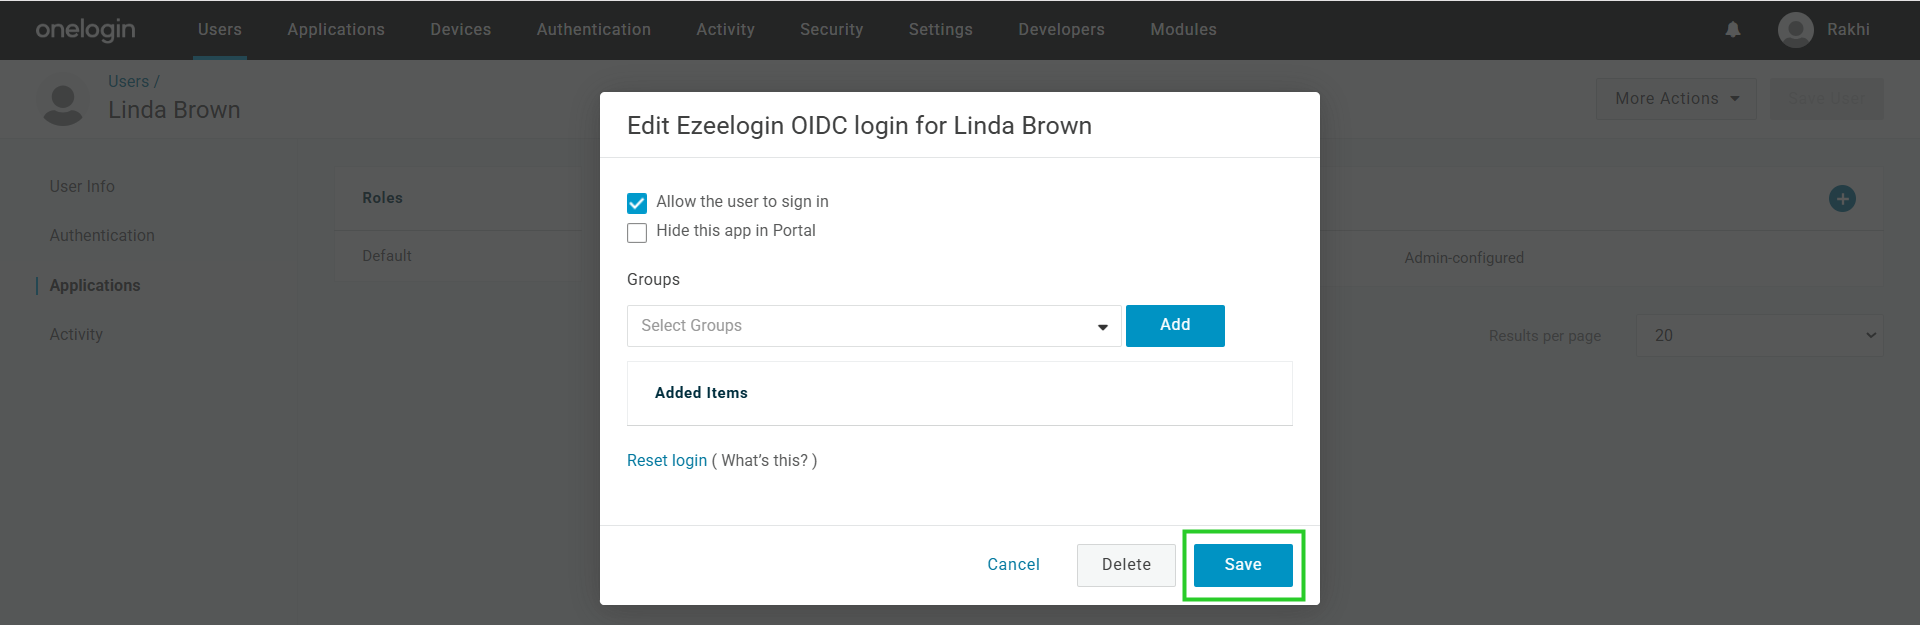
Step 8(A): Select the application from drop-down and click continue to save the application.

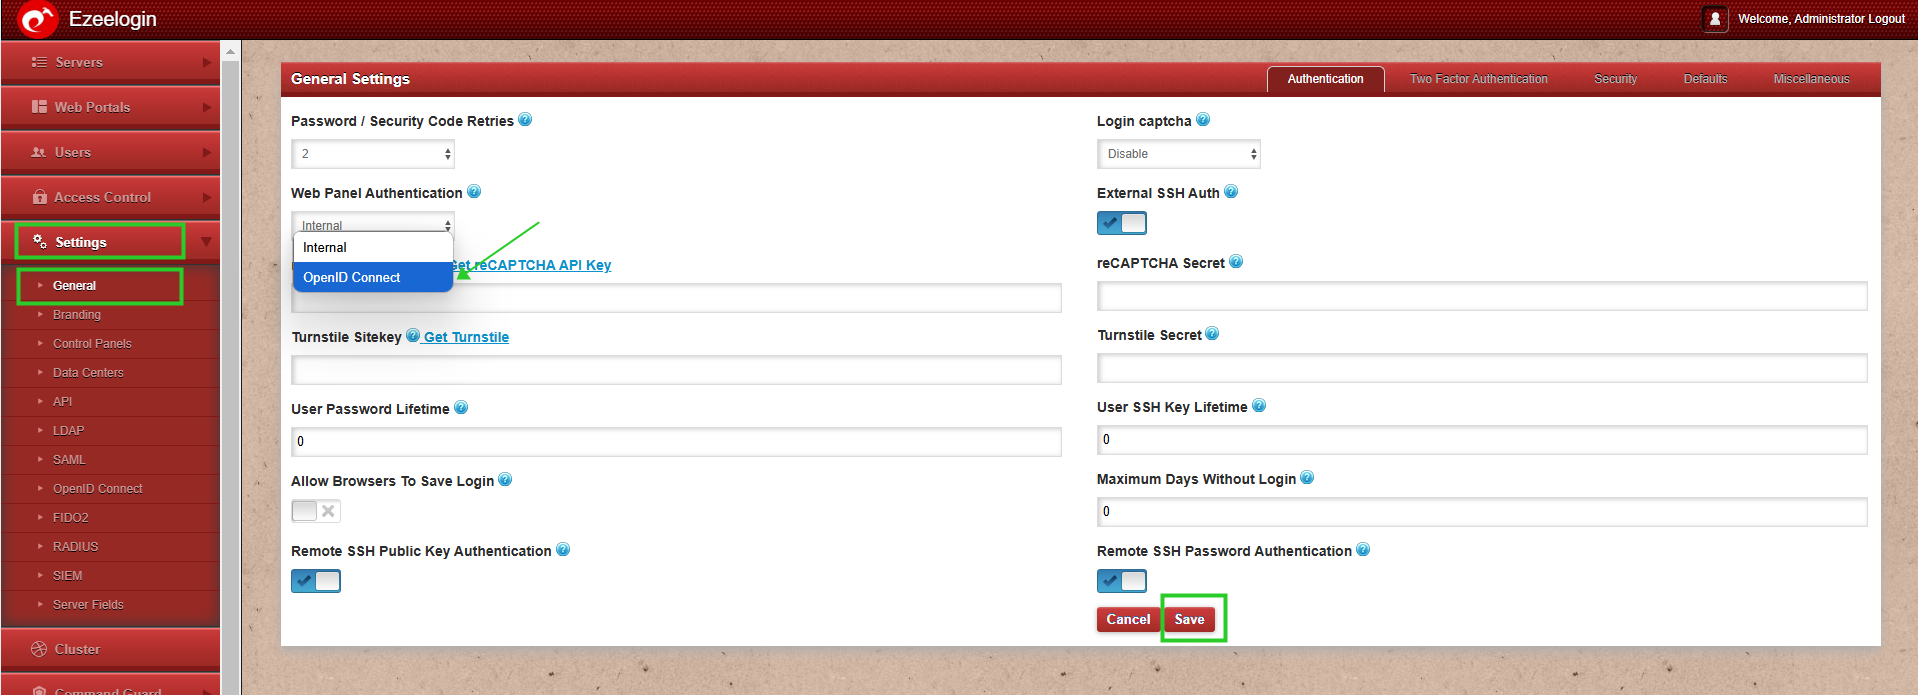
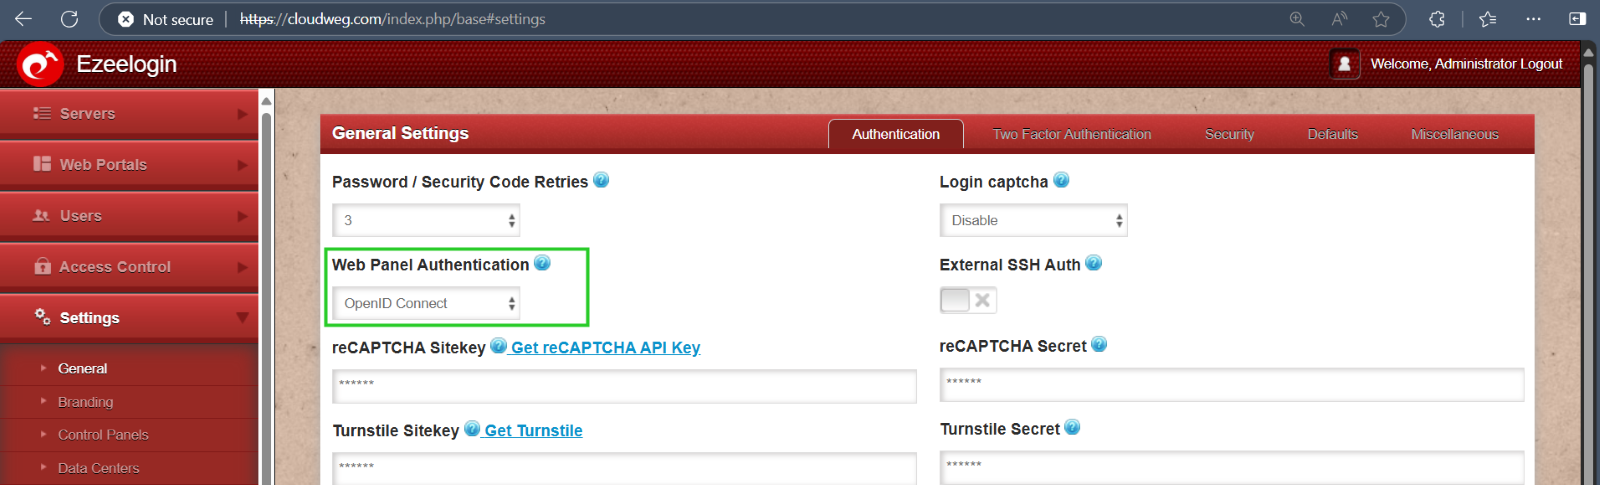
Step 9: Change Web panel Authentication to OpenID Connect from Ezeelogin GUI > Settings > General >Authentication and Save it.
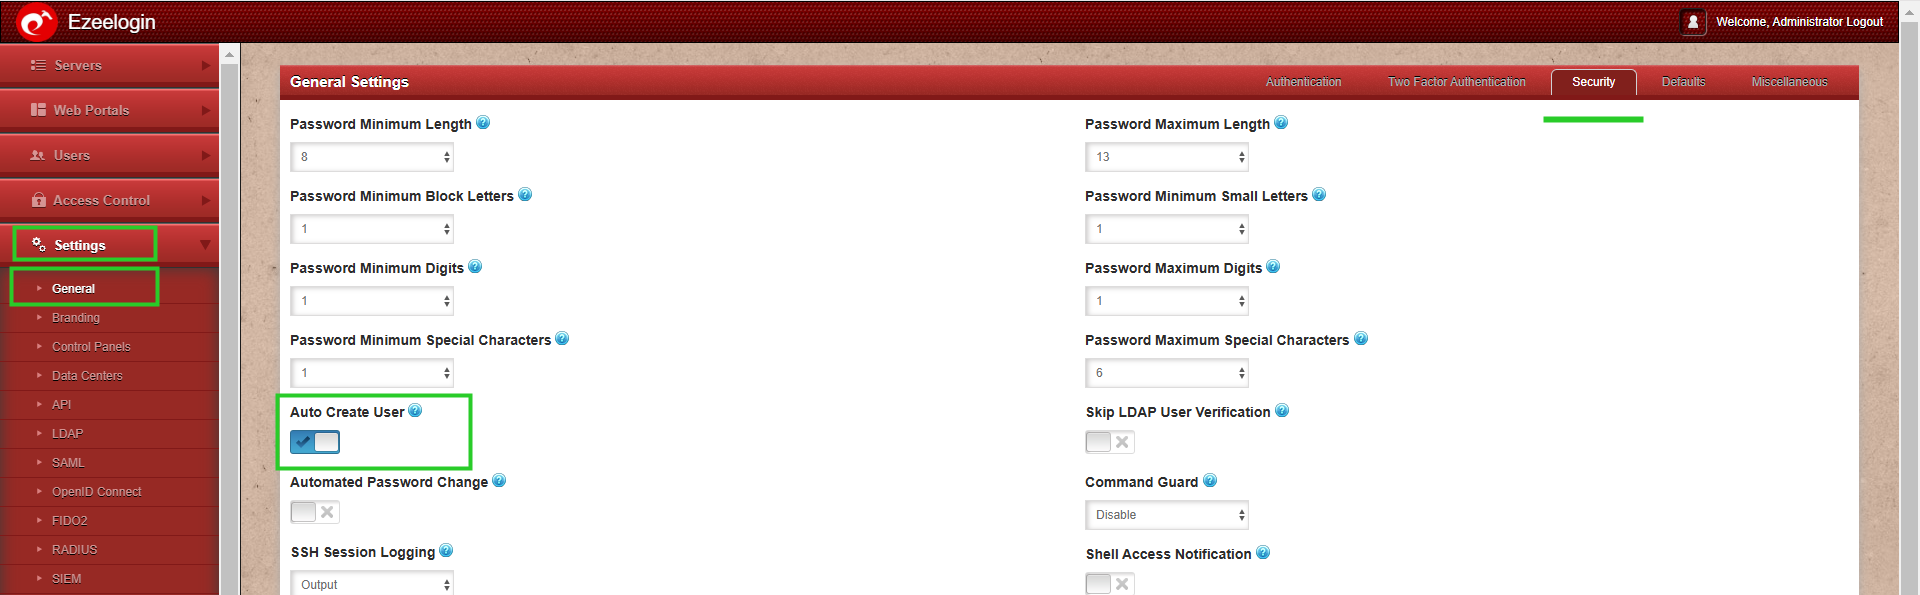
Step 9 (A): Enable Auto Create User in the Ezeelogin GUI by going to Settings > General > Security.
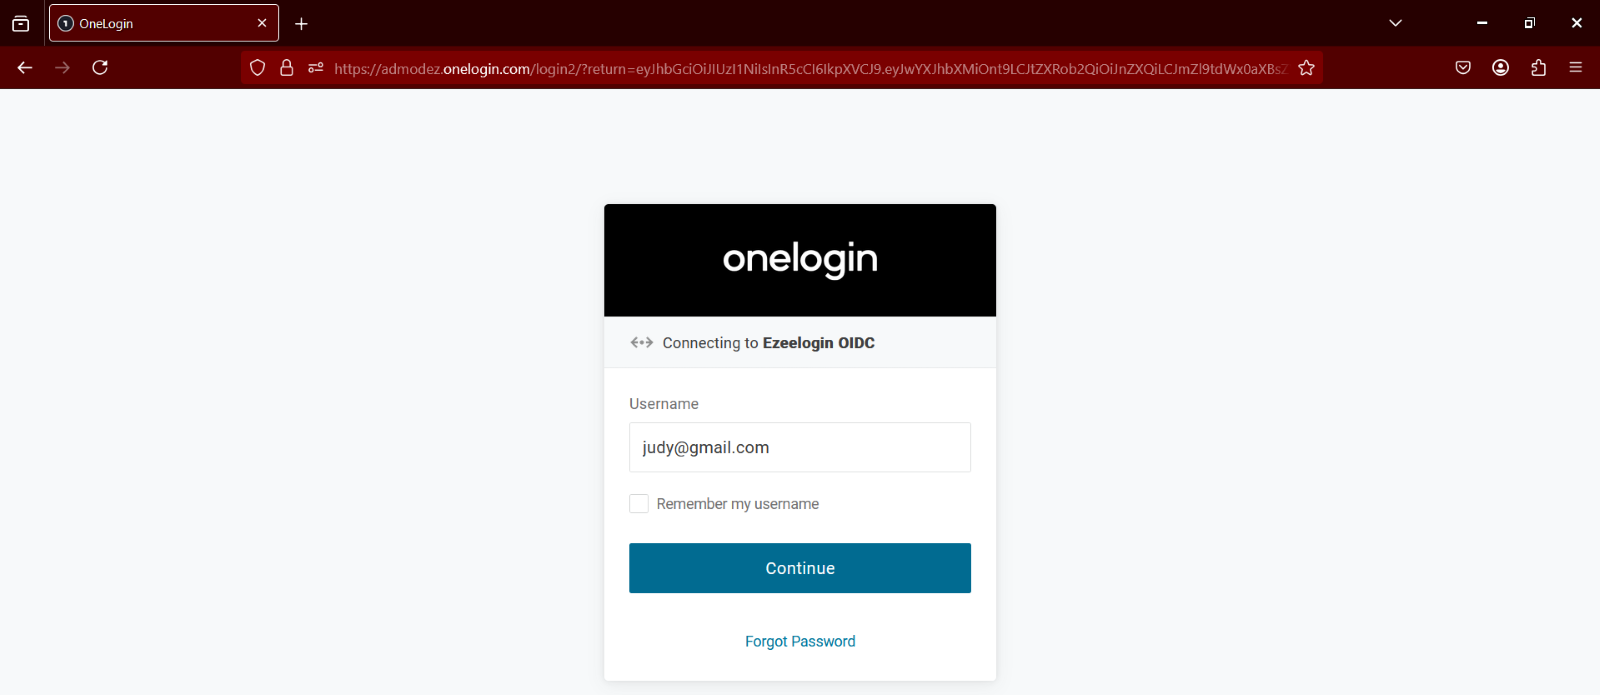
Step 10: Re-login to webpanel with OpenID Connect authentication.
For gateway users who require administrative access, the password must be set manually from the Ezeelogin GUI. Refer below article:
Step 11: After logging in, set a new password and security code under Account > Password.
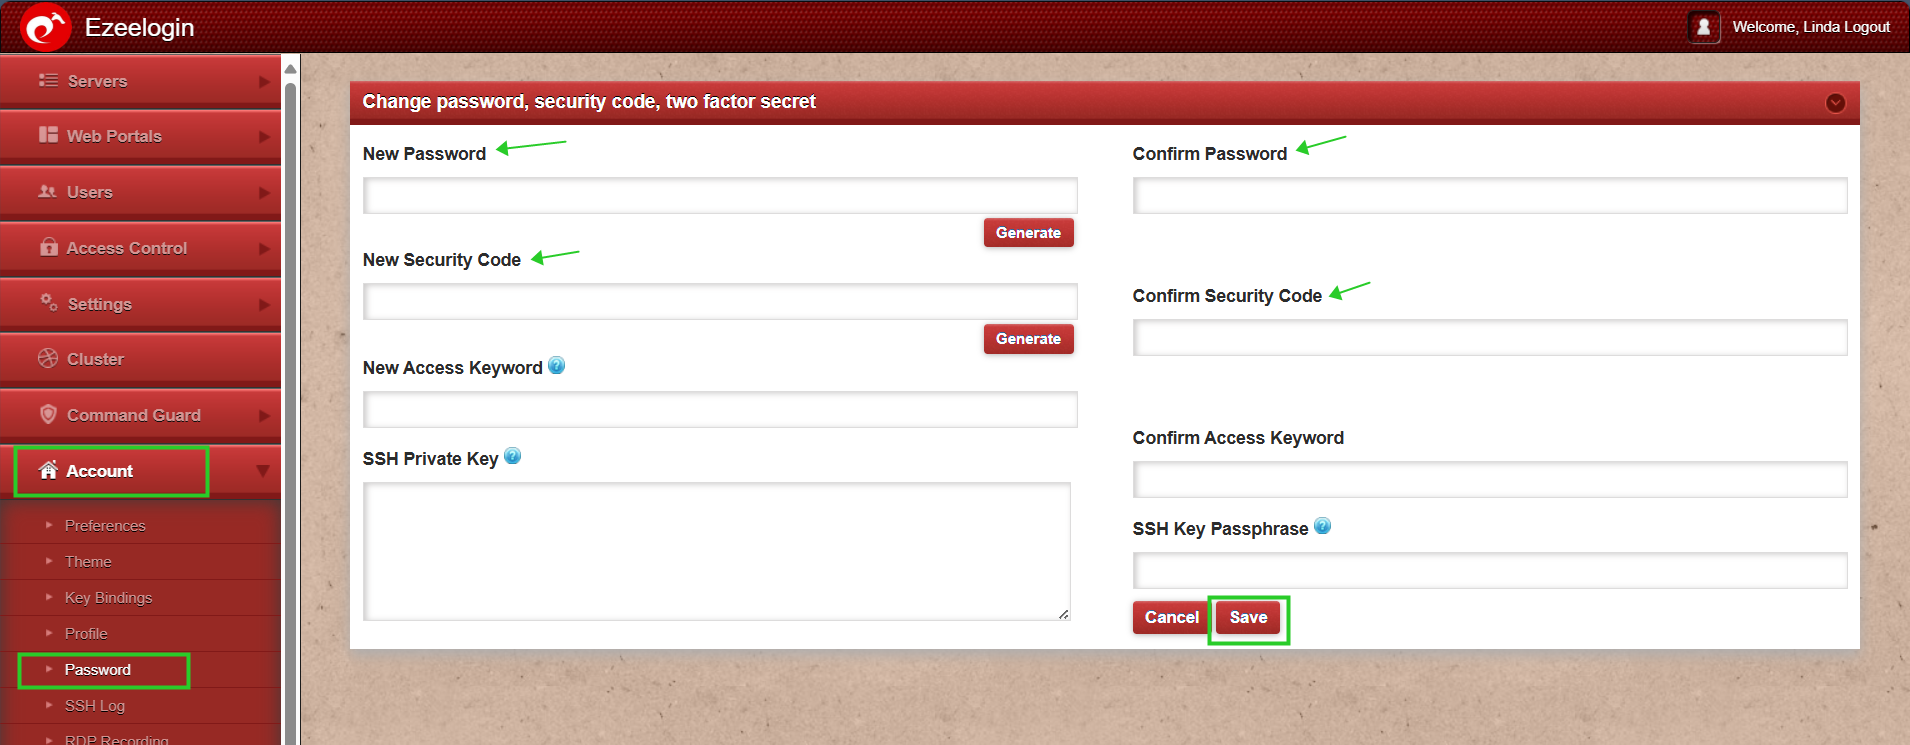
After setting the new password and security code, try logging in using the updated credentials.
How to add scope from OneLogin OpenID connect to Ezeelogin jumpserver?
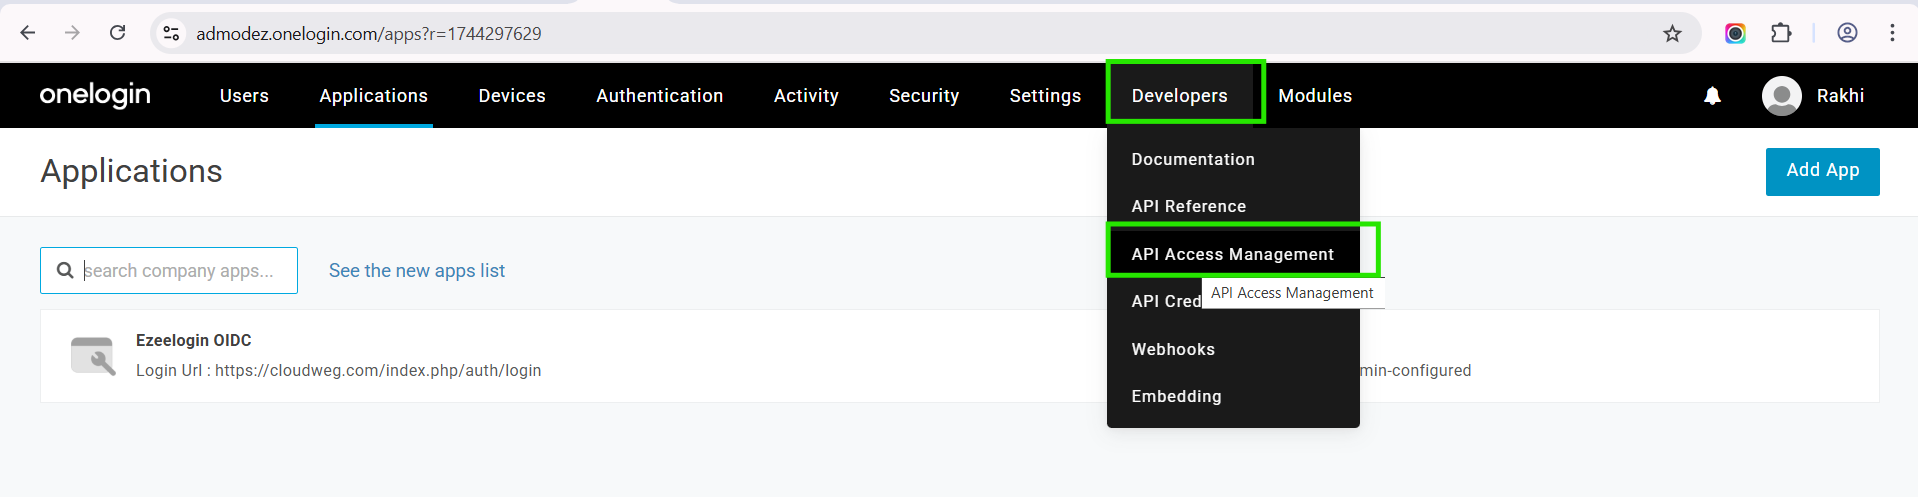
Step 1: Navigate to Developers > API Access Management.
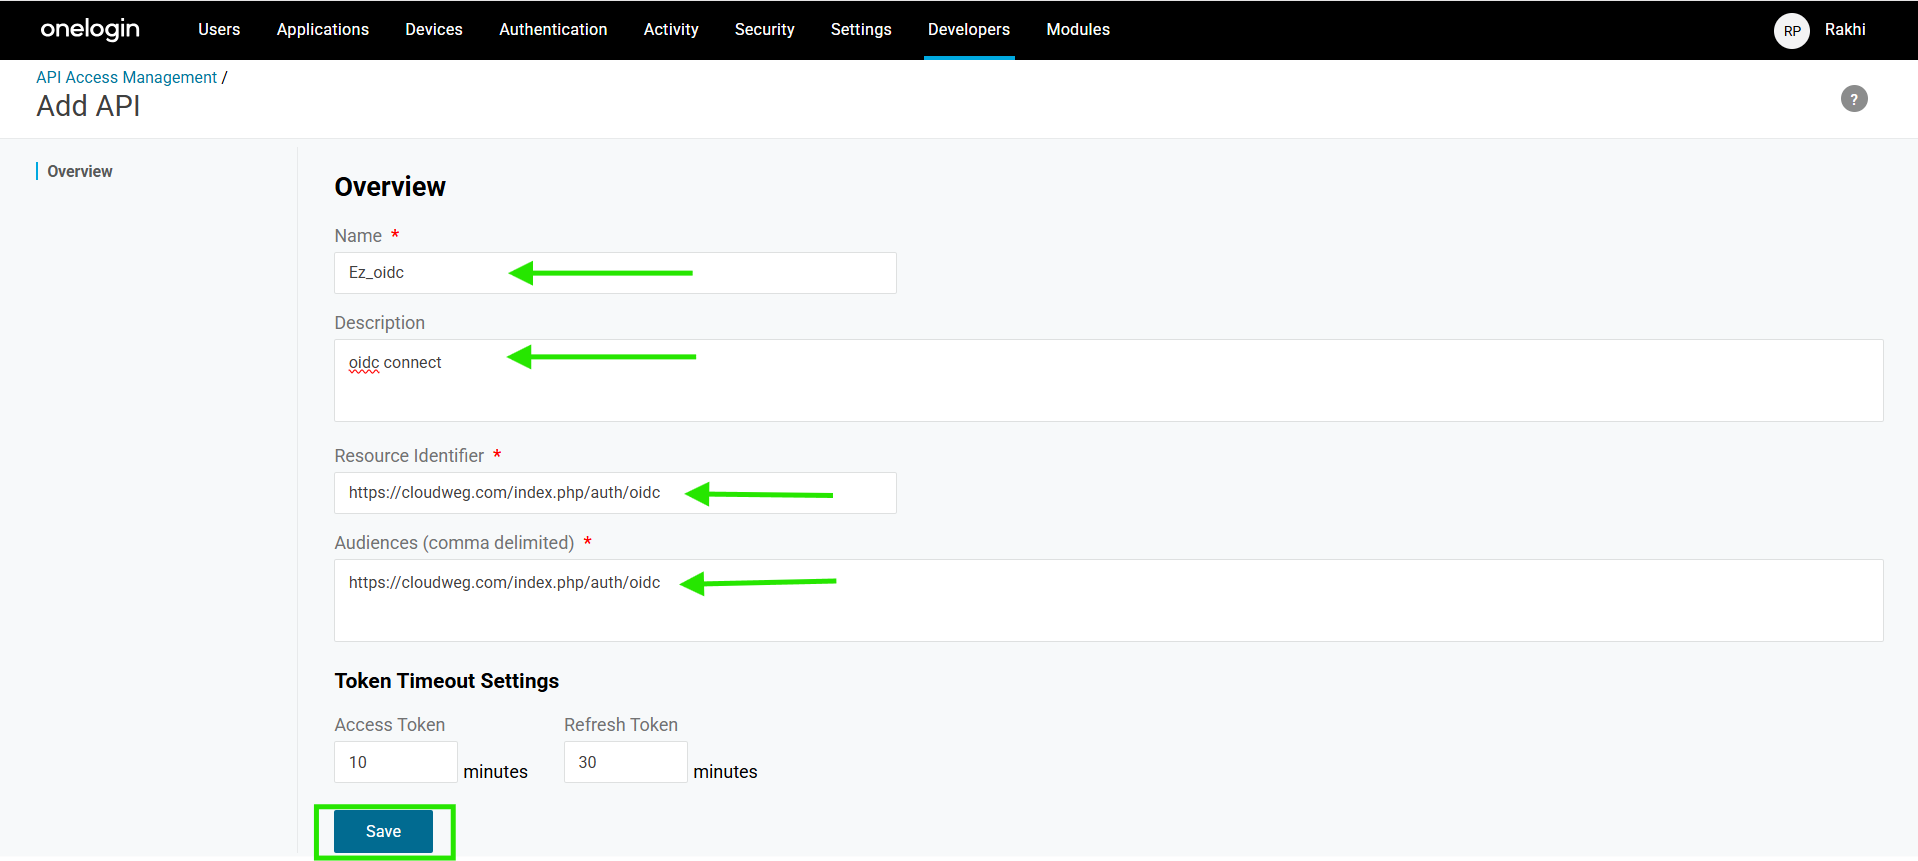
Step 2: Click on Add API.

Step 3: Provide the mentioned details.(Enter redirect URL from gateway server under resource identifier and Audiences)
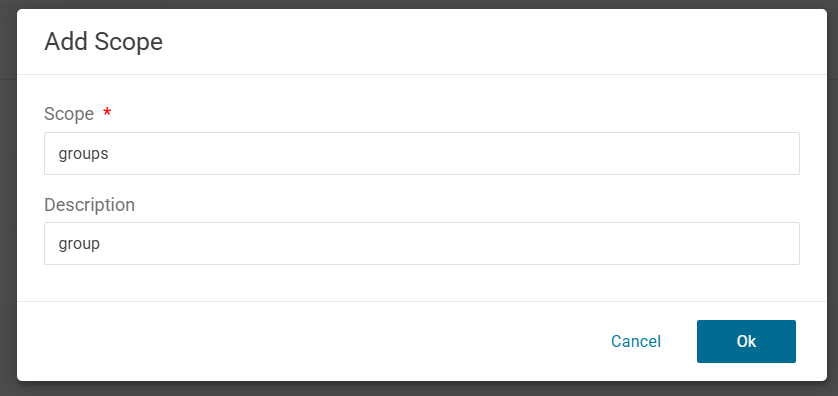
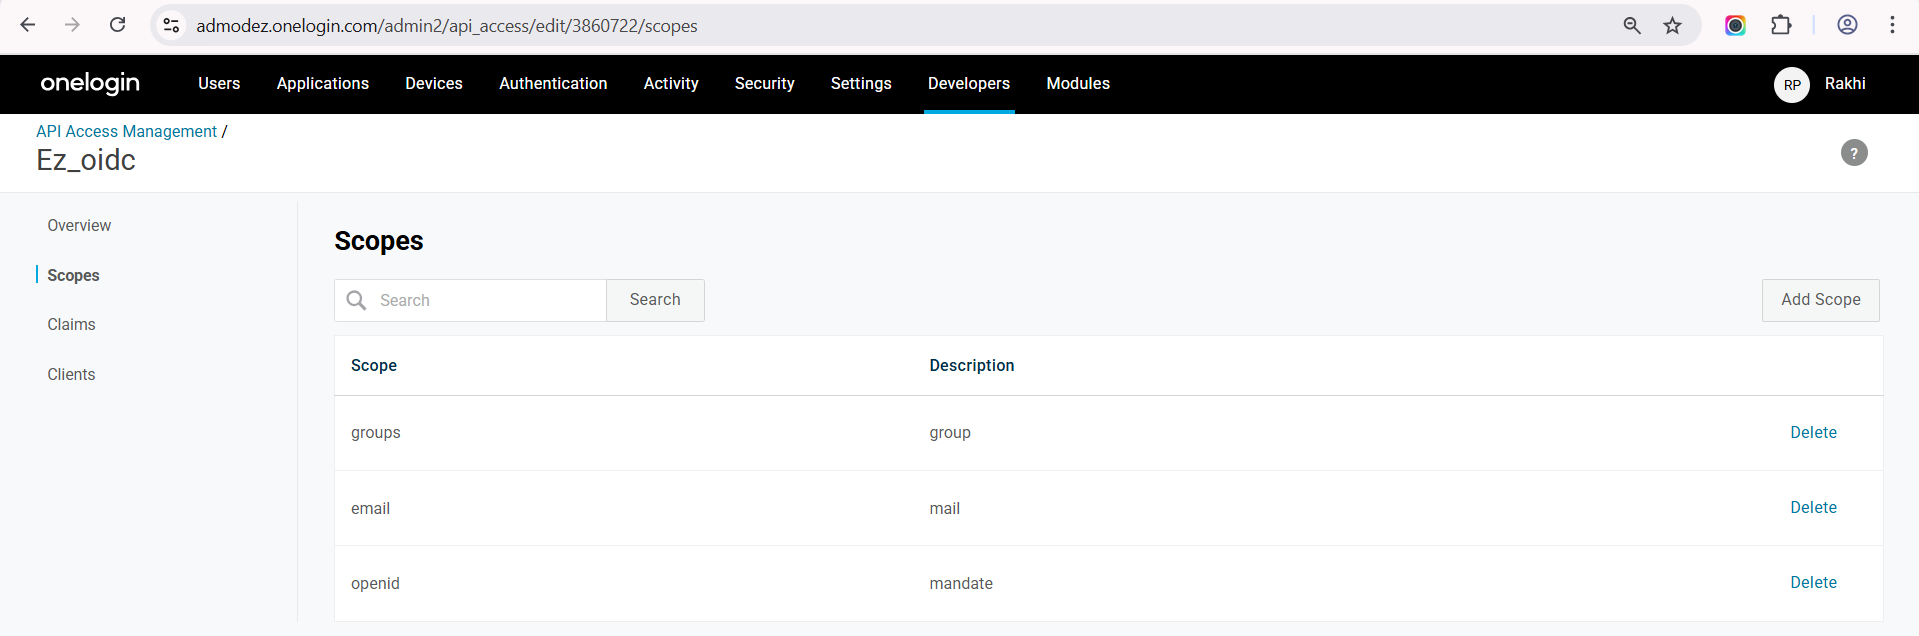
Step 4: Under Scope > Add Scope.

Step 5: Enter the scope details and Save it.
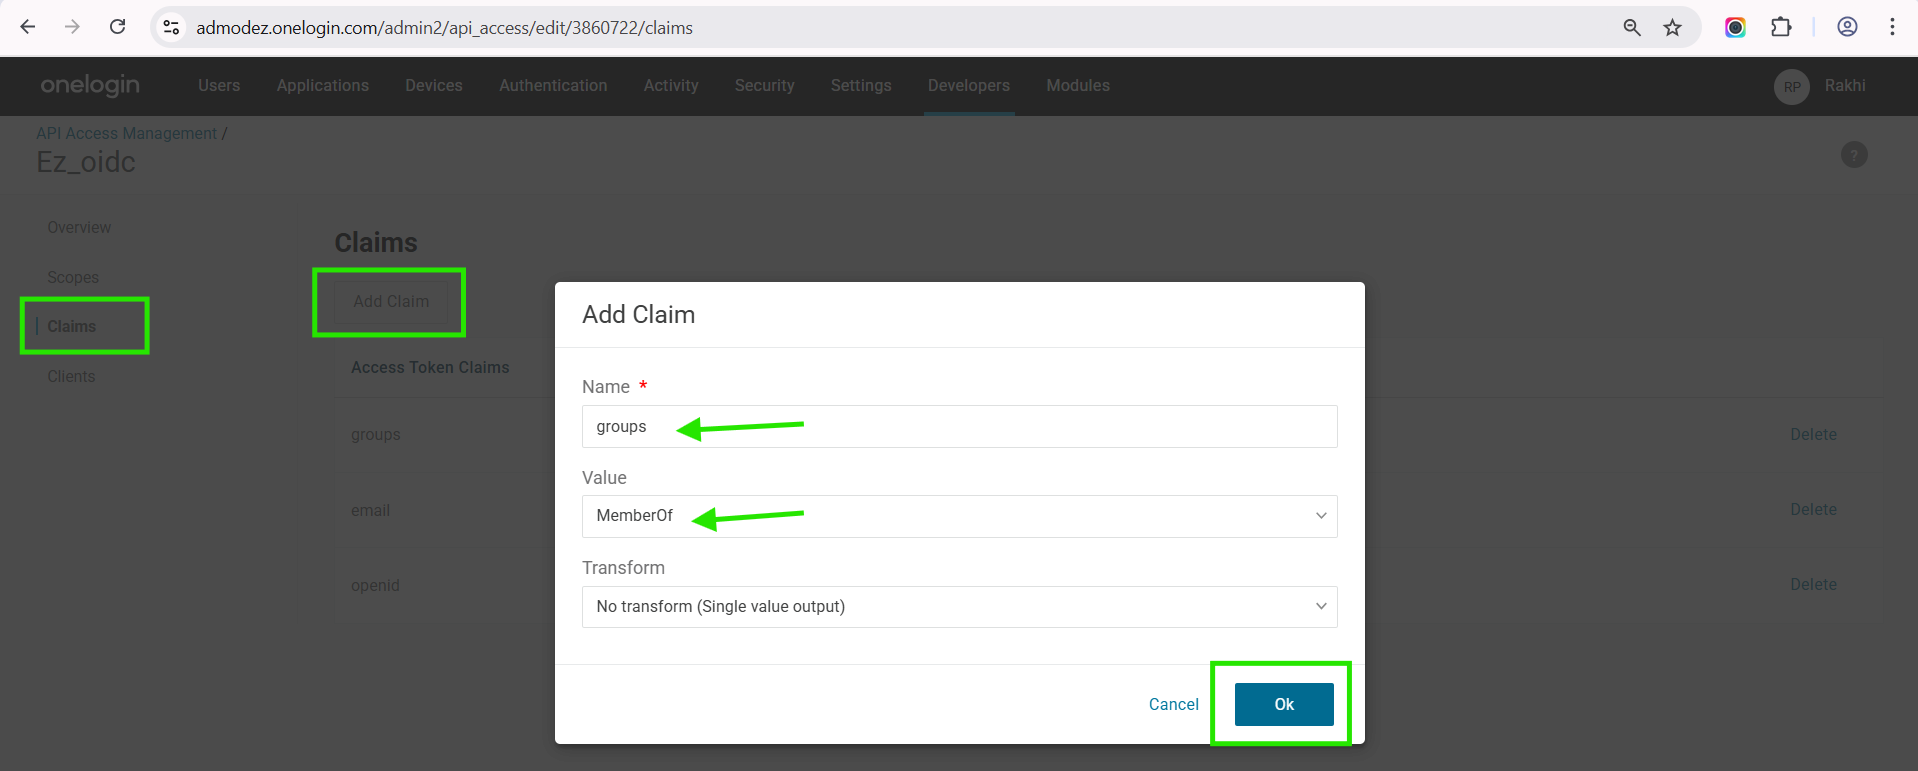
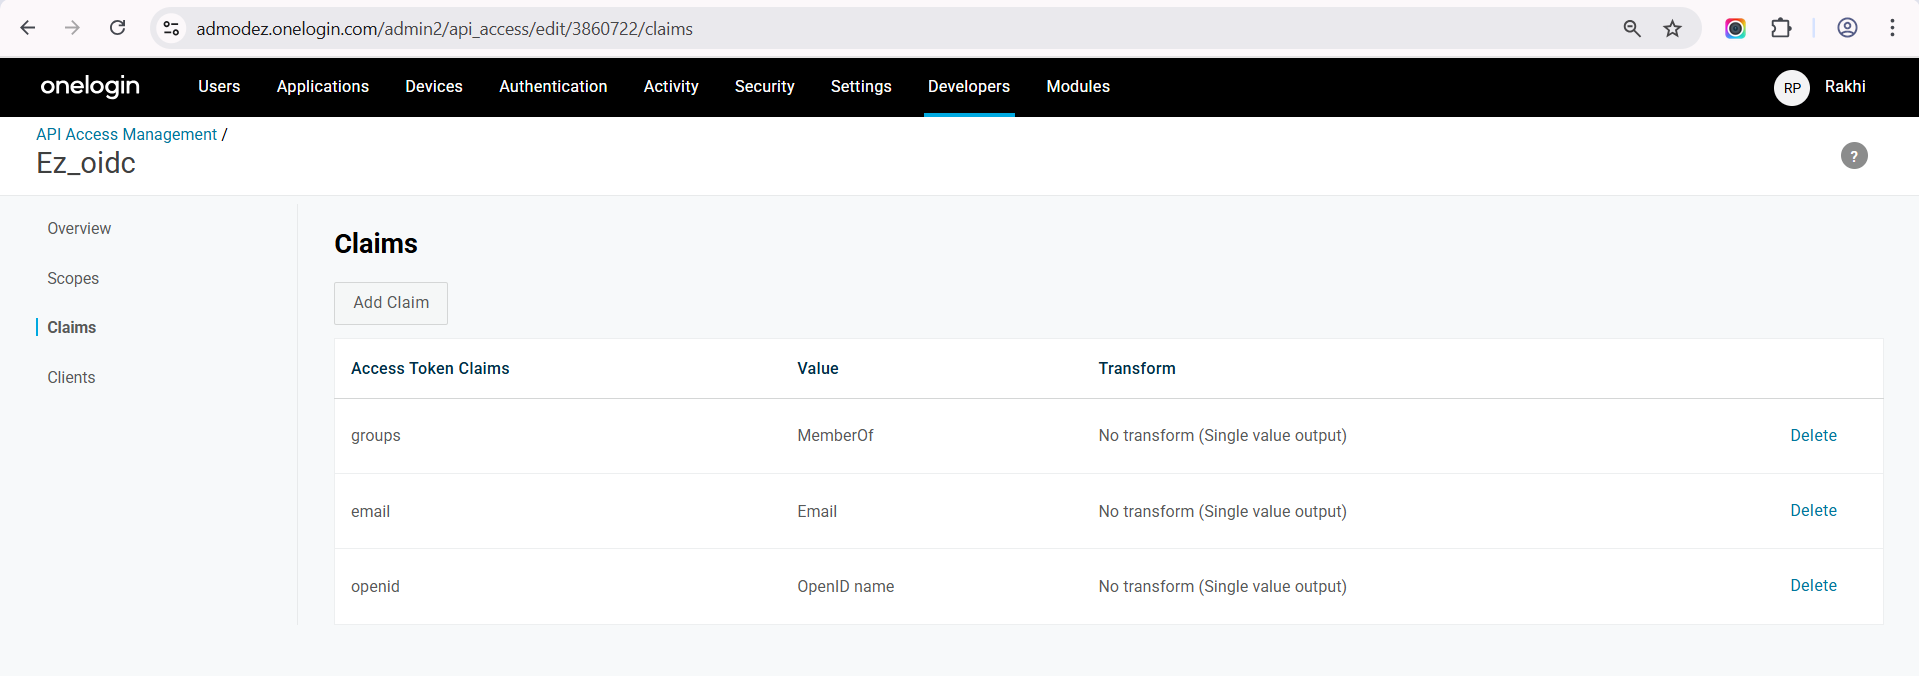
Step 6: Navigate to Claims > Add Claim > Enter claim details and Save it.
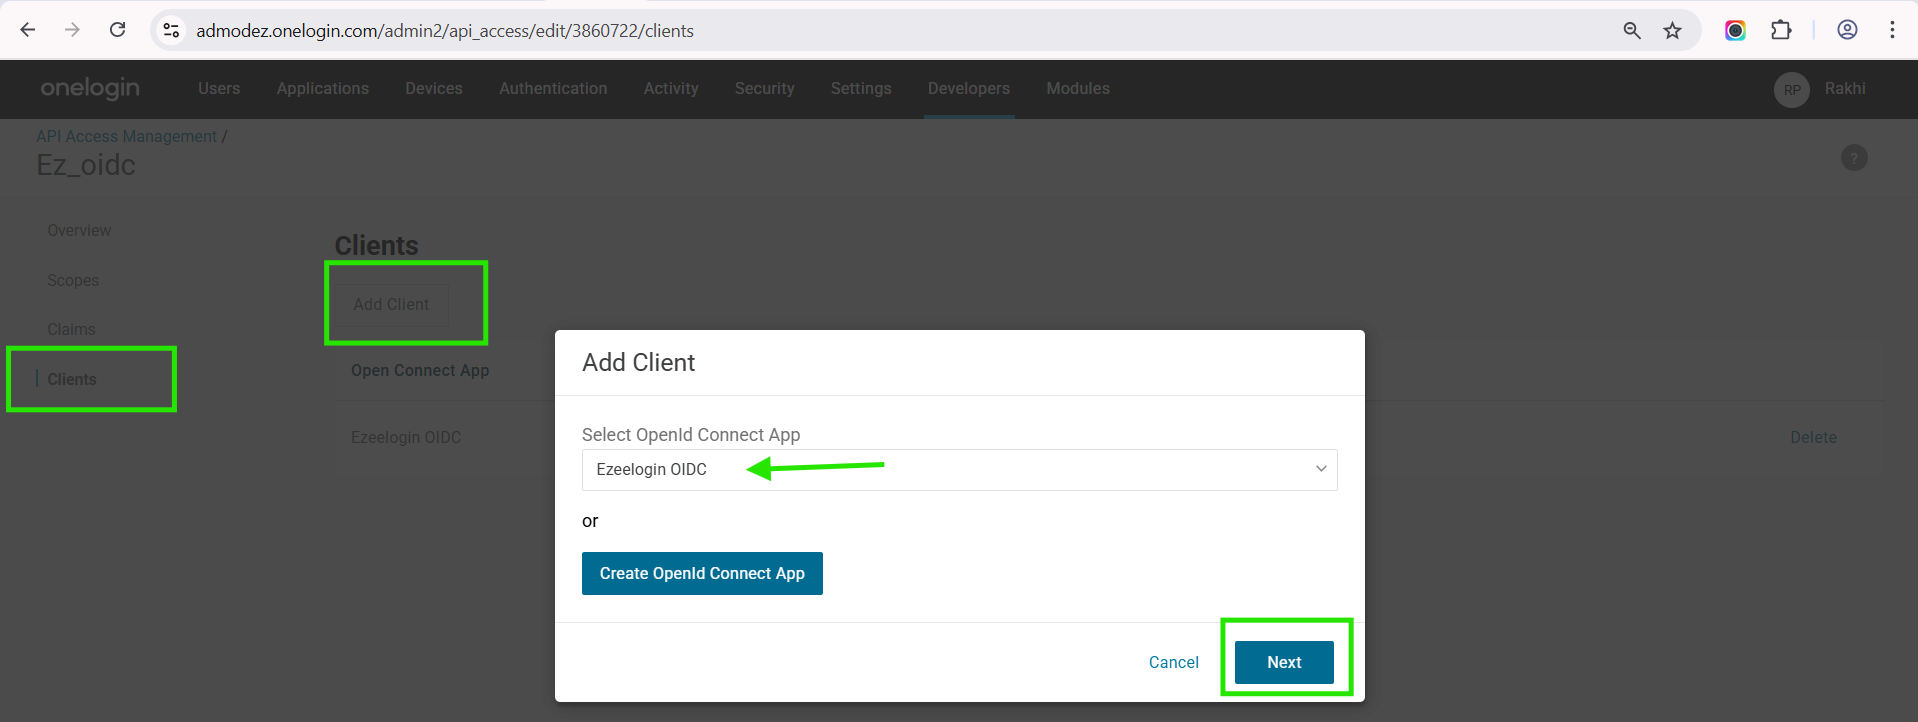
Step 7: Click on Clients > Add client > Select the Application > Next.
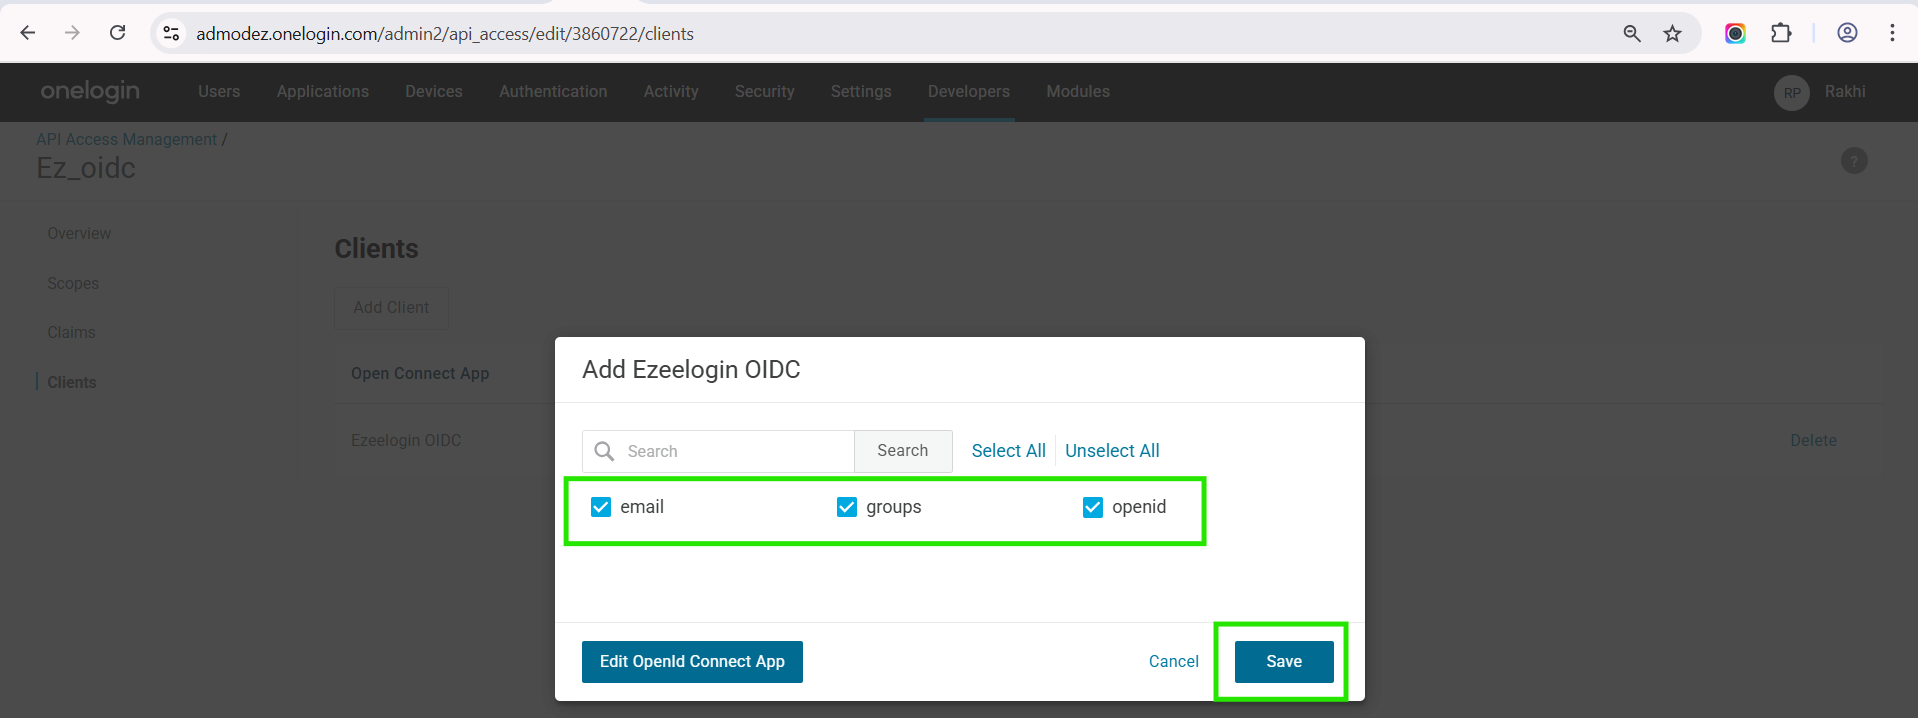
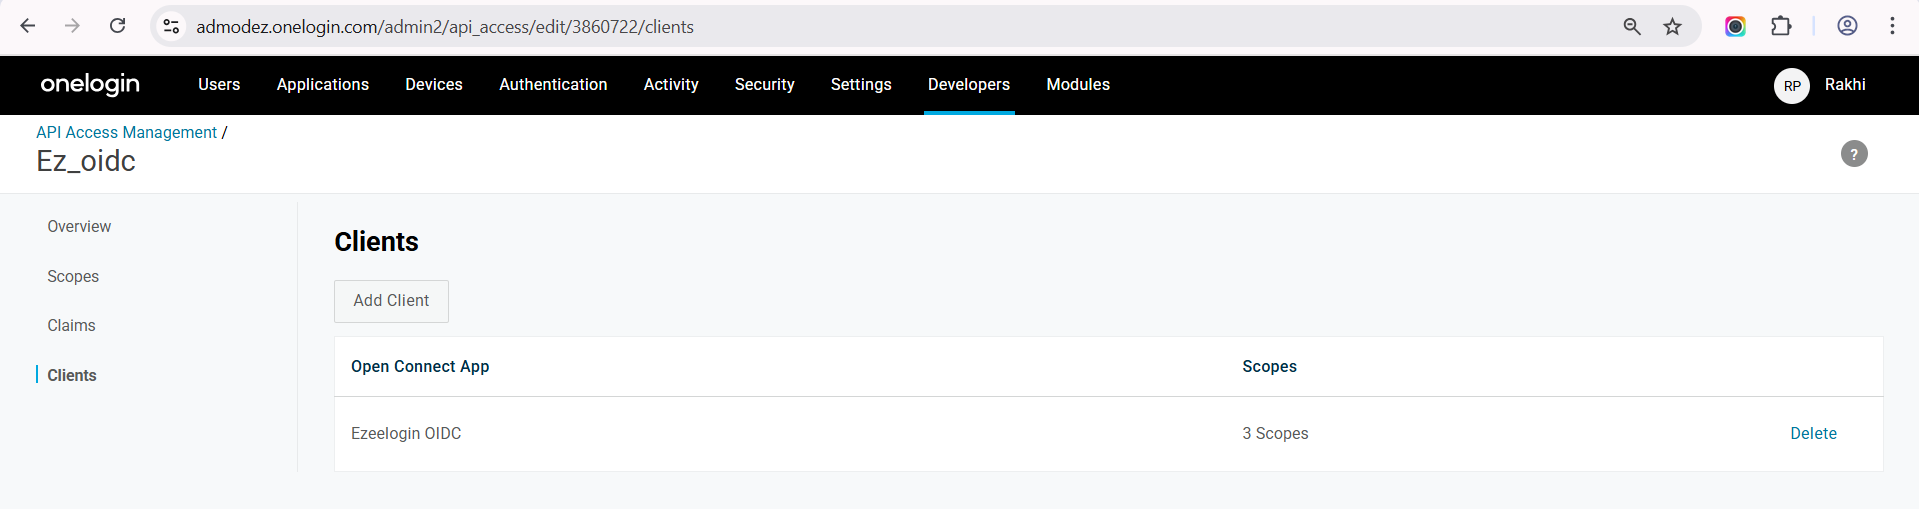
Select the scopes you would like to assign and Save it.
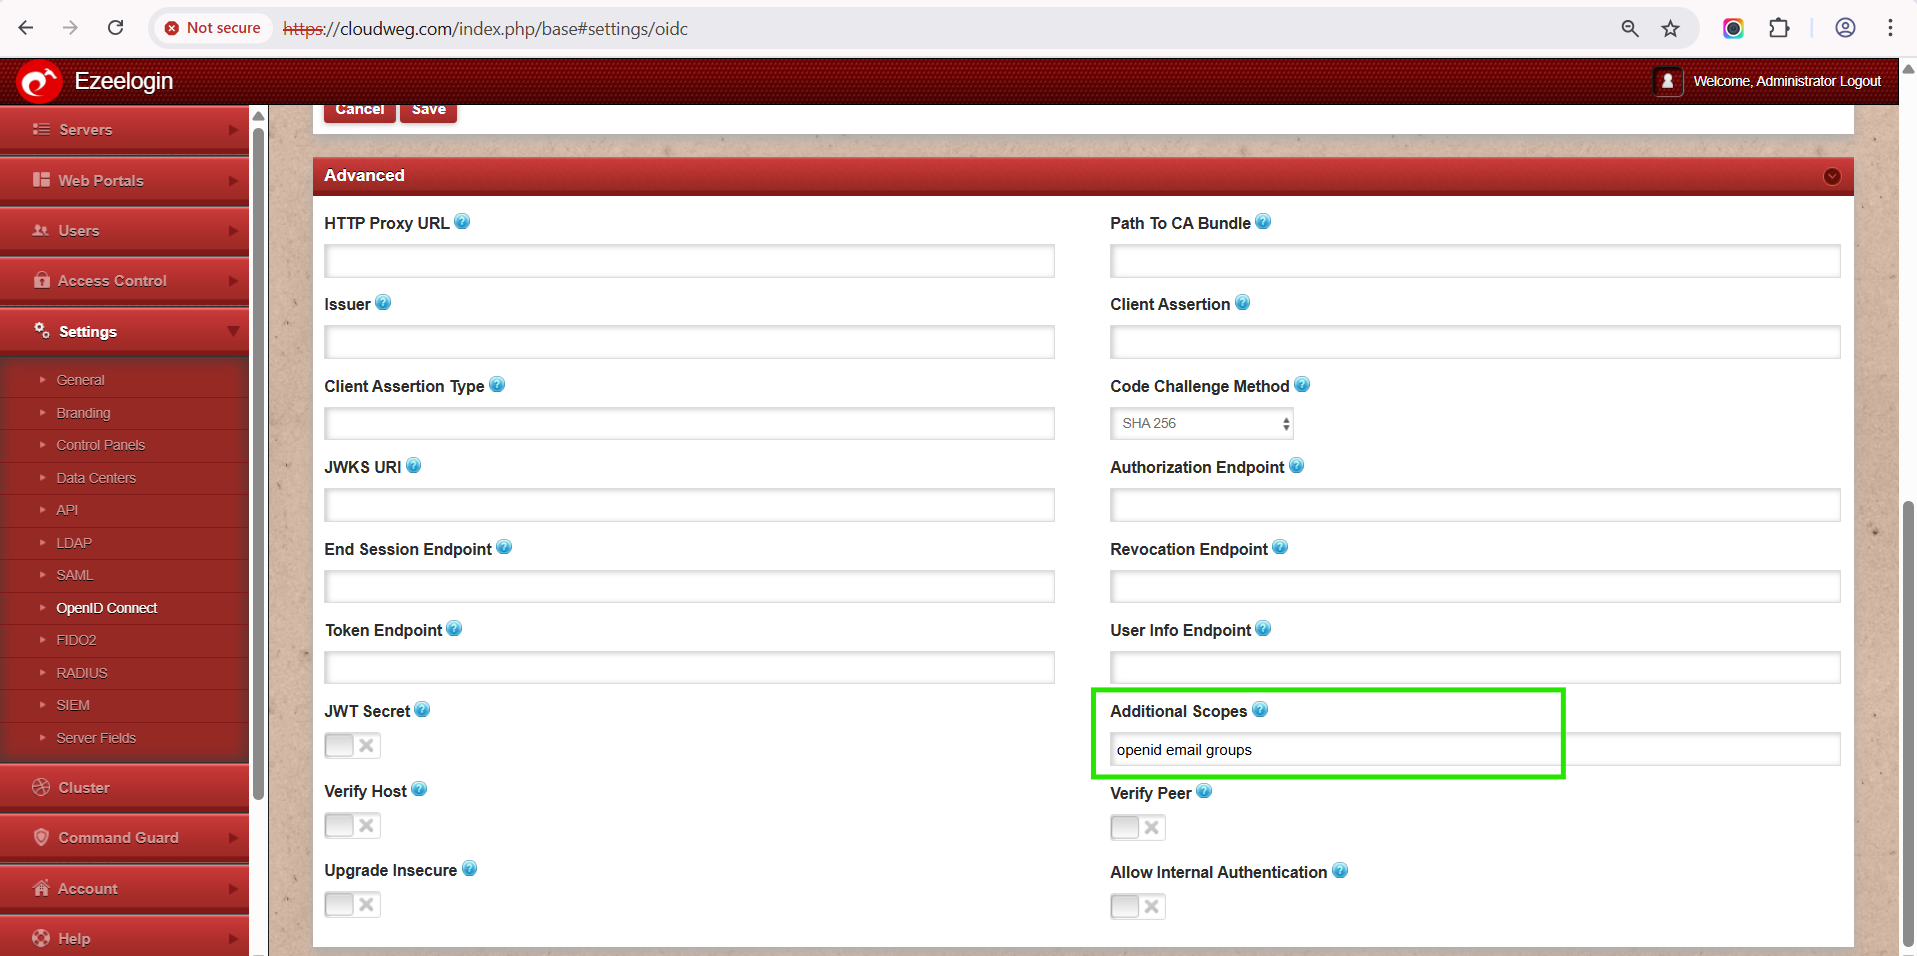
Step 8: Login to Ezeelogin, go to OIDC advanced settings, add the scopes separated by spaces, and save the settings.
How to map One login users to the same user group in Ezeelogin?
Note:
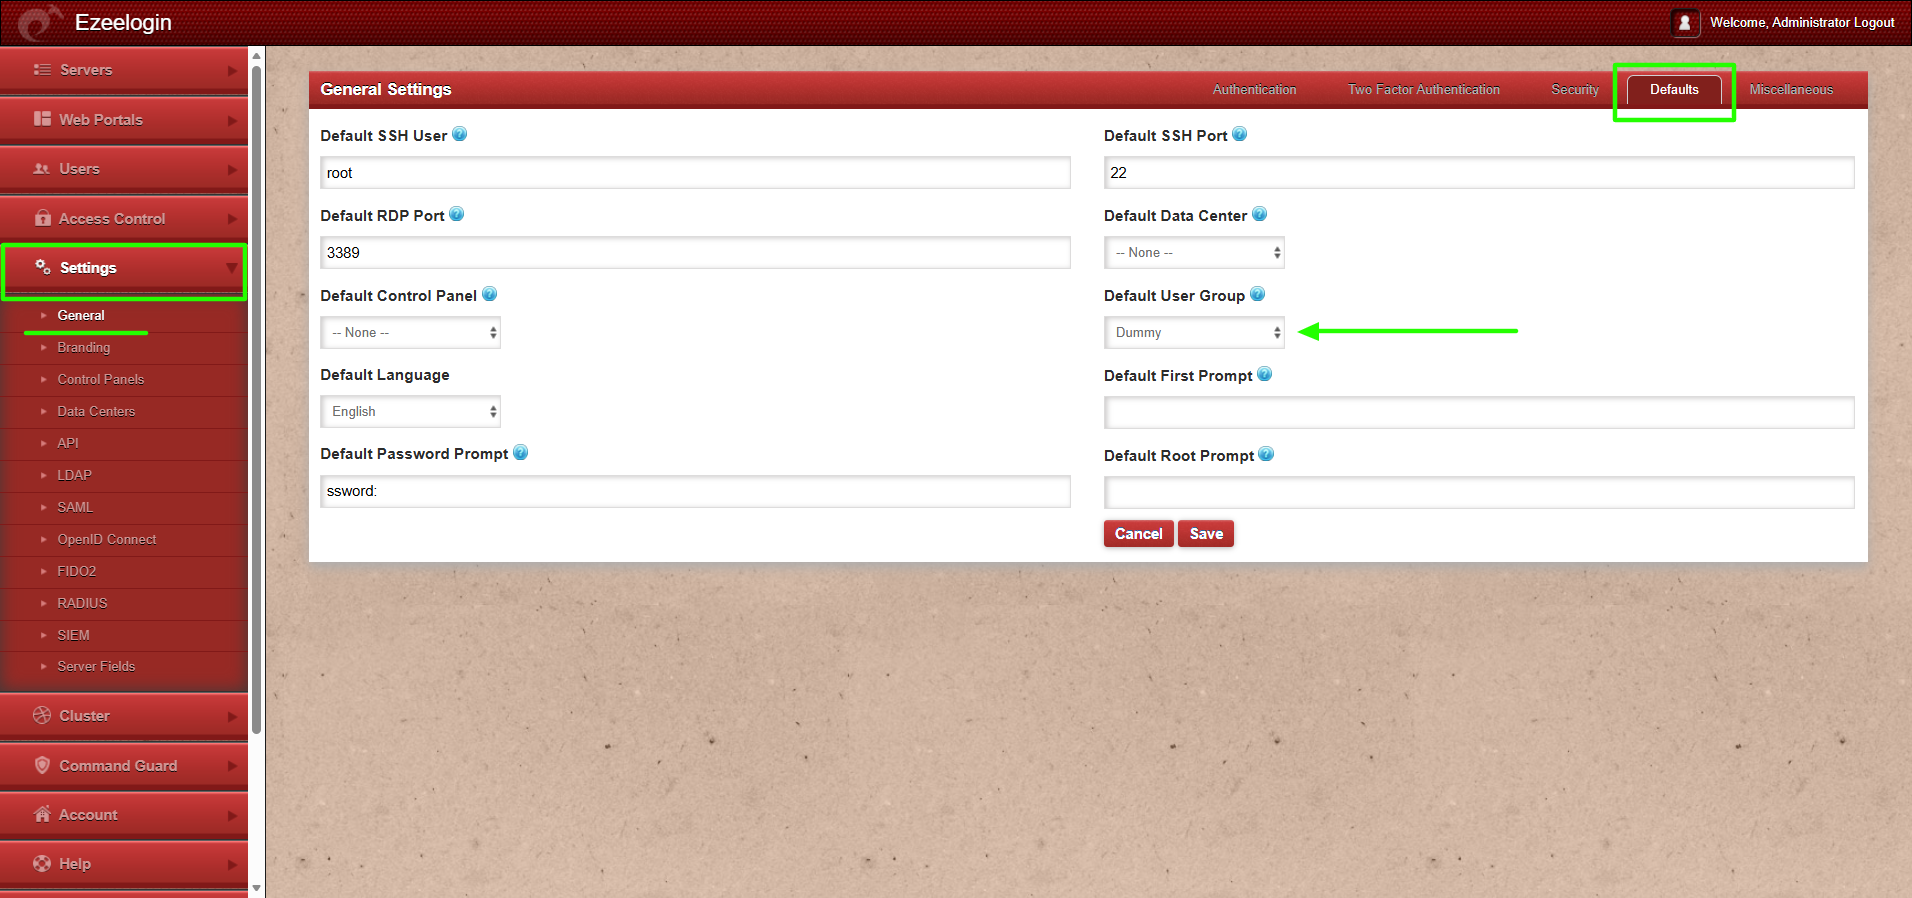
1.If users from the OIDC provider need to be auto-created in the corresponding group from OIDC to the same group in Ezeelogin, the admin user must set the default user group to None. If the same group is not present in Ezeelogin, the user will not be auto-created.

2. If the default user group is set to any group other than None, then all users from the OIDC provider will be auto-created in that same group.
This feature is available from Ezeelogin version 7.46.0. Refer article to upgrade Ezeelogin to the latest version.
Note:
User attributes (such as groups and other mapped fields) are automatically updated in the Ezeelogin GUI when a user authenticates again. If any attribute of an existing OIDC user is changed in the identity provider after the user has already logged in, the change will appear in the GUI only after the user logs out and logs back in.
For example, if a user is moved to a different group in the OIDC provider (such as OneLogin), the updated group will be shown in the Ezeelogin GUI after the user logs in again.
This feature is available from Ezeelogin version 7.46.0. Refer article to upgrade Ezeelogin to the latest version.
Step 1: Create a user in one login application
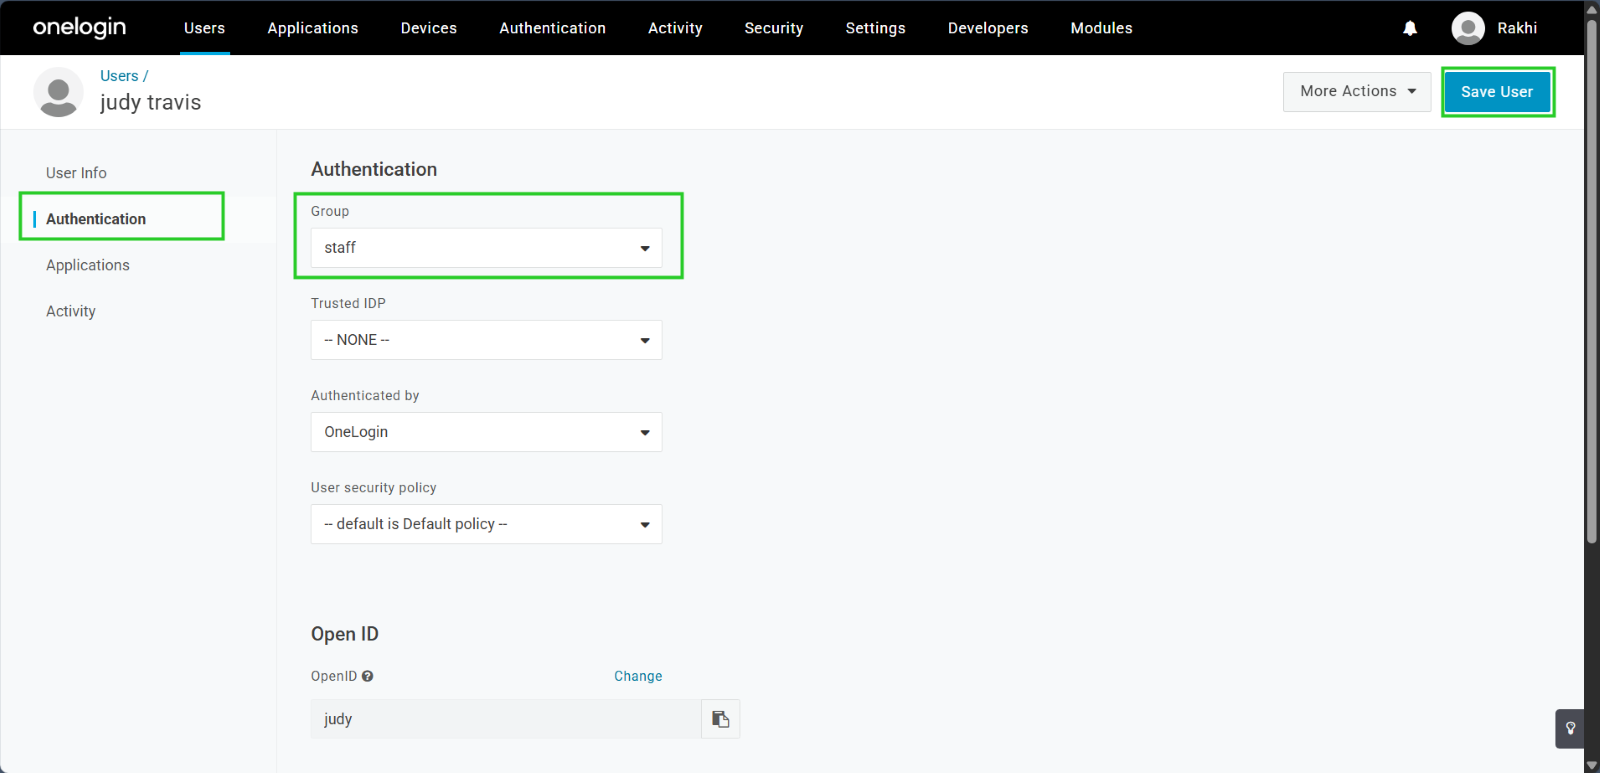
Step 2: Select Authentication > Choose the usergroup for user judy and Save it.
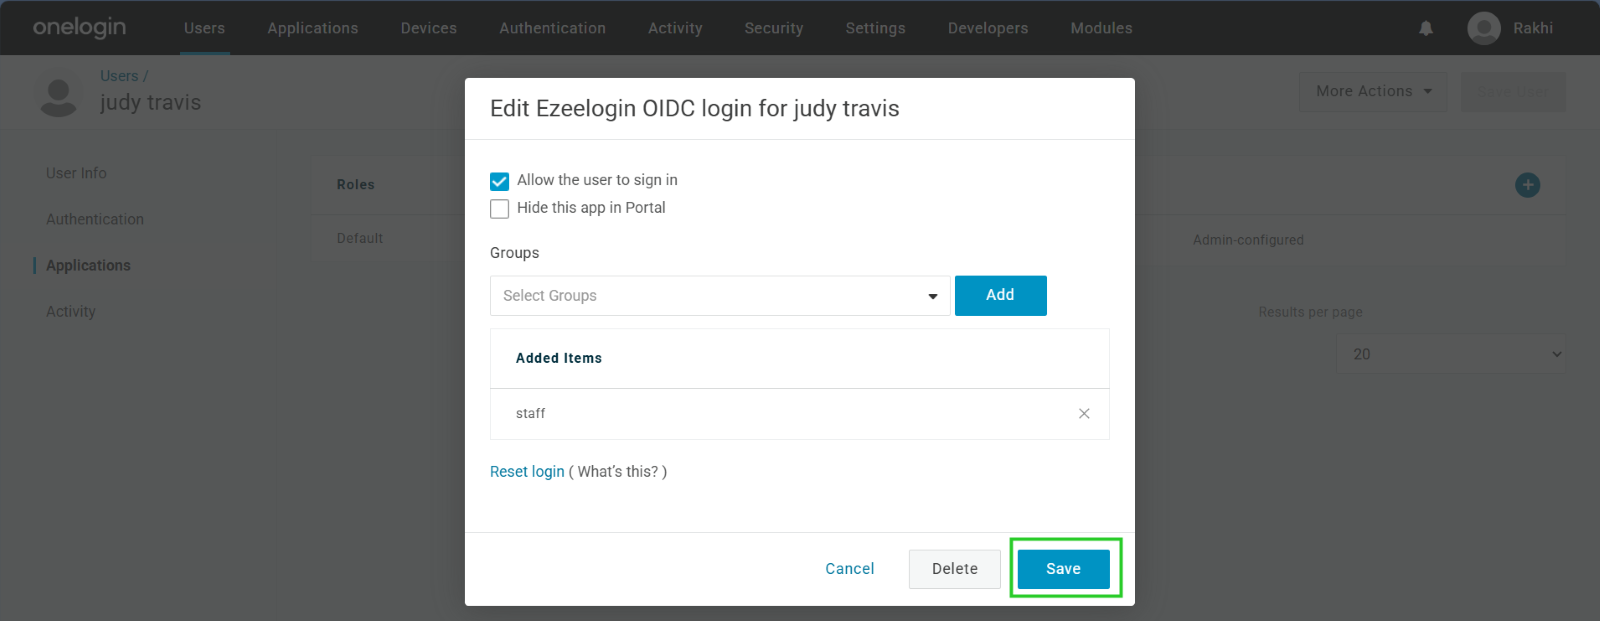
Step 3: Assign the application for that user under Application and Save it.
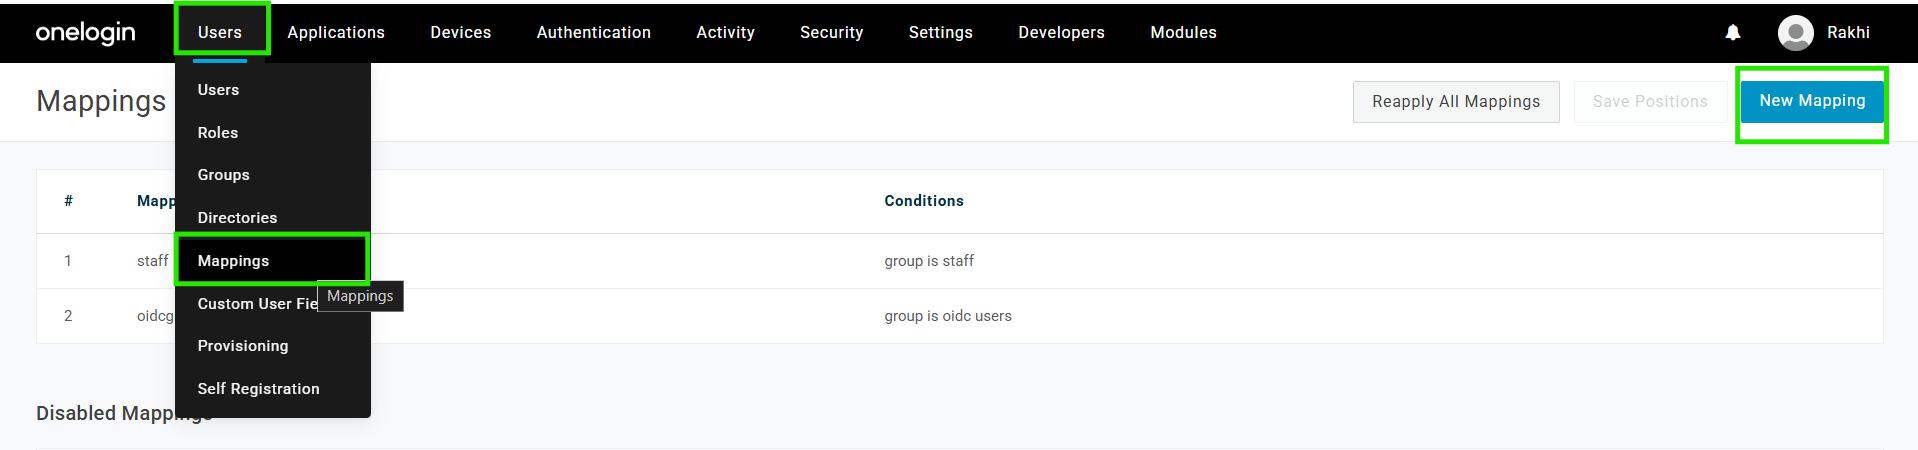
Step 4: Map the user under Users tab > Mappings. Click on create New mapping.
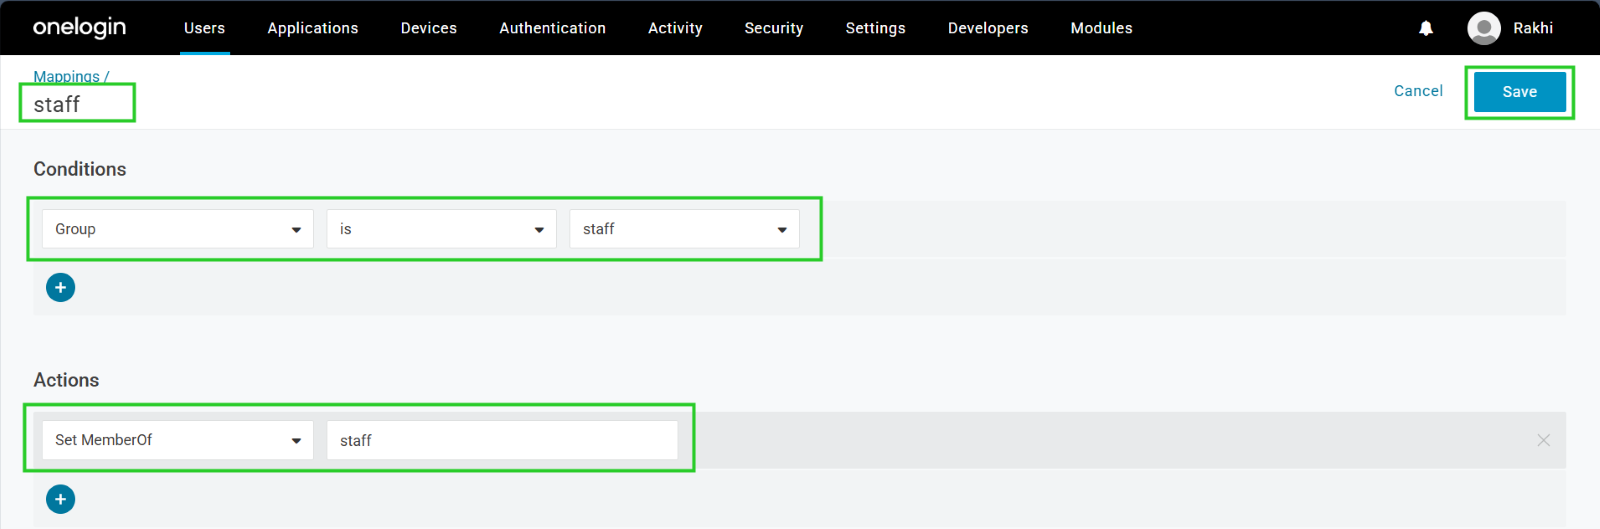
Step 4 (A): Fill the mapping details. Enter the usergroup name under Mappings and enter the condition and Actions > Save it.
Step 4(B): Click on Reapply all mappings.

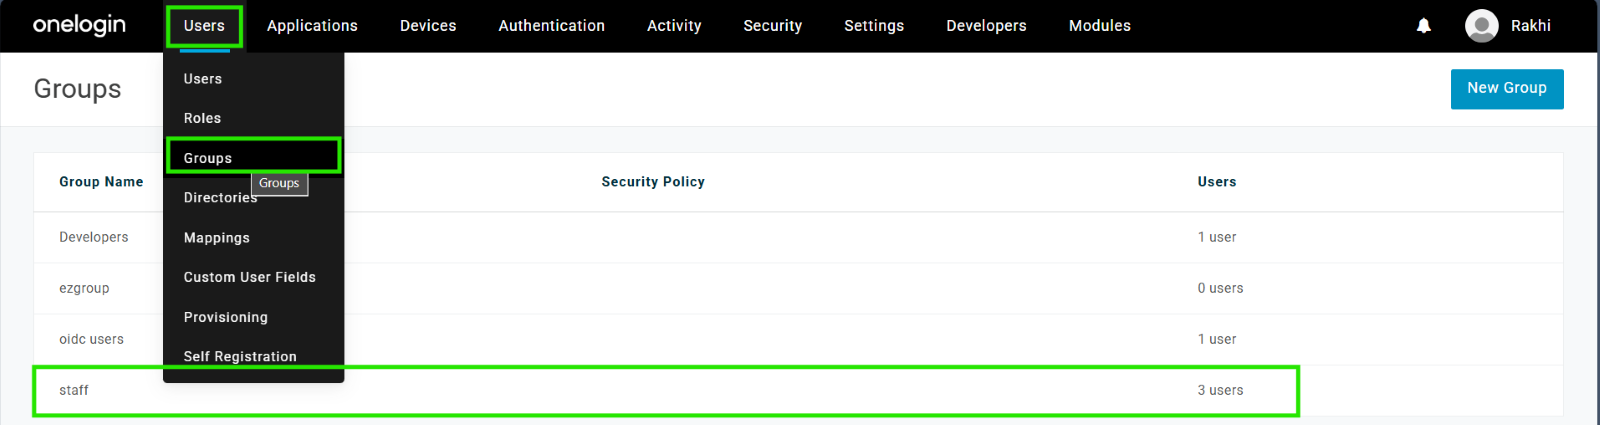
Rechecked mapped users in group Under Users > Groups > mapped 3 users under the group staff similarly
Step 5: Create the same user group in gateway server by setting a priority and save it.

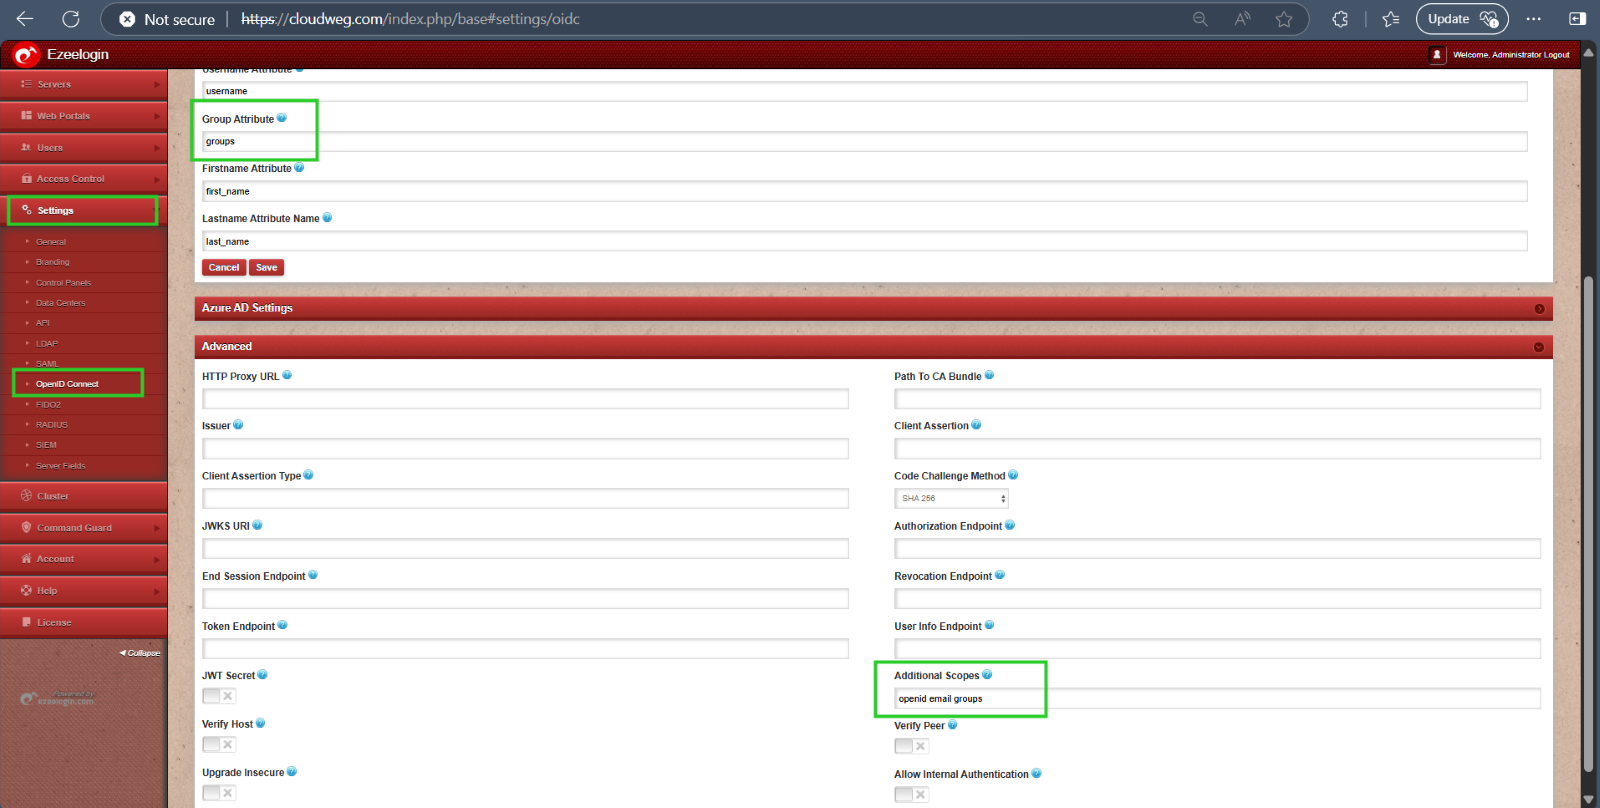
Step 6: In the web GUI. Navigate to Settings > OpenID Connect > Add the group attribute name, mention Additional scope (groups) and save it.
Step 7: Choose the webpanel authentication under settings tab and enable auto create user.
Step 8: Log in to the web GUI using one login user credentials, and the user will be assigned to the same group in Ezeelogin as in one login.
This feature is available from Ezeelogin version 7.41.0. Refer article to upgrade Ezeelogin to the latest version.
Related Articles: