Adding Webuzo as ControlPanel in Ezeelogin
How to add Webuzo as controlpanel?
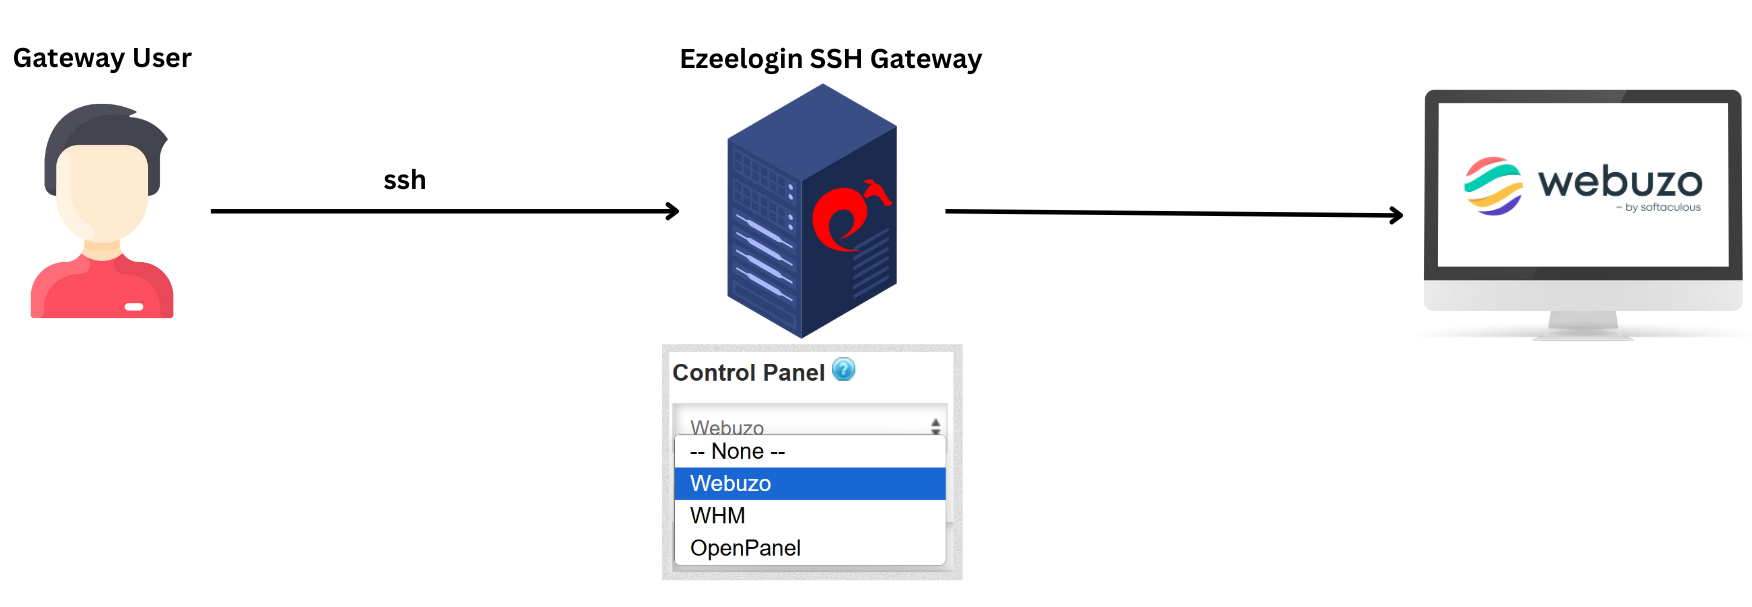
Overview: This article explains the integration of Webuzo as a control panel with Ezeelogin and provides steps to access it.
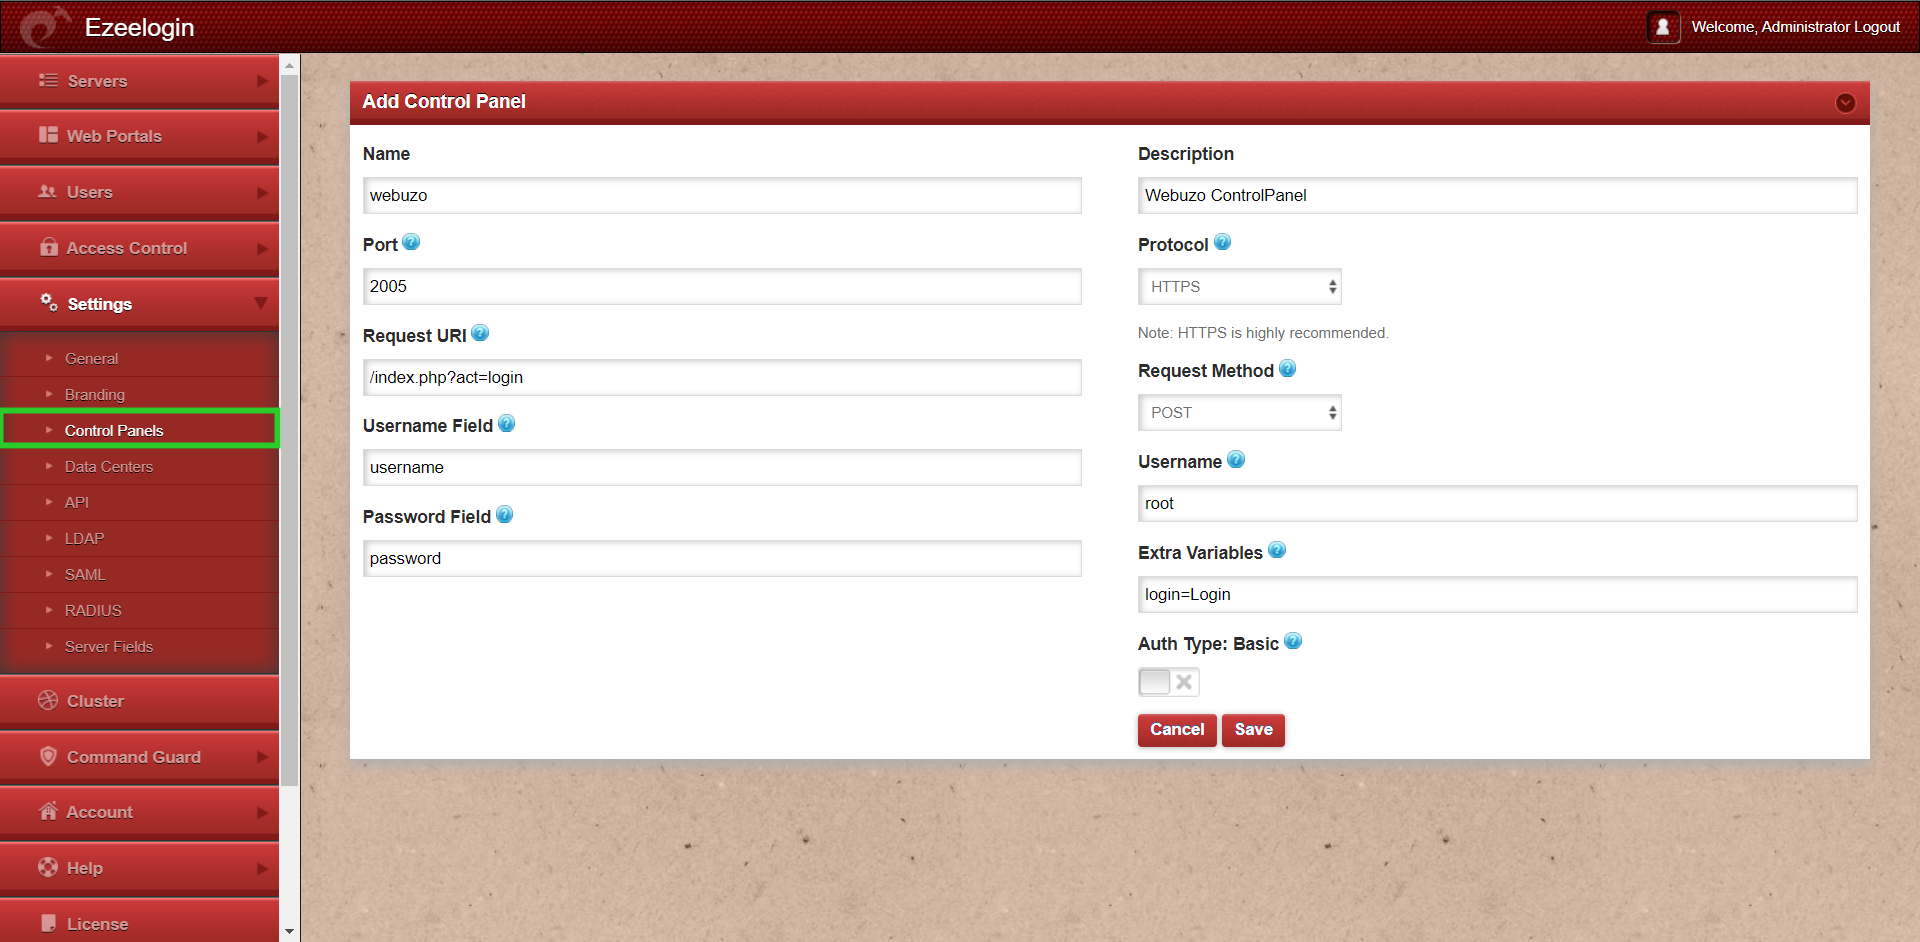
Step 1: To add Webuzo as a control panel, log in to the web GUI and navigate to Settings -> Control Panels. Fill out the form as shown in the screenshot below.
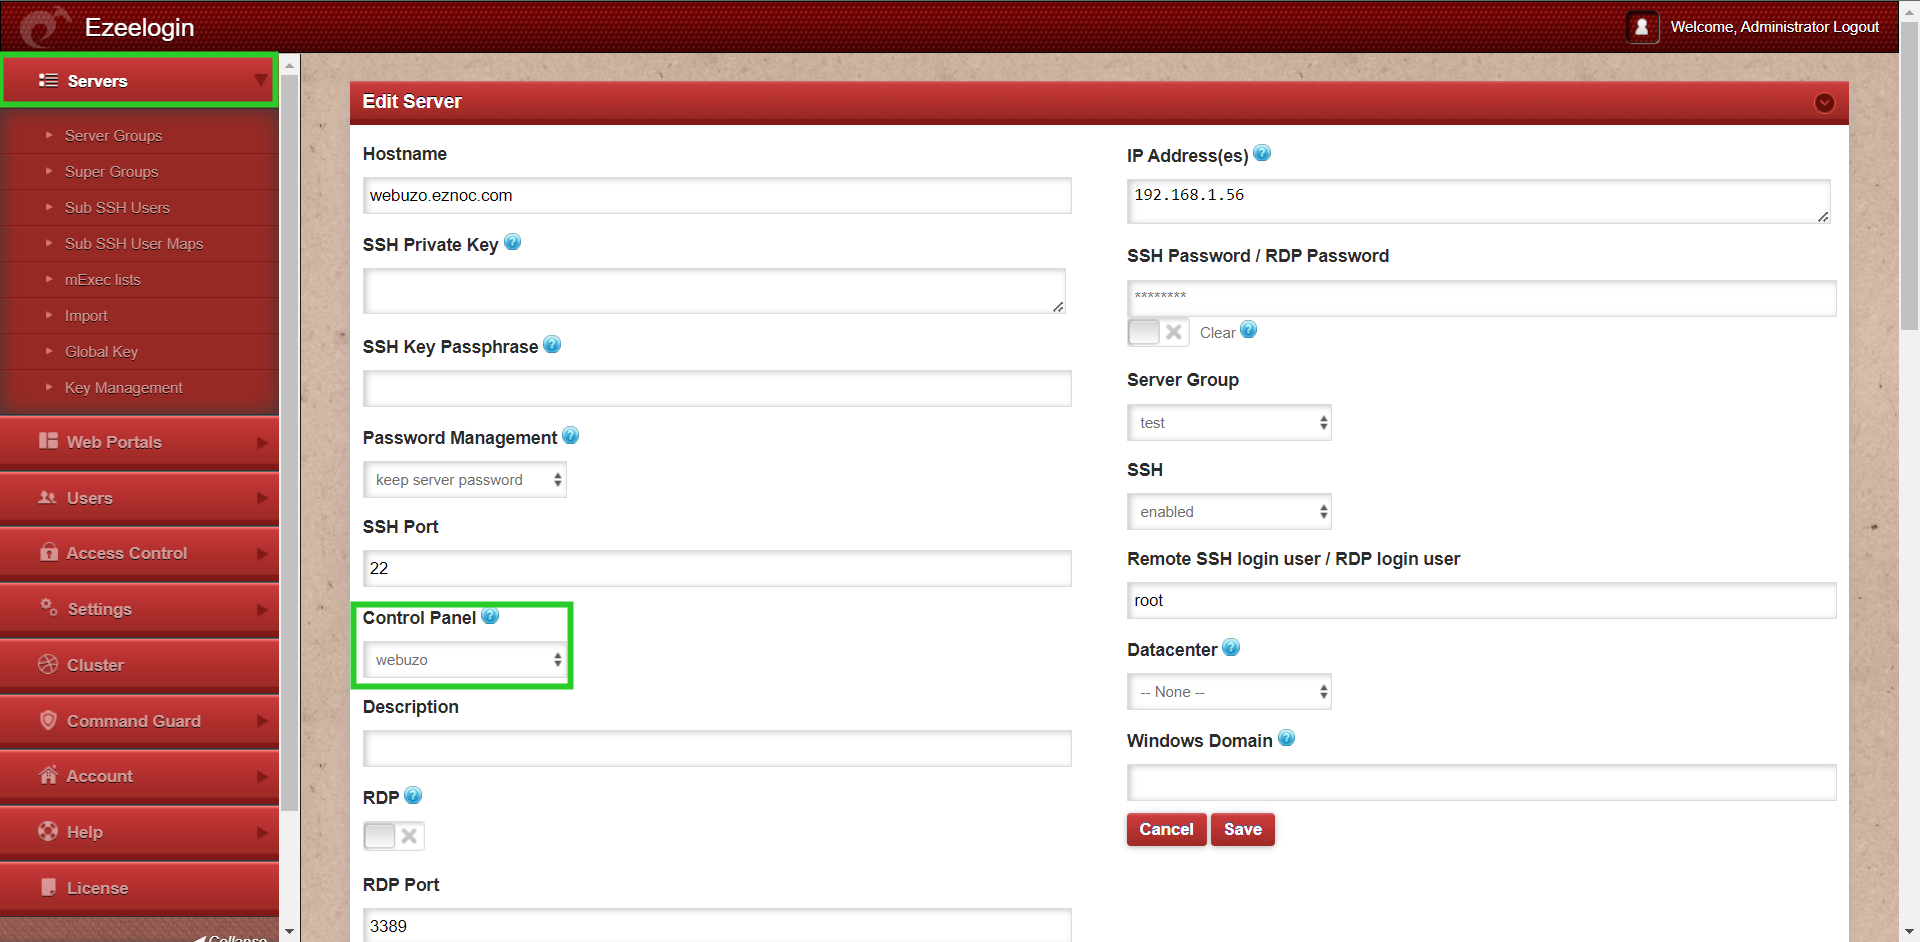
Step 2: Navigate to Servers tab and choose the added control Panel(webuzo) from the drop down menu and click on "Save".
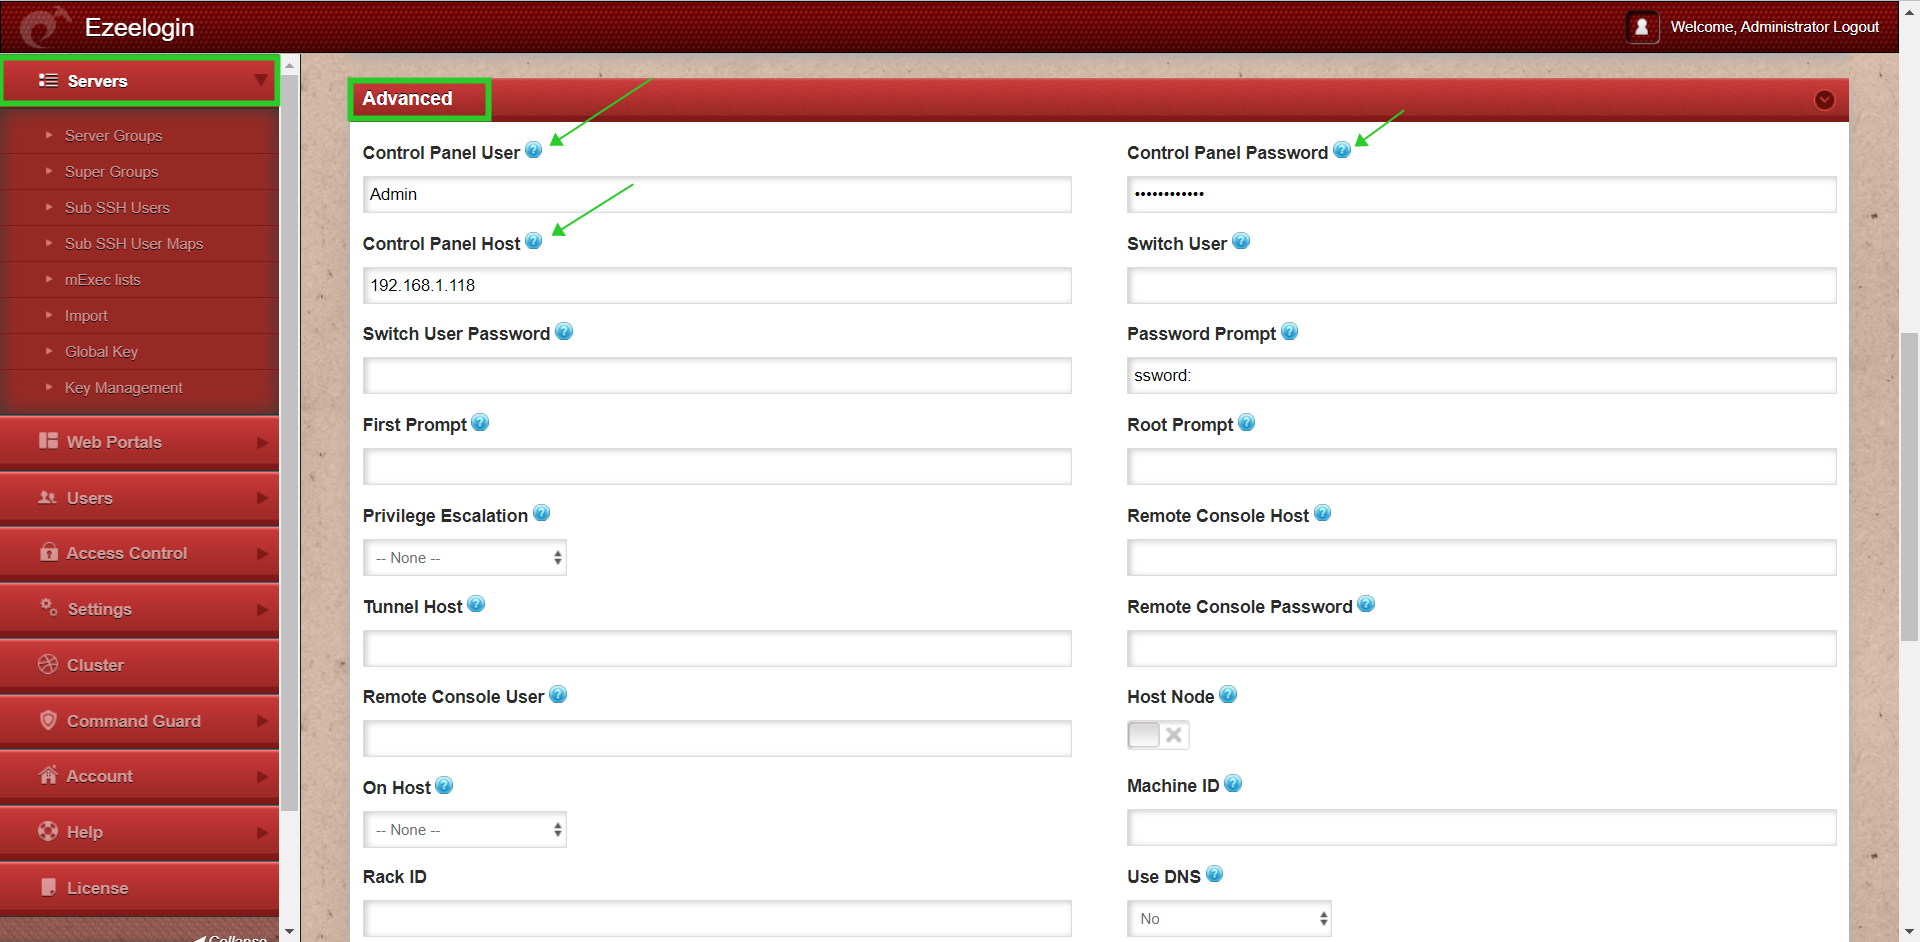
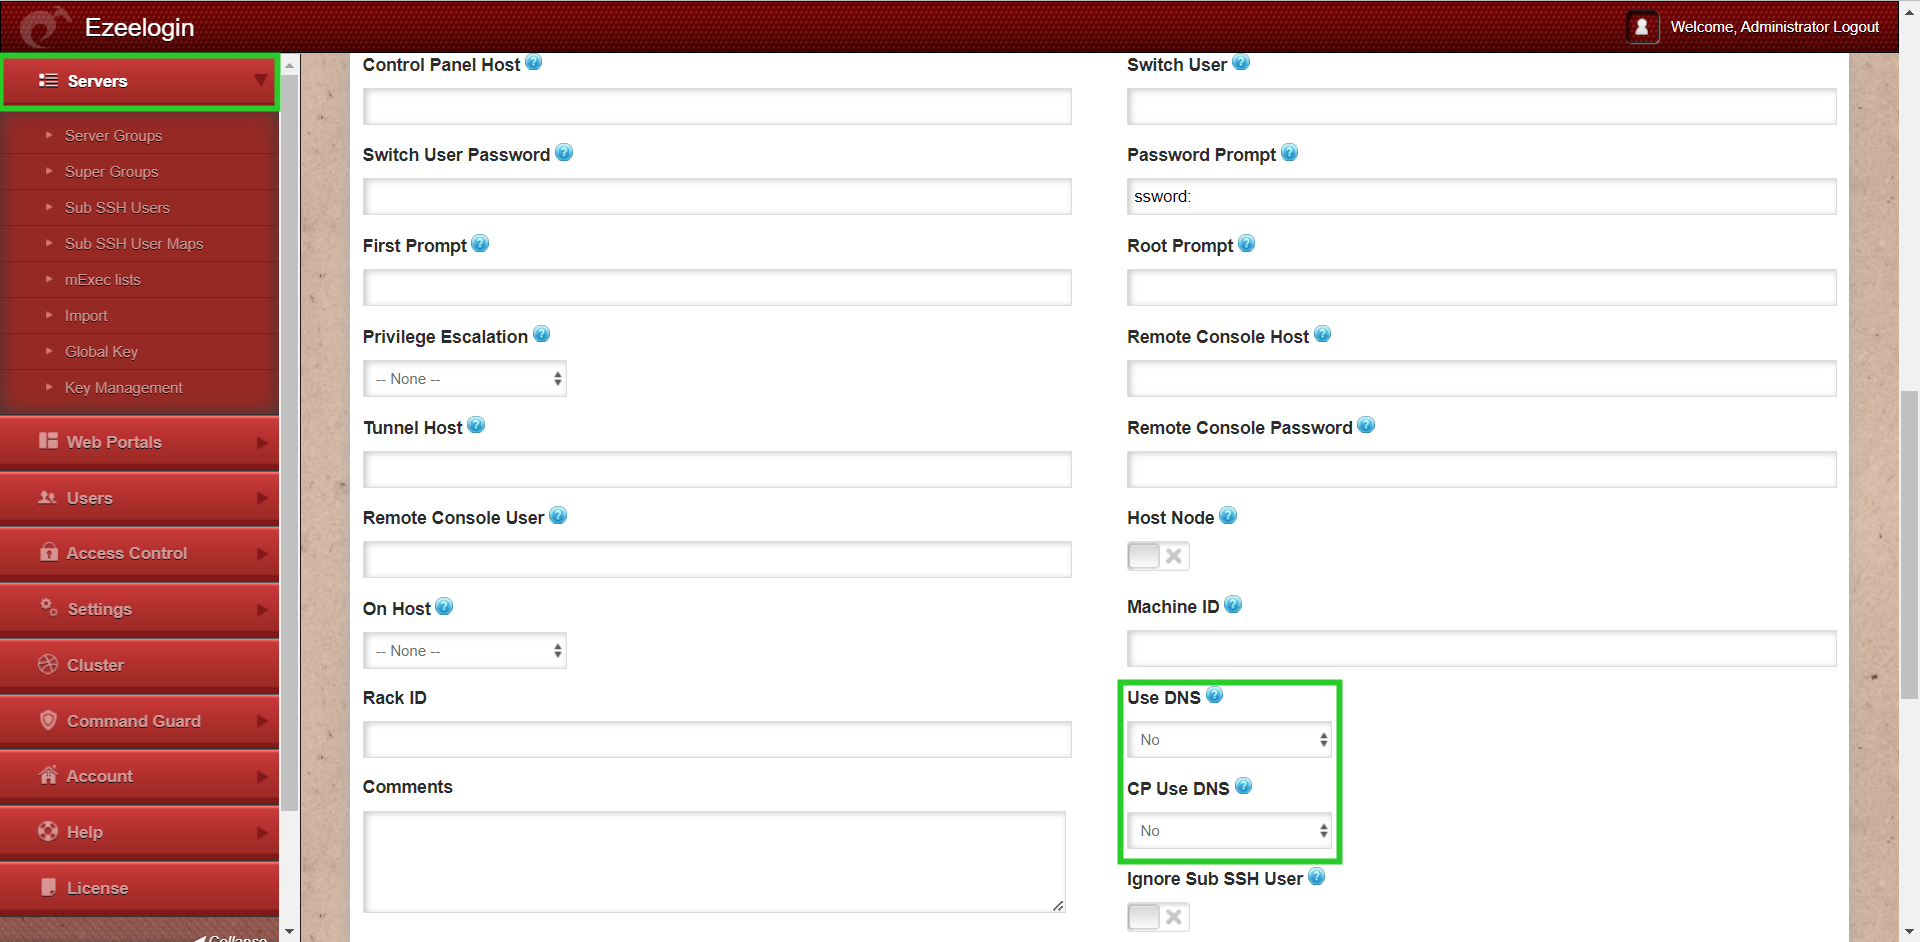
Step 3: If the control panel is installed on another/seperate server, make sure to provide the control panel details under Advanced section. Mention Control Panel user, Control Panel password, and Control Panel Host details. Then click on "Save." Refer to the screenshot below as an example:
Make sure to disable USE DNS and CP USE DNS. Login to Web GUI -> Server -> Under advanced section, change Use DNS and CP Use DNS to NO
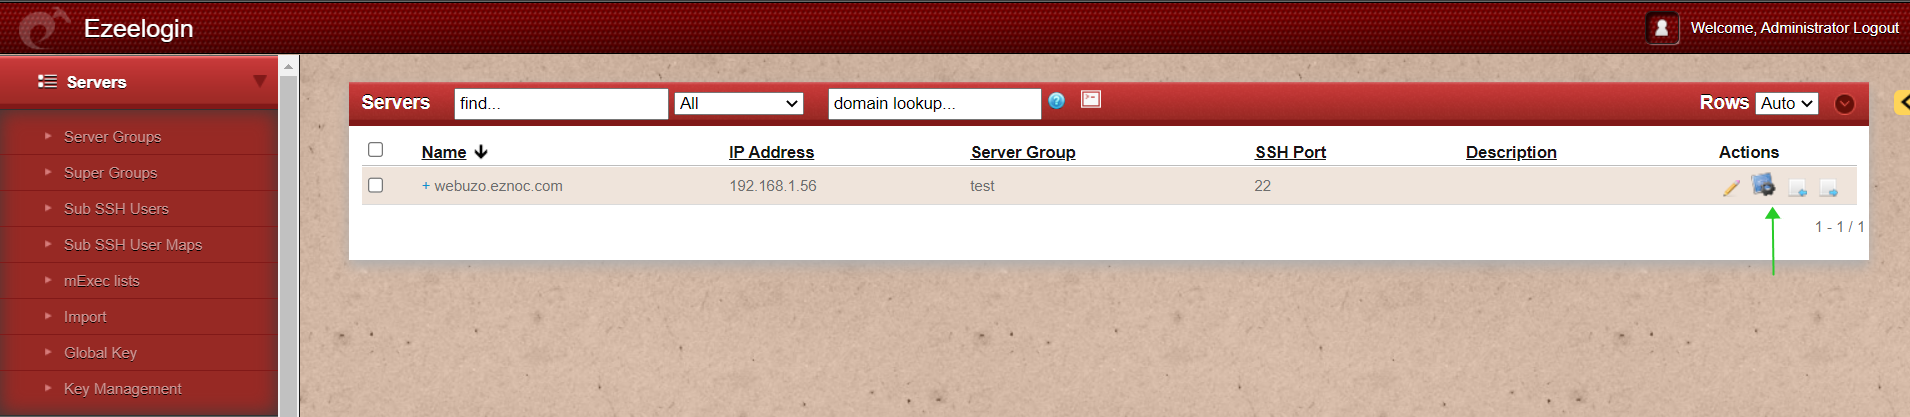
Step 4: Click on the control panel icon for accessing Webuzo.
Related Articles:
List of all web portal and control panel in Ezeelogin
Adding WebPortal or control panel or datacenter for autologin