Map Okta attributes to Ezeelogin
How to map Okta attributes to Ezeelogin
Overview: This article describes how to map Okta username and group attributes to Ezeelogin.
Note:
User attributes (such as groups and other mapped fields) are automatically updated in the Ezeelogin GUI when a user authenticates again. If any attribute of an existing OIDC or SAML user is changed in the identity provider after the user has already logged in, the change will appear in the GUI only after the user logs out and logs back in.
For example, if a user is moved to a different group in the SAML or OIDC provider (such as Okta), the updated group will be shown in the Ezeelogin GUI after the user logs in again.
This feature is available from Ezeelogin version 7.46.0. Refer article to upgrade Ezeelogin to the latest version.
1.How to map okta username attributes to Ezeelogin
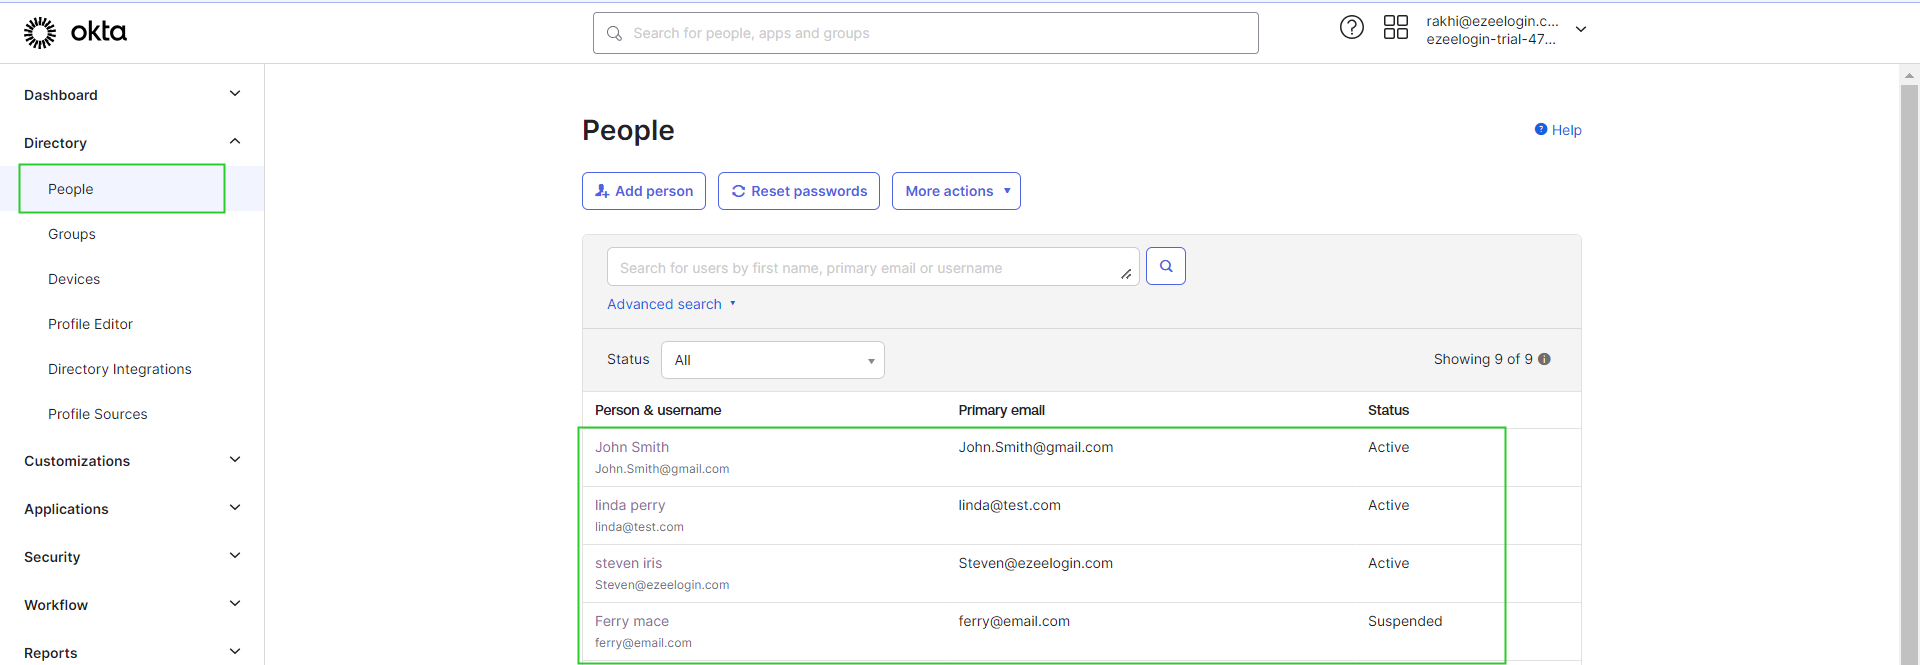
Step 1: Below are a few users that we have in Okta.
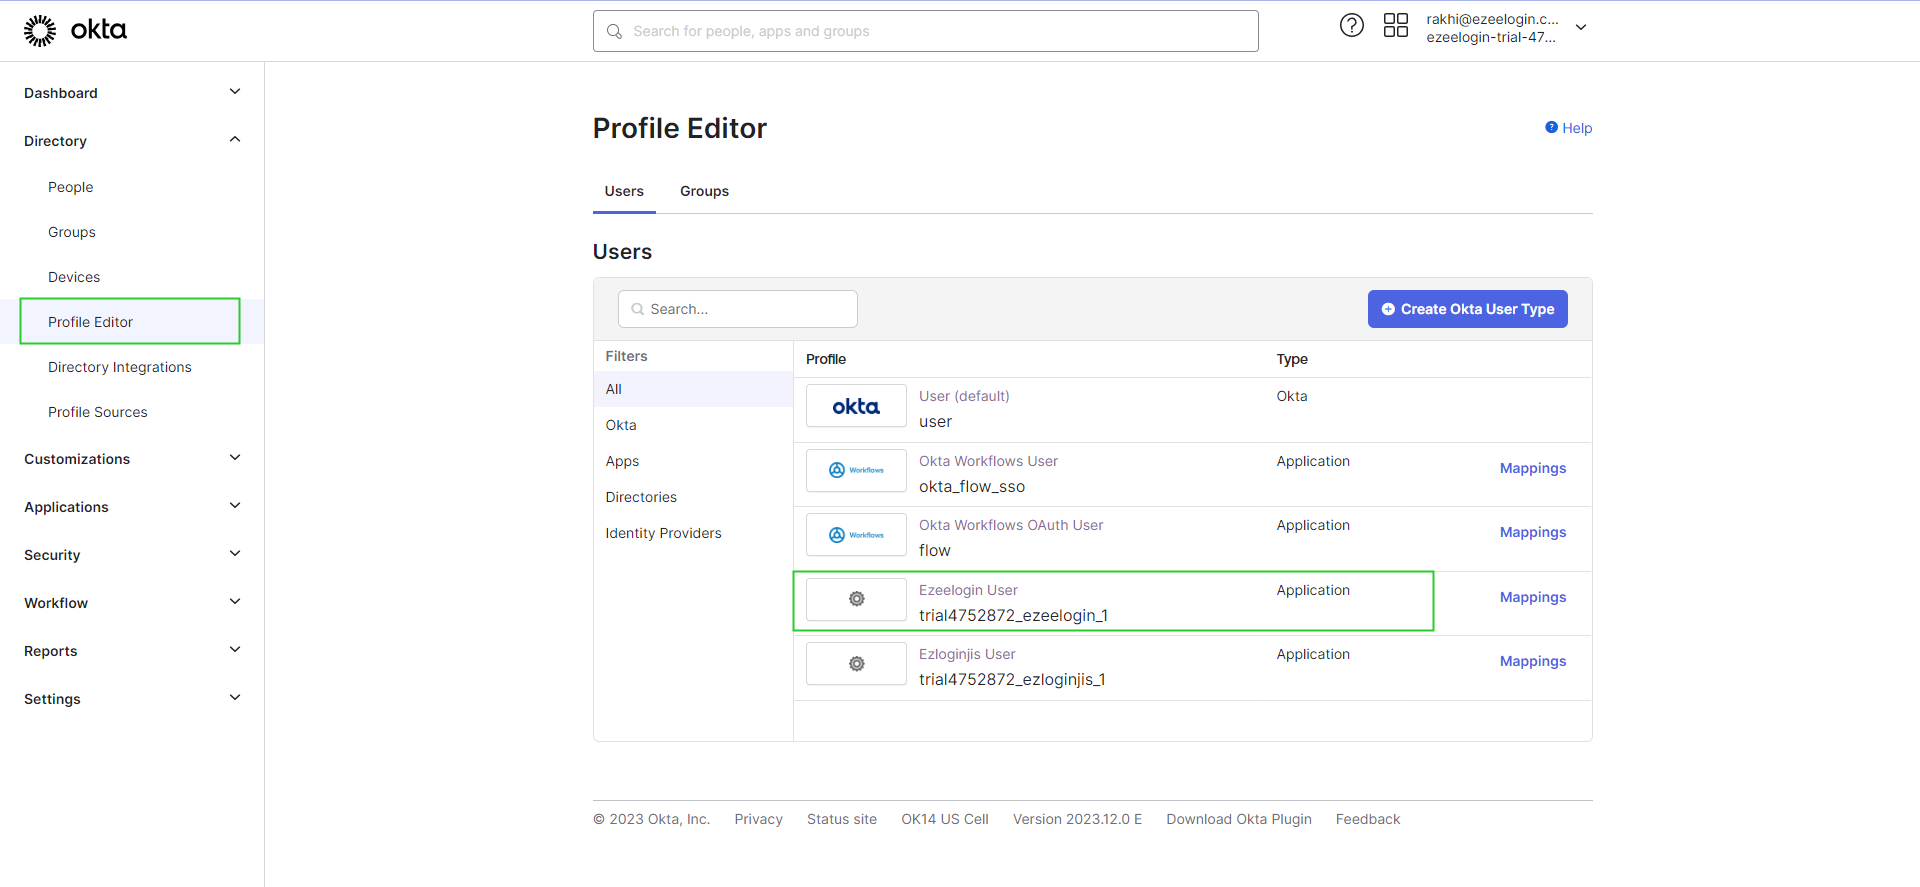
Step 2: Navigate to the Profile Editor option and click on your Application.
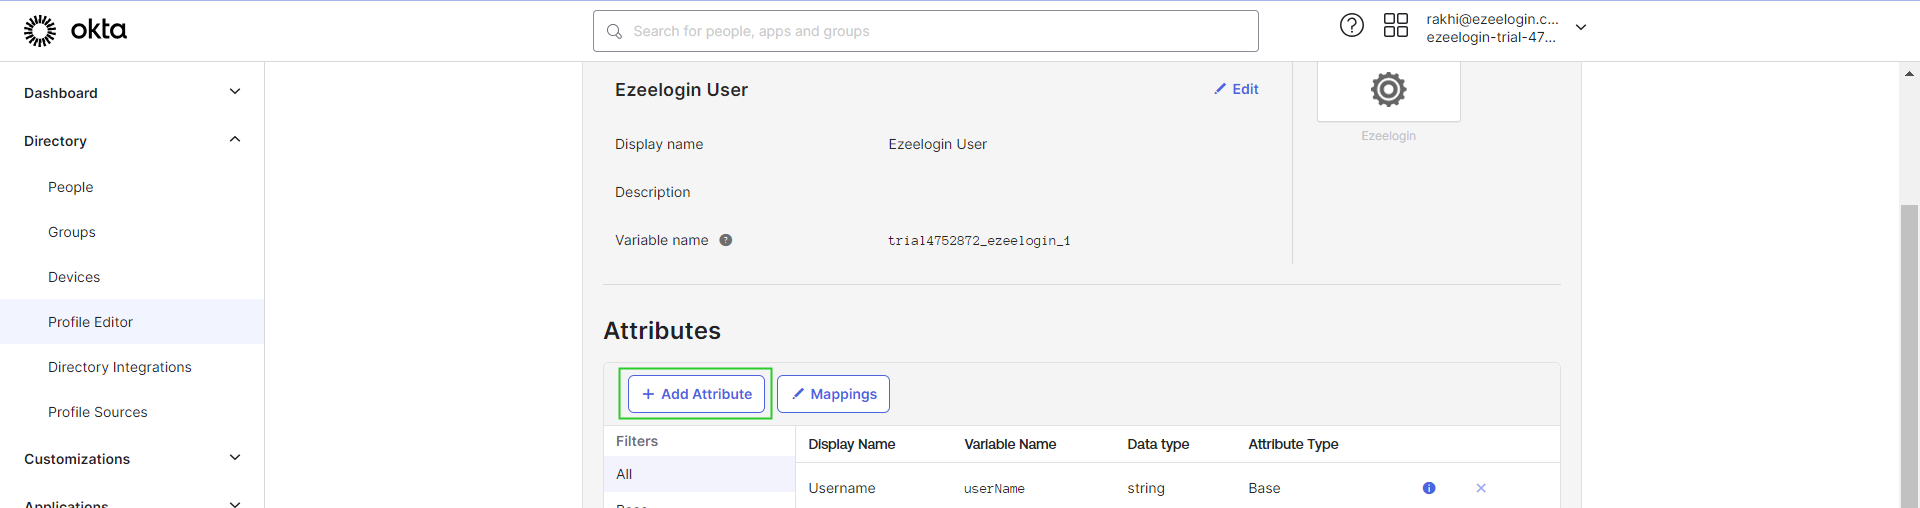
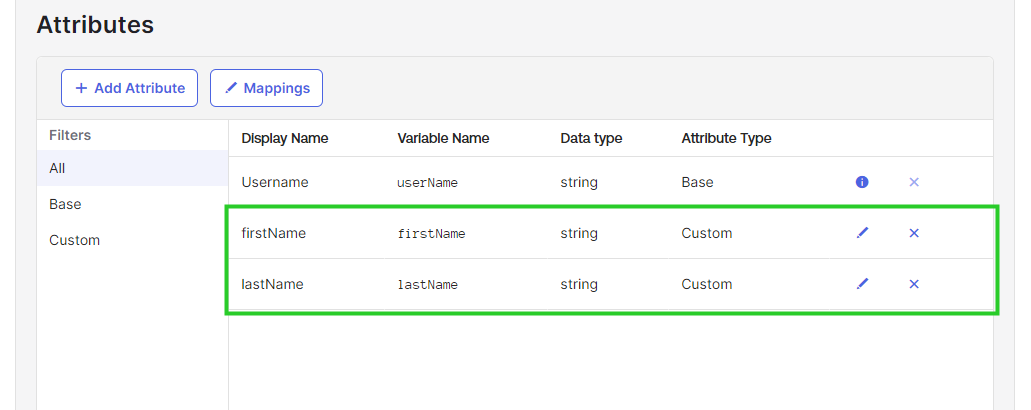
Step 3: Click on Add attribute.
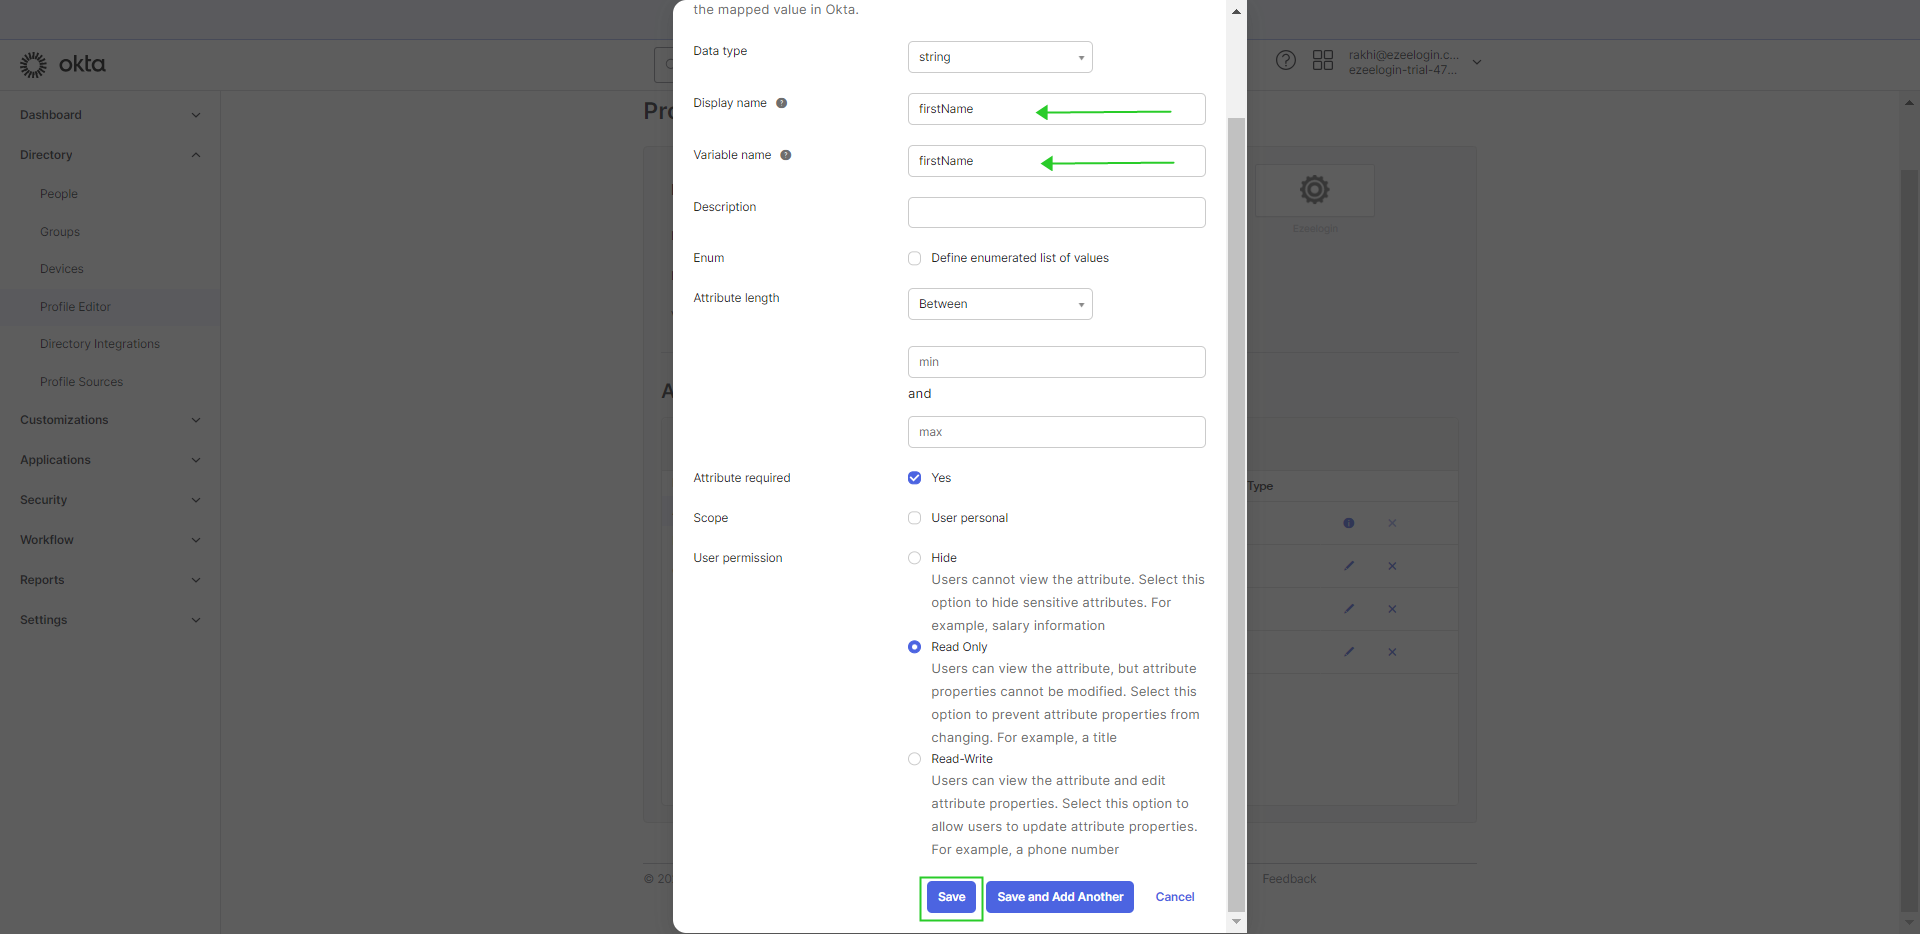
Step 4: Provide the attribute values as follows and save them.
Step 5: Similarly, create the attributes for lastName.
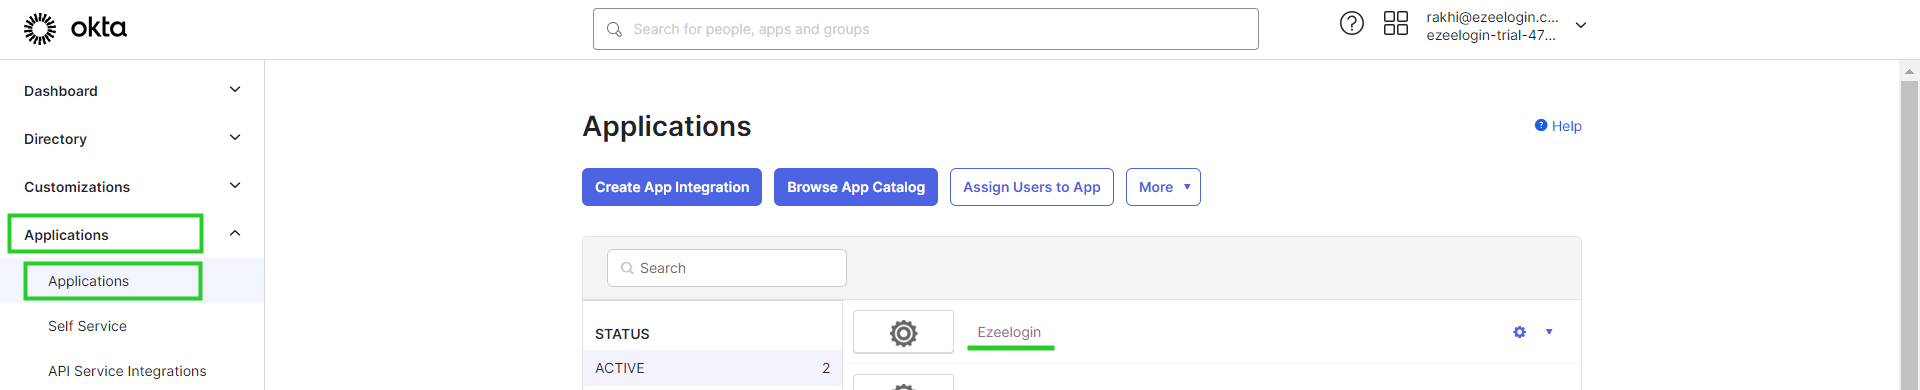
Step 6: Navigate to Application > Applications > Choose your Application.
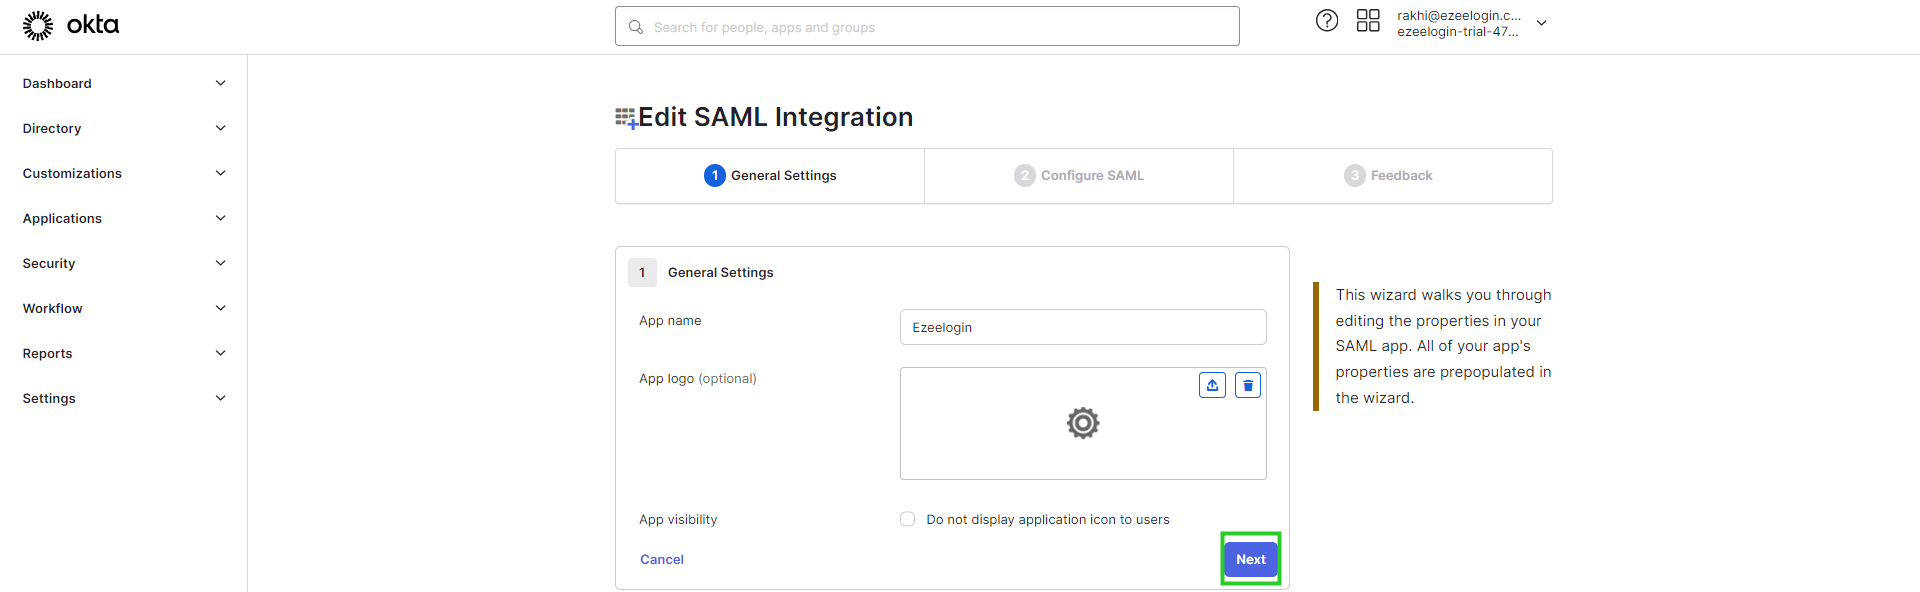
Step 7: Click on General > Edit Saml Settings.

Step 8: Click Next under General Settings.
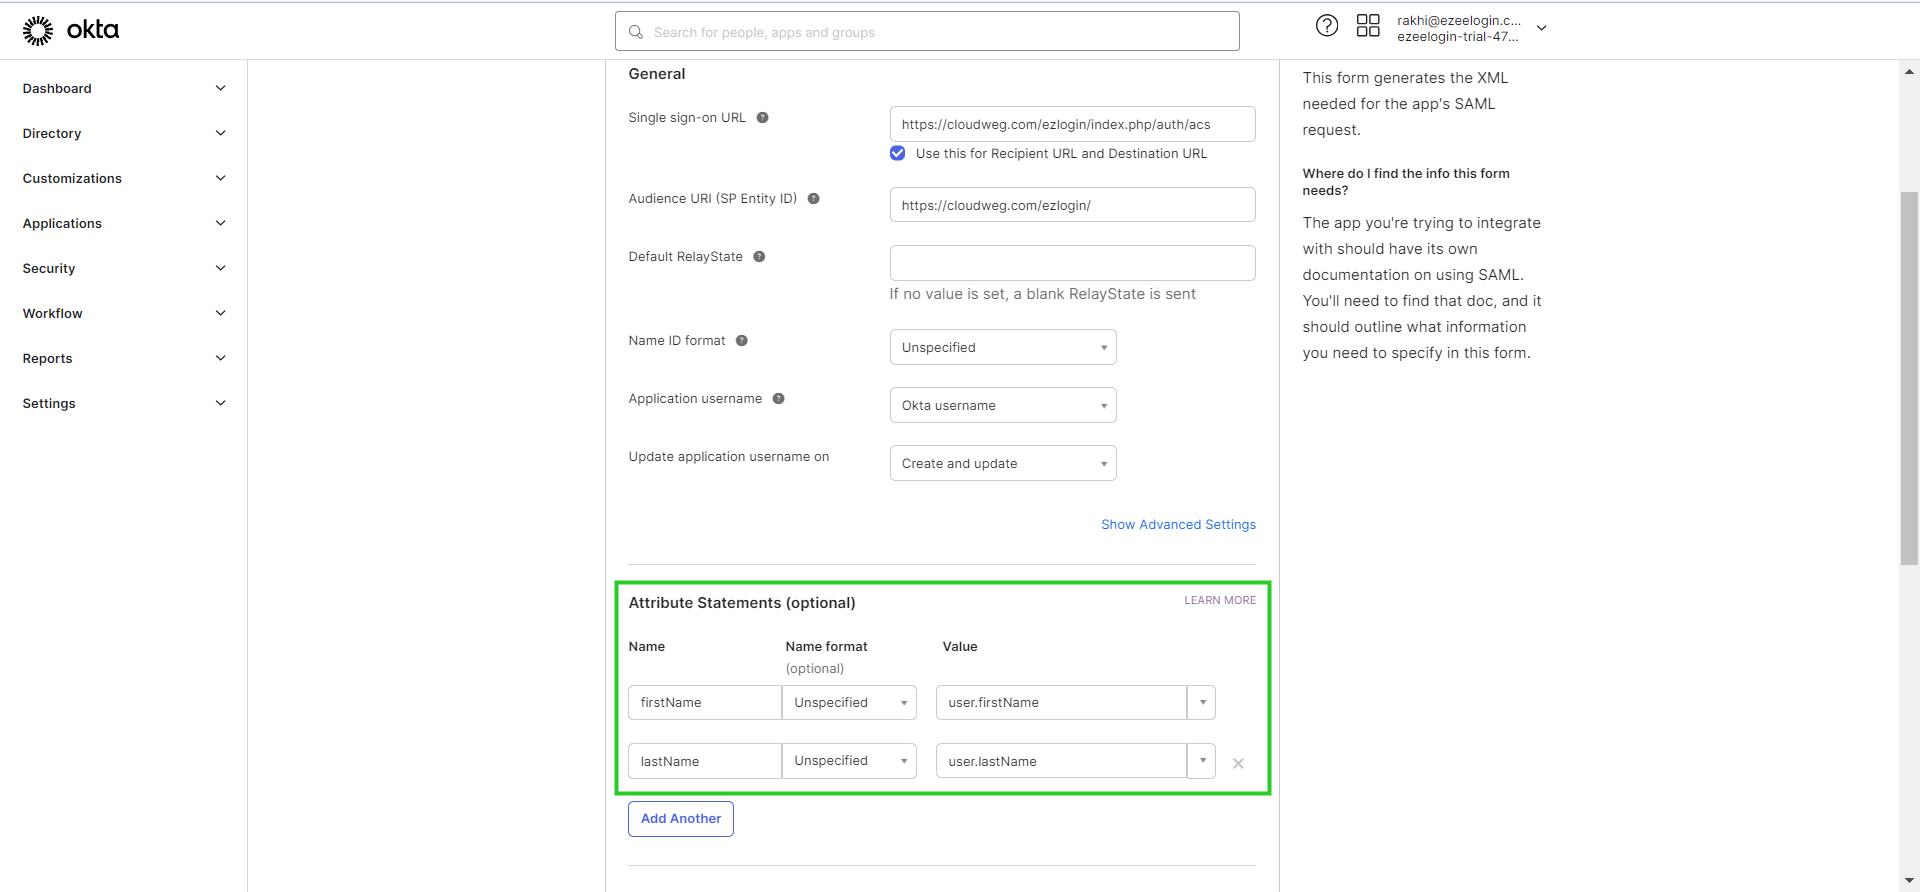
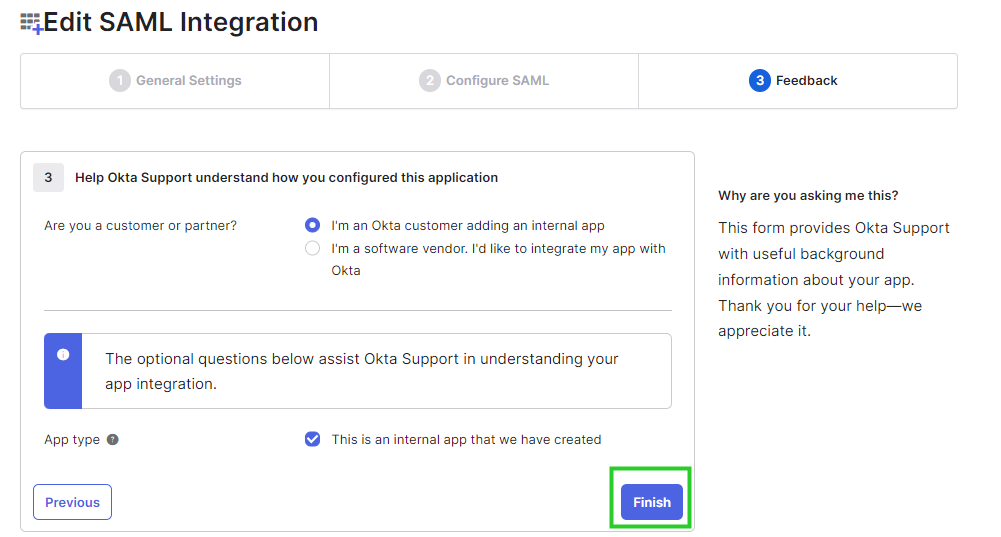
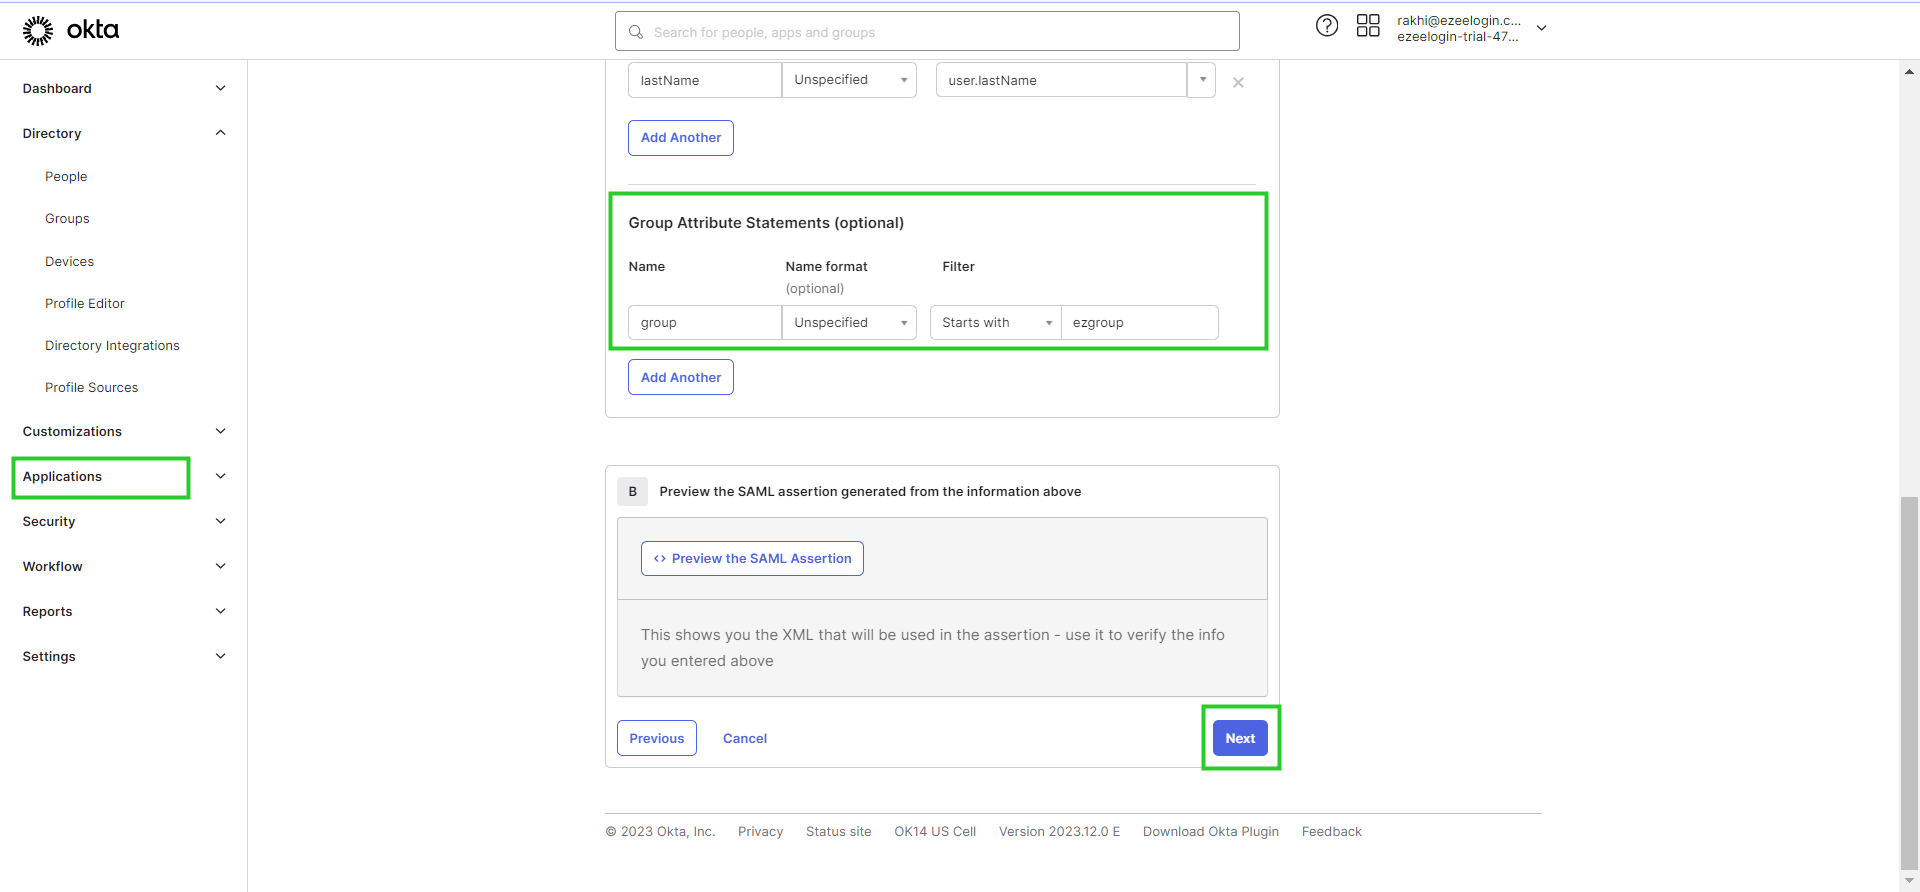
Step 9: In Configure SAML, Add the same attribute statements as shown below. Click Next > Finish.
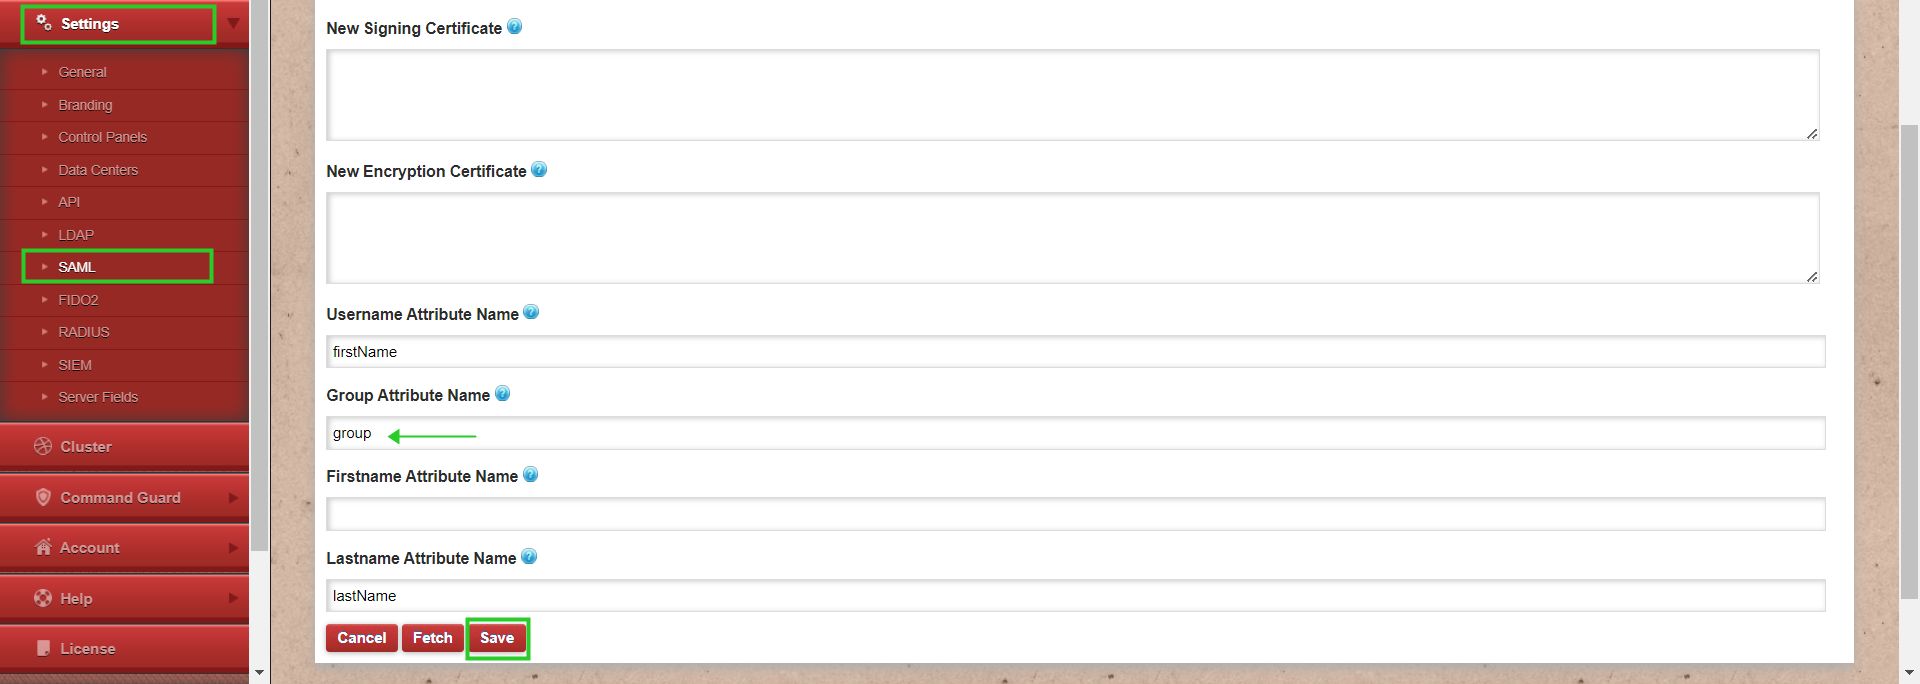
Step 10: In Ezeelogin web GUI. Navigate to settings > SAML > Add the listed attributes that were created in Okta and provide the same as follows as shown below and save it.

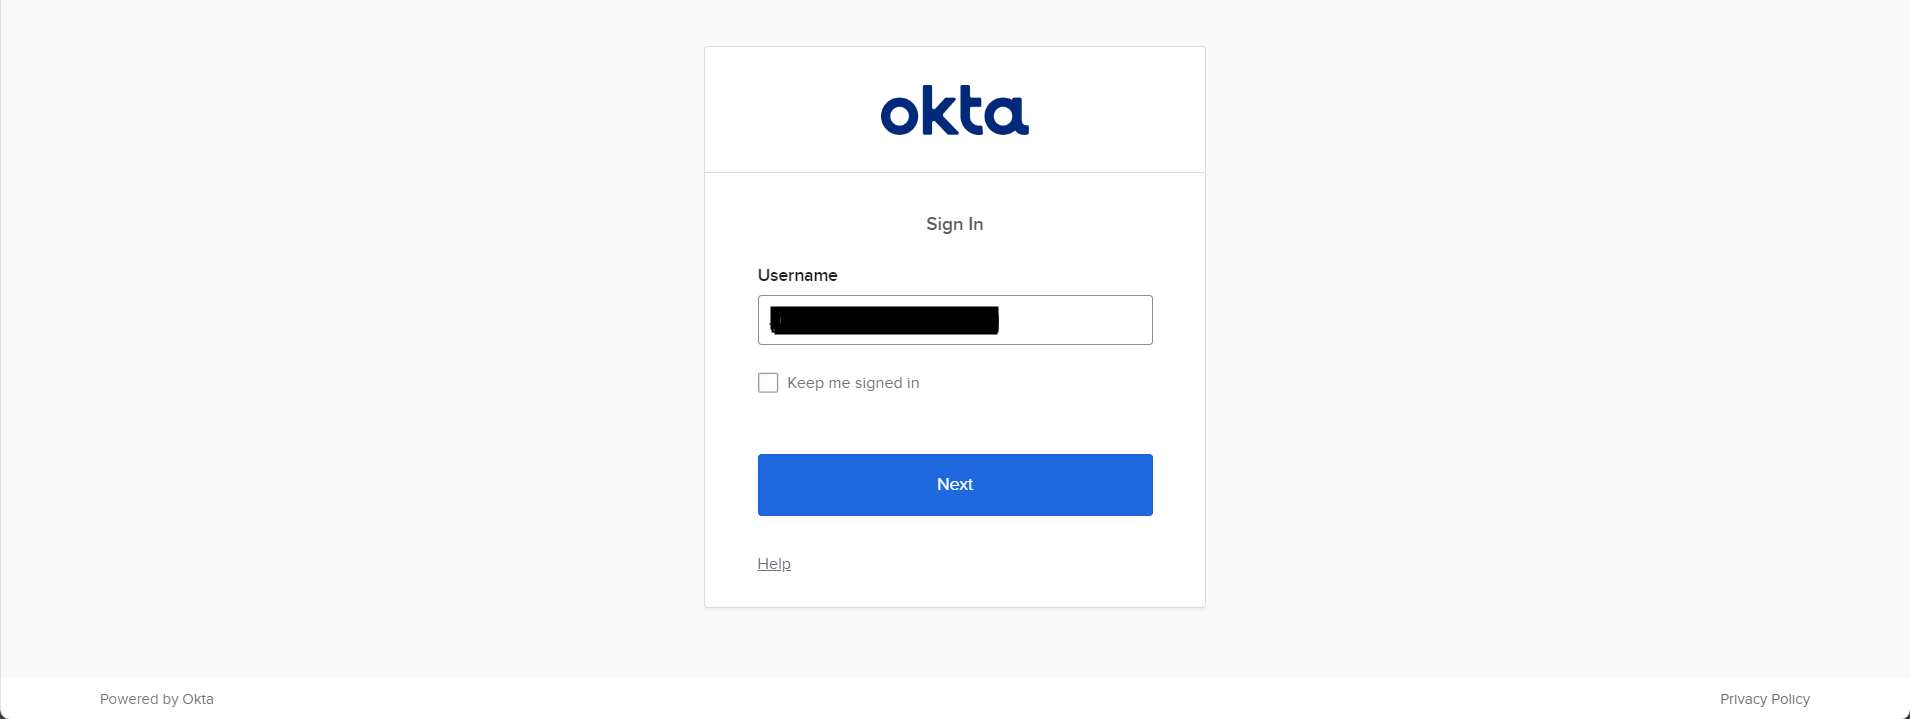
Step 10: Relogin to Ezeelogin GUI with okta user credentials.

2. How to map Okta users to the same user group in Ezeelogin
Note:
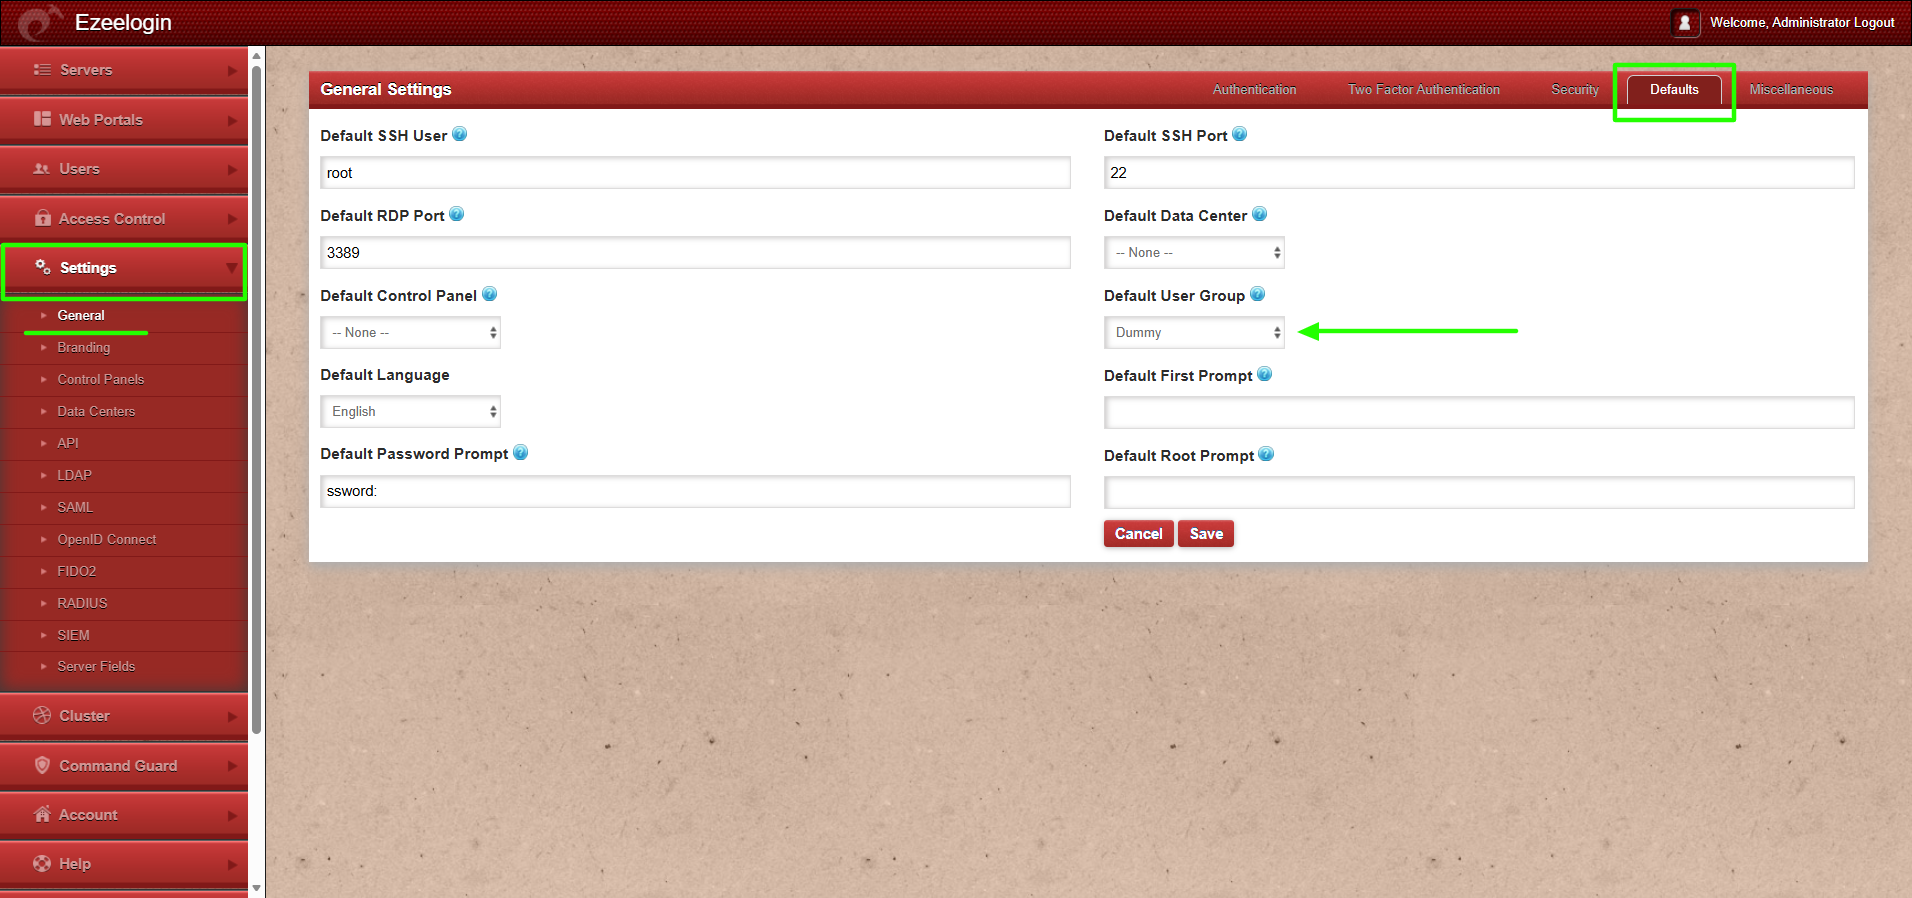
1. If users from the OIDC provider need to be auto-created in the corresponding group from OIDC to the same group in Ezeelogin, the admin user must set the default user group to None. If the same group is not present in Ezeelogin, the user will not be auto-created.

2. If the default user group is set to any group other than None, then all users from the OIDC provider will be auto-created in that same group.
This feature is available from Ezeelogin version 7.46.0. Refer article to upgrade Ezeelogin to the latest version.
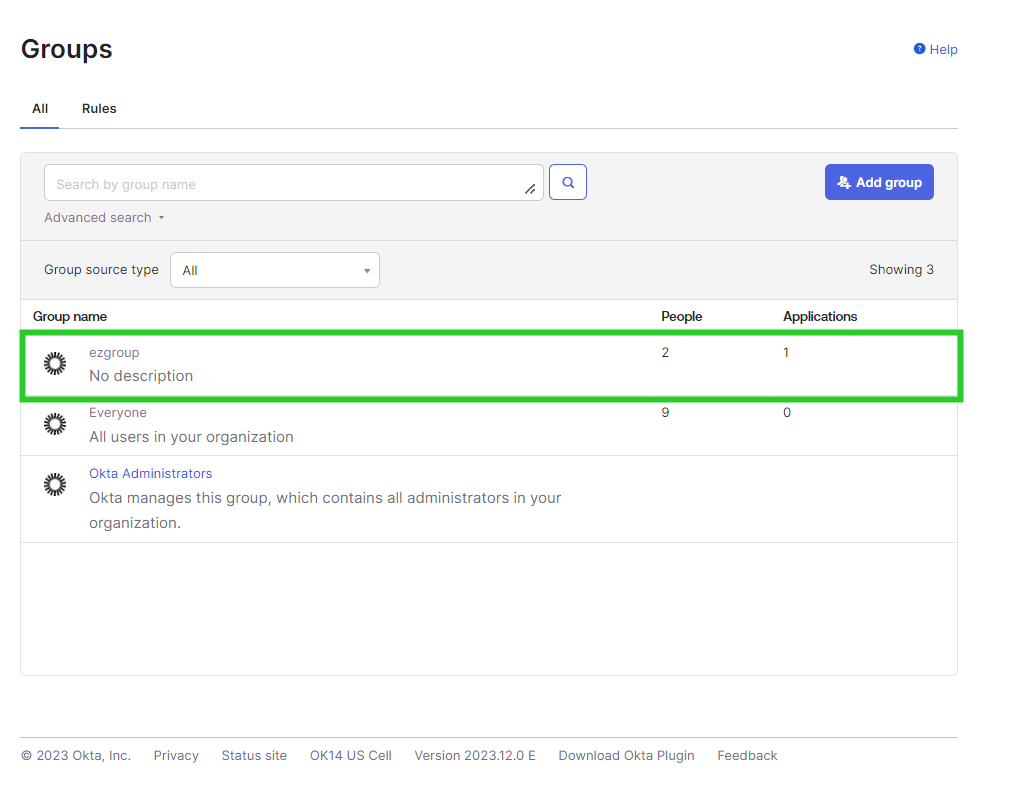
Step 1: Create an identical user group as in Okta in Ezeelogin GUI with priority set as mentioned below.

Step 2: In Okta, Under Application > Application > Click on General > Edit Saml Settings > Add the Group attribute. Mention the name of the group and user group. > Click Next and Finish.
Step 3: In Ezeelogin web GUI. Navigate to settings > SAML > Add the group name attribute that was created in Okta and save it.
Step 4: Relogin to Ezeelogin GUI with Okta user credentials.

Related Articles: